
Texas Bluebonnet Photos 2021
For many of us here in Texas, spring is just about one thing - waiting for the perfect time to go get those family bluebonnet photos! There are so many factors to consider - location, time of day, what to dress the kids in, etc. For us, we don’t actually take a lot of family styled photos of our kids, but bluebonnet photos are the one annual thing we do. And to be honest, I stress about it every year.
Getting the Perfect Bluebonnet Pictures
If you haven’t already, go check out my previous blog post, that gives a lot of tips and trick on how to get great bluebonnet pictures. Click Here to check out that post! There are a lot of great tips there that will help you get really fantastic photos. Here’s what I did this year to try to up my bluebonnet photo game!
My Camera
This year, for the first time in a few years I decided to go back to film for our family bluebonnet photos. Last year during the middle of Covid season, I just snapped them with my digital. The previous year, our kids were really little and so I knew there was no way I was going to get them all to sit still and behave so there would need to be a lot of editing and photoshopping. But this year, I thought I had a chance to get a decent shot of my three younger kids. I loaded up my Hasselblad 501cm with the 80mm lens attached and headed out! The 501cm is an amazing camera, its fully manual but its fast for a fully manual camera. Plus, I just really wanted to use this camera. I mainly keep it in the studio, but I felt a trip to the bluebonnet fields would a fitting exercise for my latest camera acquisition.
My Film
I’ve known for like 4 months what film I was going to use for this shoot. I’m not kidding when I say that we take these photos very seriously each year. I’ve literally been planing these photos since winter started. For this shoot, I decided to go with Kodak Portra 400. I’m using a medium format camera so I used the 120 version of the film but you can also get it in 35mm. Portra is great for skin tones and that’s what I really wanted to focus on this time around. I loaded up two rolls (24 exposures) and hoped I could at least get one decent photo out of 24…. But there was no way to be sure that would even happen.
One trick that I have learned from shooting with Kodak Portra 400 is to shoot it at ISO 200 instead of 400. This means, you are essentially overexposing the image, but the over exposure actually brings out some of the best qualities of Portra and it can be easily corrected in the scan/print process.
Lighting Bluebonnet Photos
We were traveling back from College Station after visiting our oldest at Texas A&M and we were adding this photoshoot on to the end of a very busy weekend. There are several amazing locations in Ennis, TX for bluebonnet photos, which was on our way back to that’s where we planned to stop. If you’re looking for a great location for bluebonnet pictures - Ennis is it for North/Northeast Texas! Unfortunately, the time we were going to be in Ennis was not going to give us the best lighting, so I had to improvise.
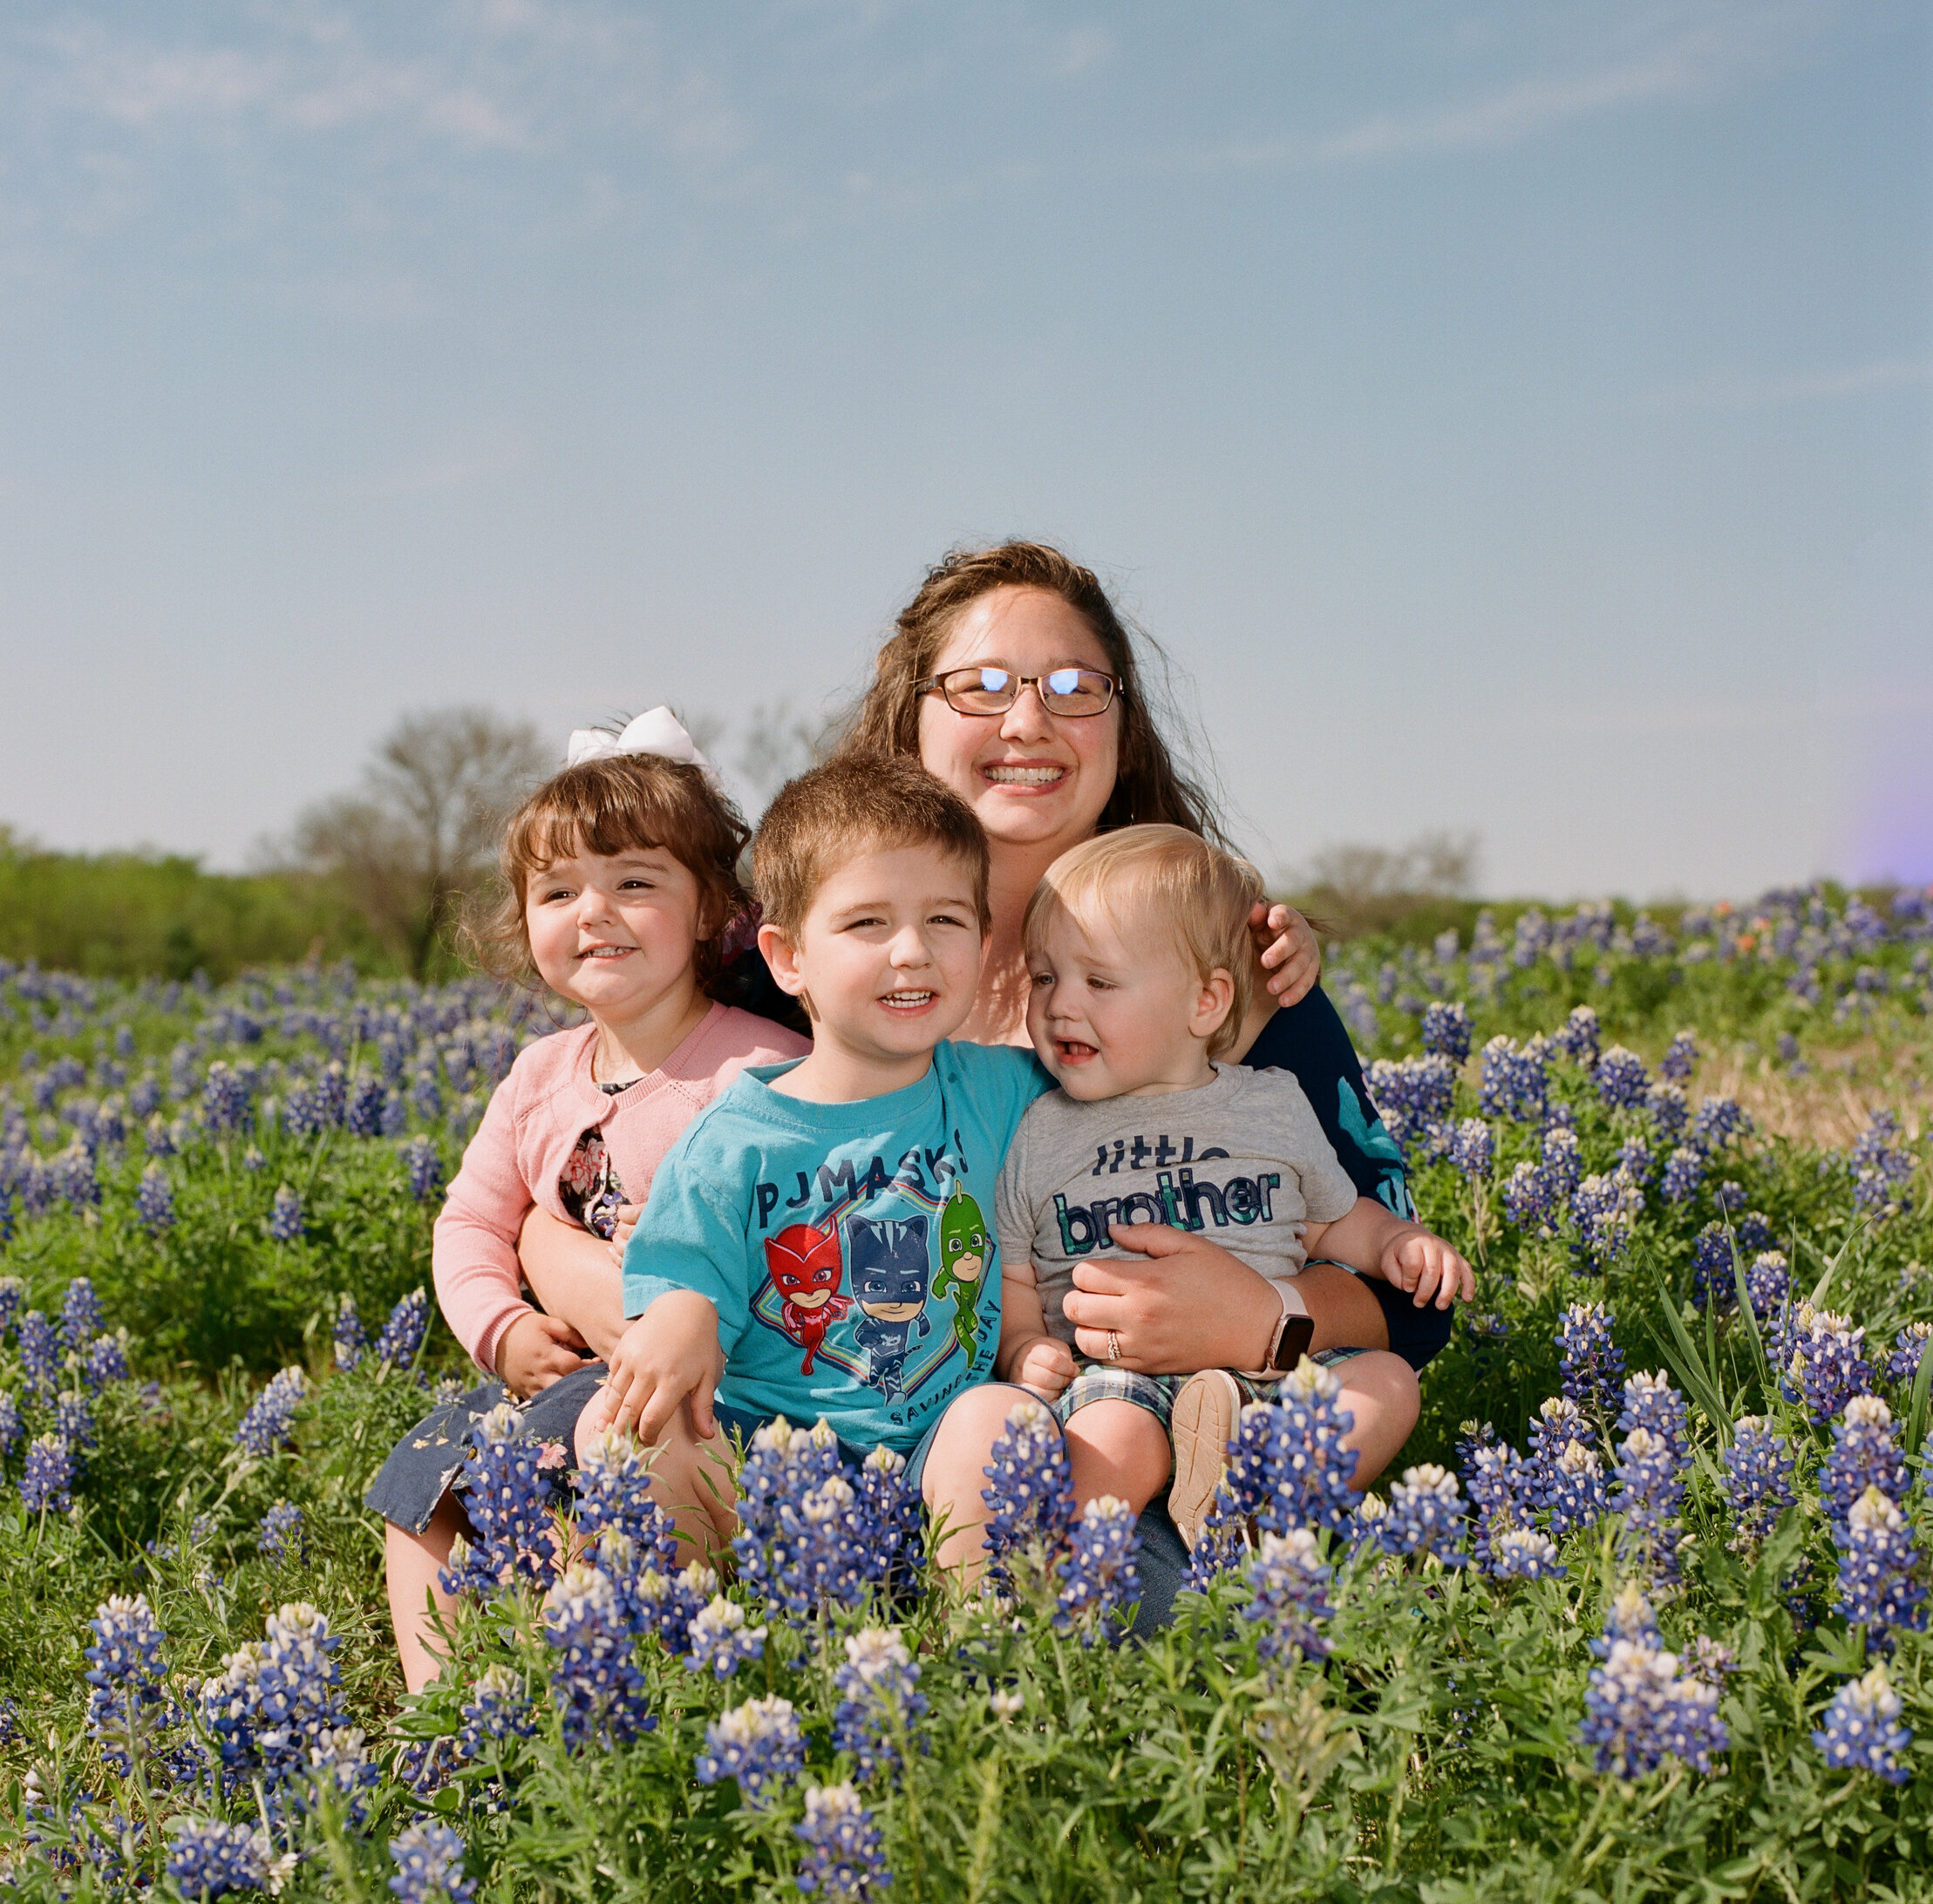
I positioned my family in a little patch with their right sides facing the mid-afternoon sun. The shadows were harsh. I metered for the bright sunlit side of their faces and then I pulled out my strobes to fill in the dark shadows on their faces. I metered the shadows first and discovered that they were 4 stops below the light side. Which is harsh for sure. If you are looking for a meter, I use the Sekonic L-478D-U. Its an incident meter but it works great and has been a very handy tool to have in my camera bag for years. I set up my lights to try to compensate for the shadows. I had brought with me my Profoto B2’s (these aren’t made any more sadly - the Profoto A1X is a good replacement) and a Profoto 2’ Octabox to help control the harshness of the flash. The octabox from Profoto has two diffusers inside so it really really softens the shadows a lot and fills very nicely. I positioned the flash about 5 feet from my subjects at a 45 degree angle to fill light from the left side.
Posing for Bluebonnet Pictures
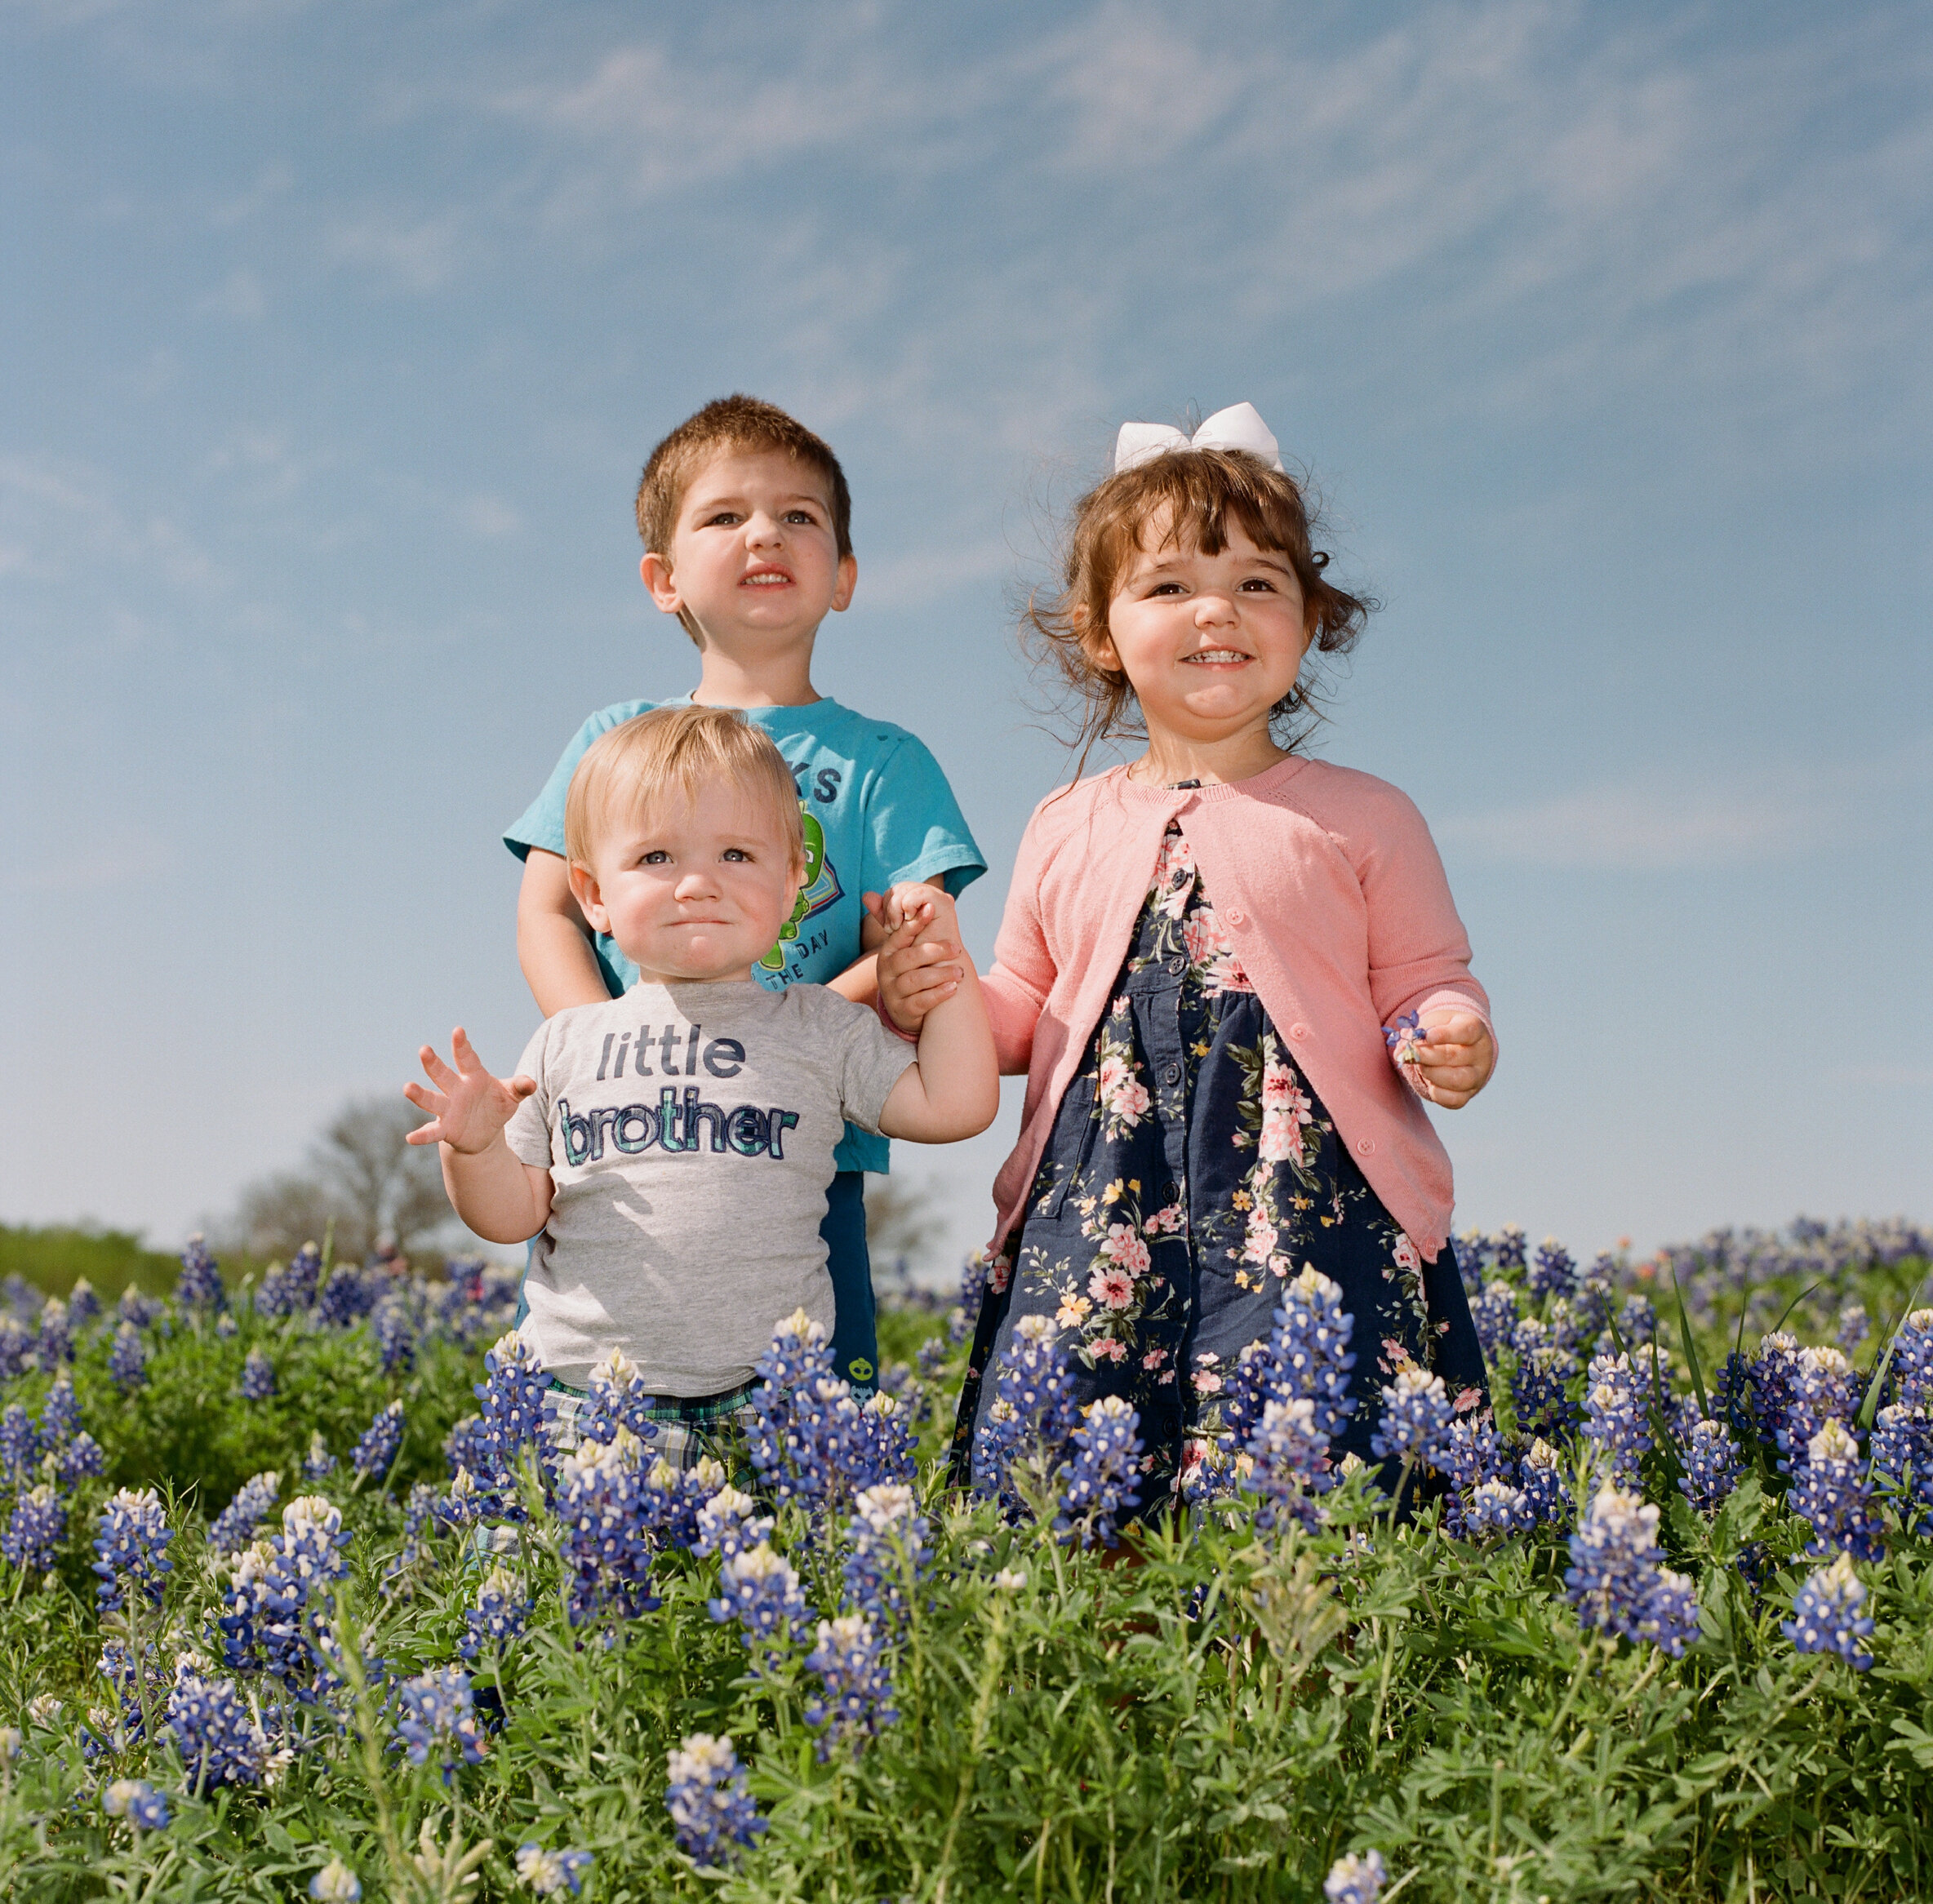
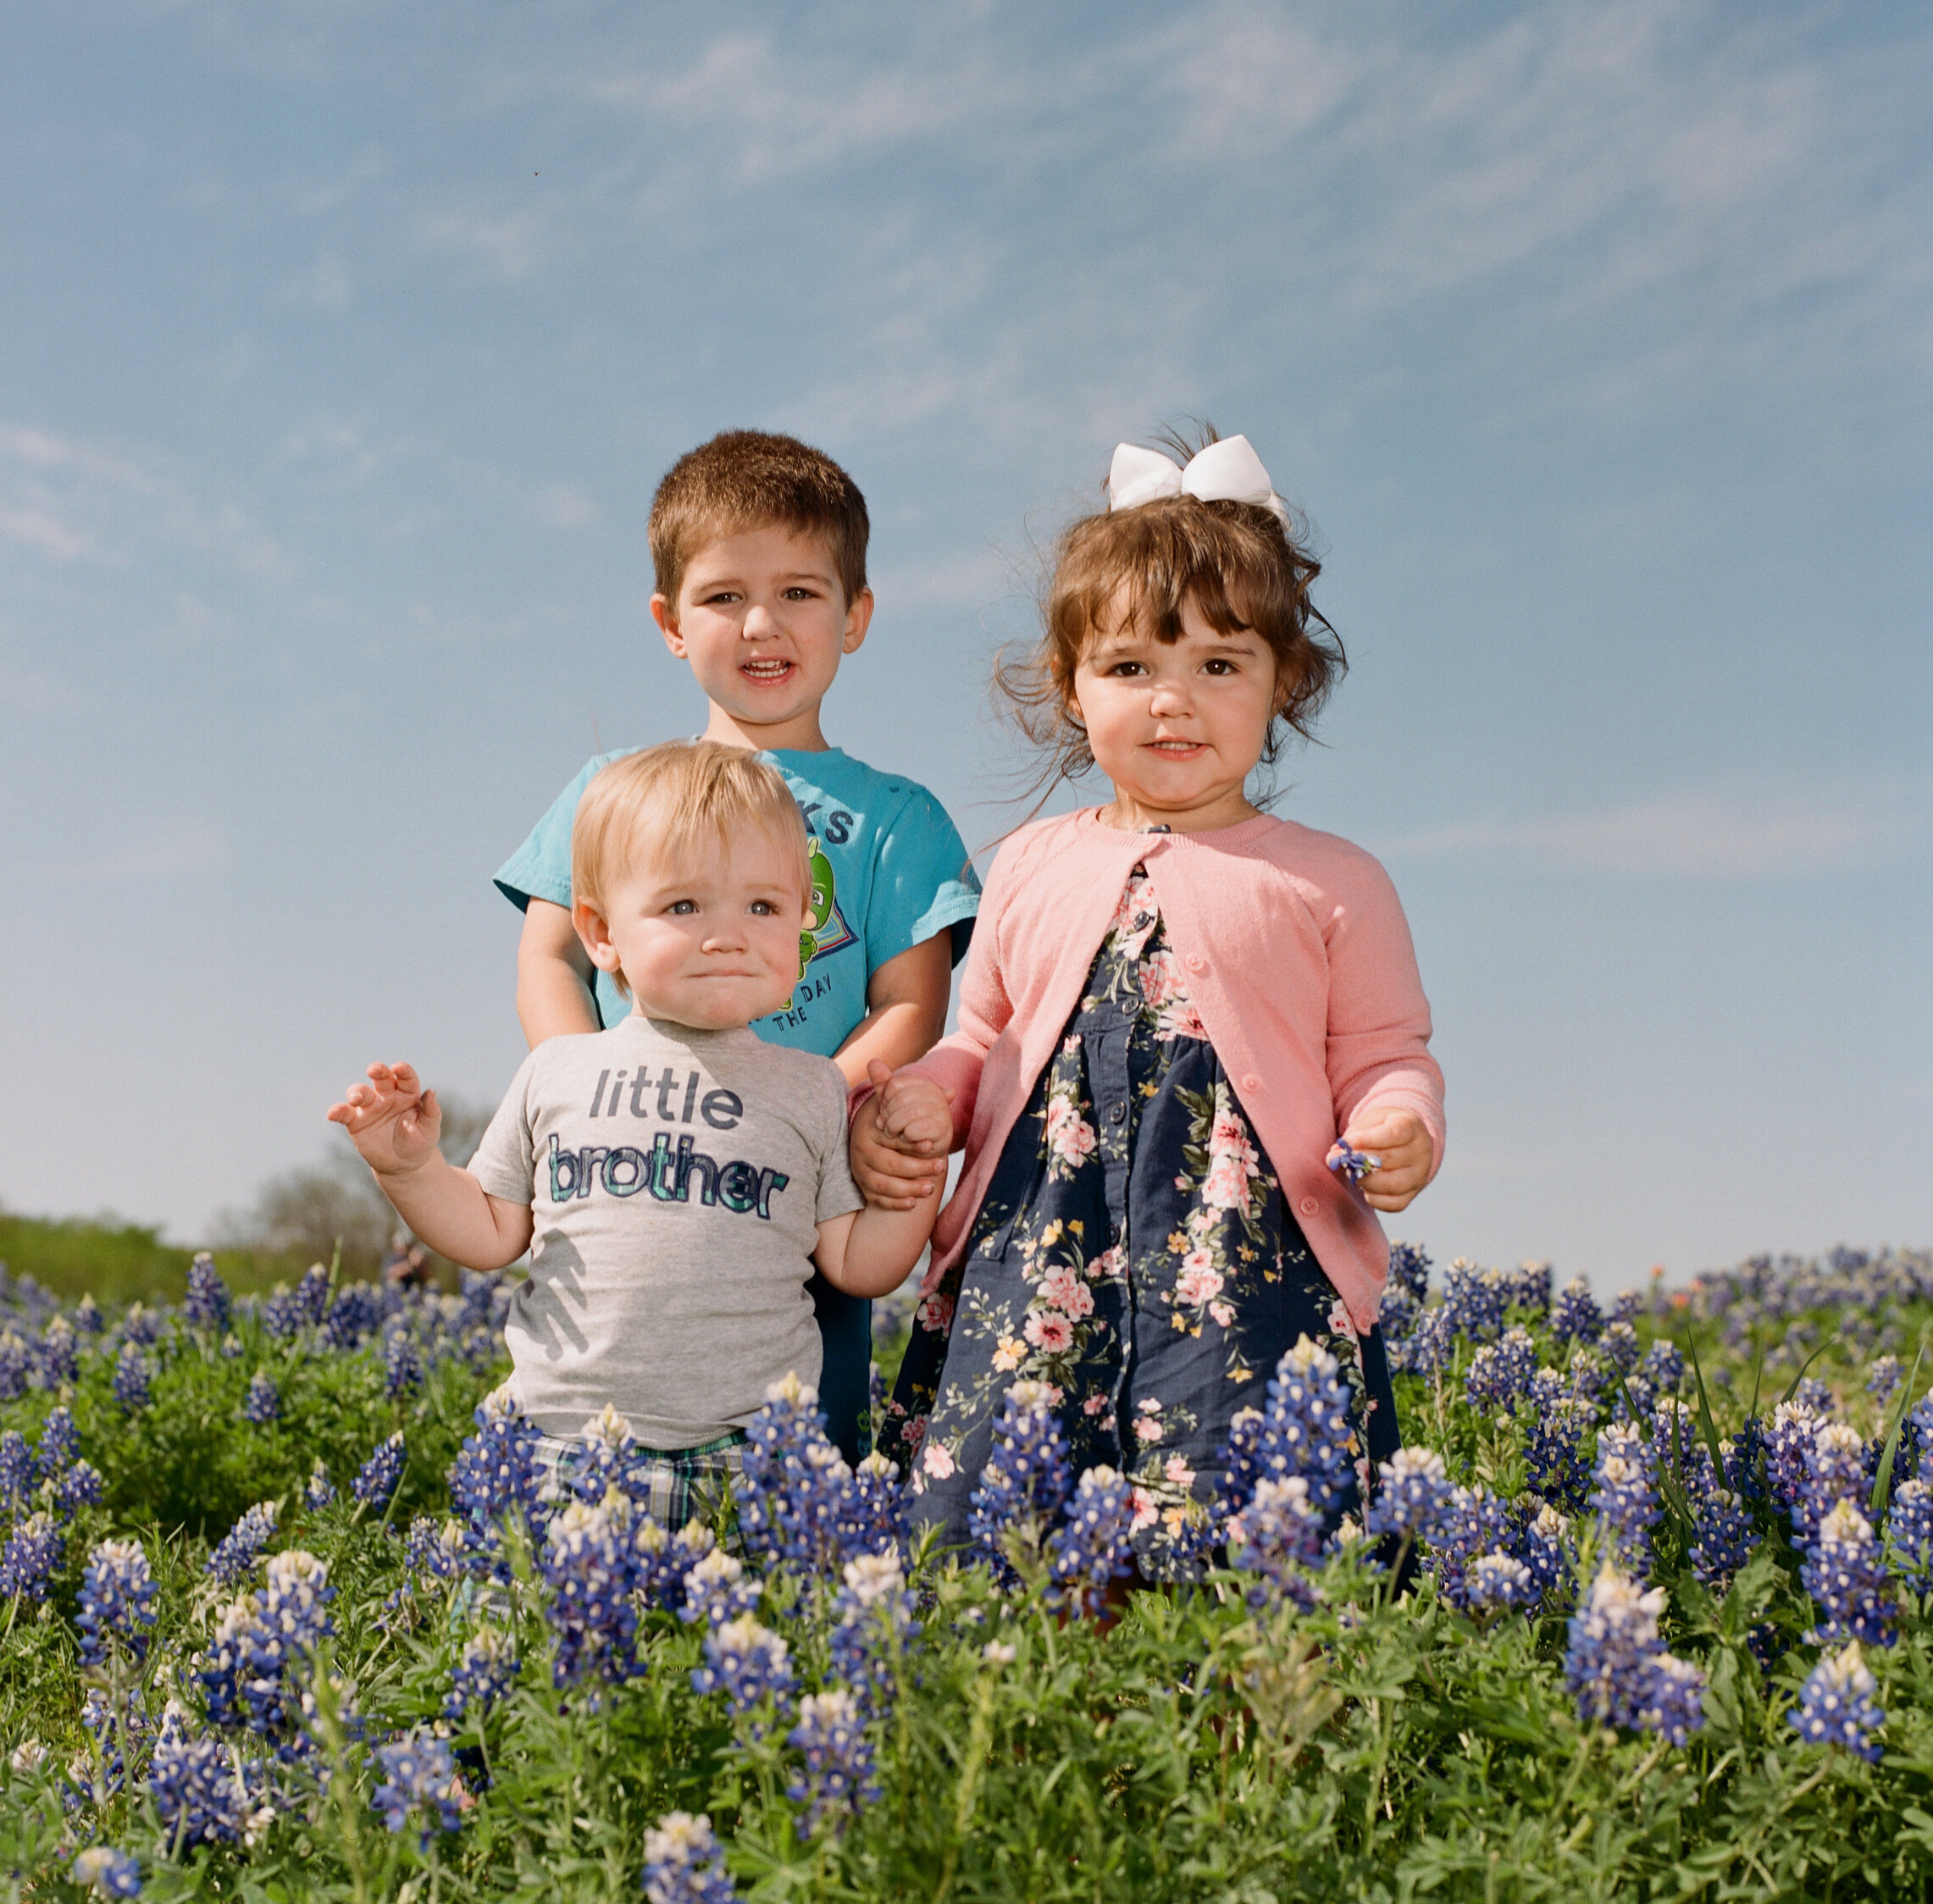
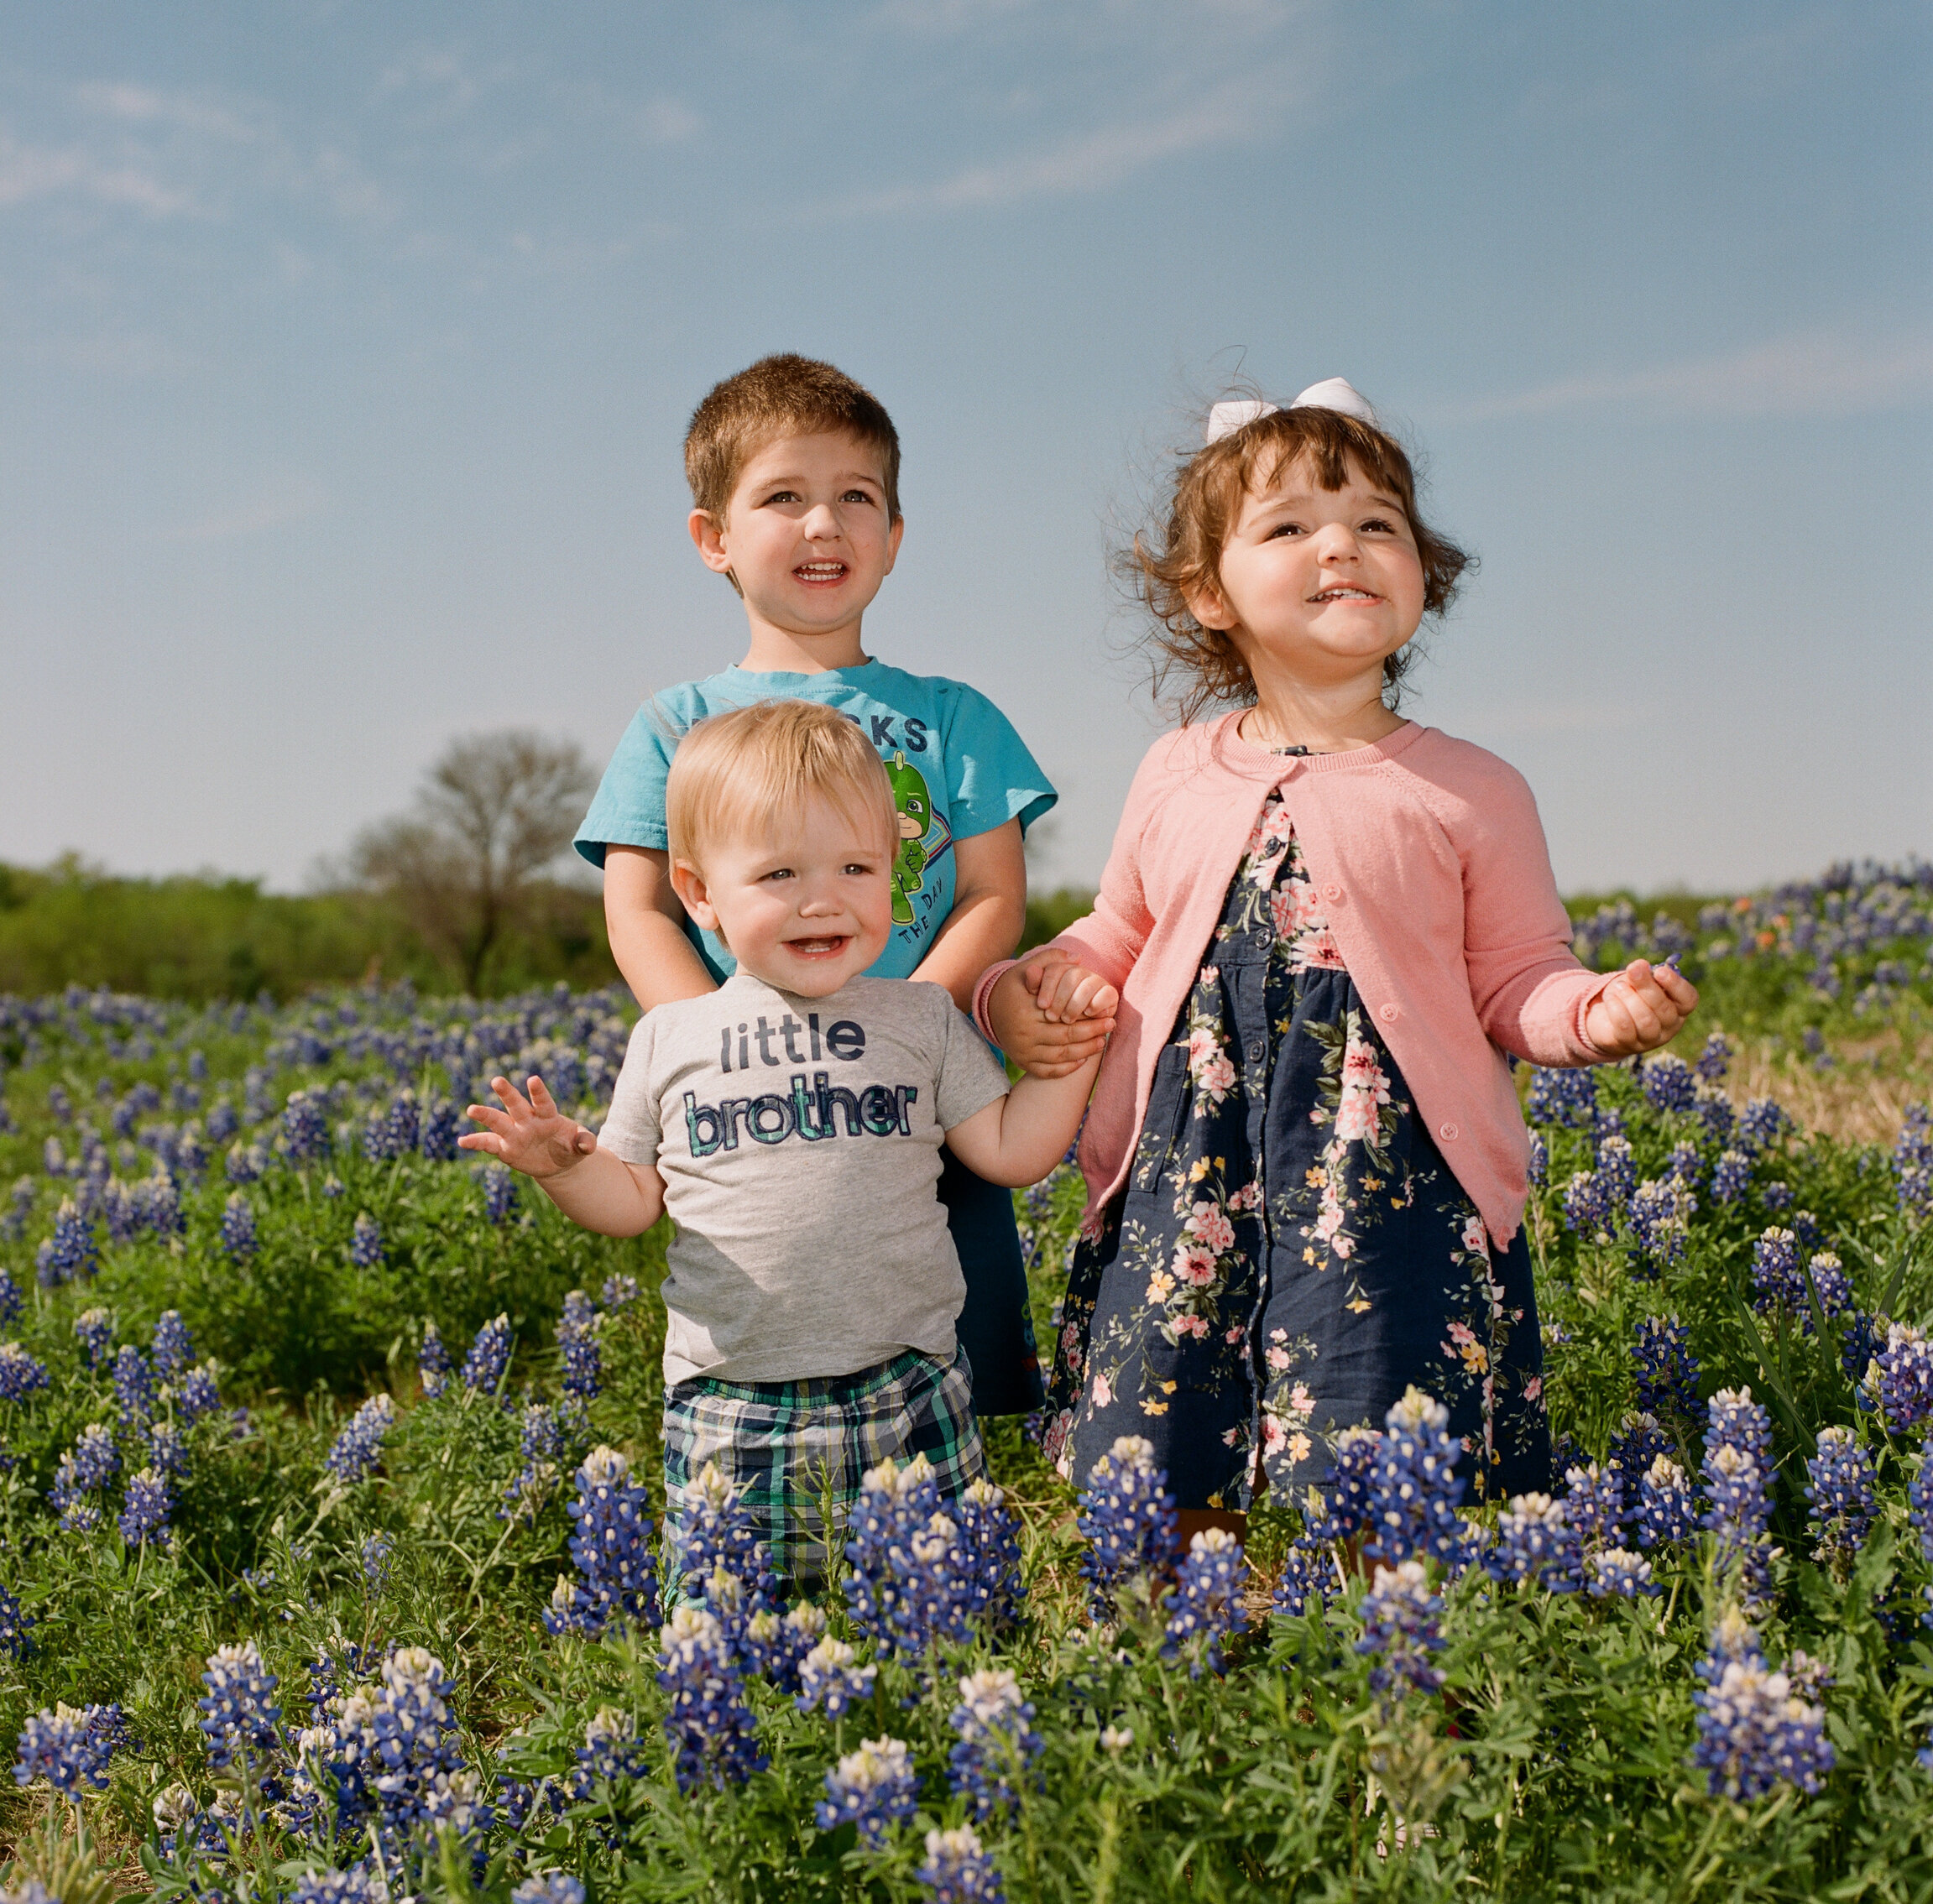
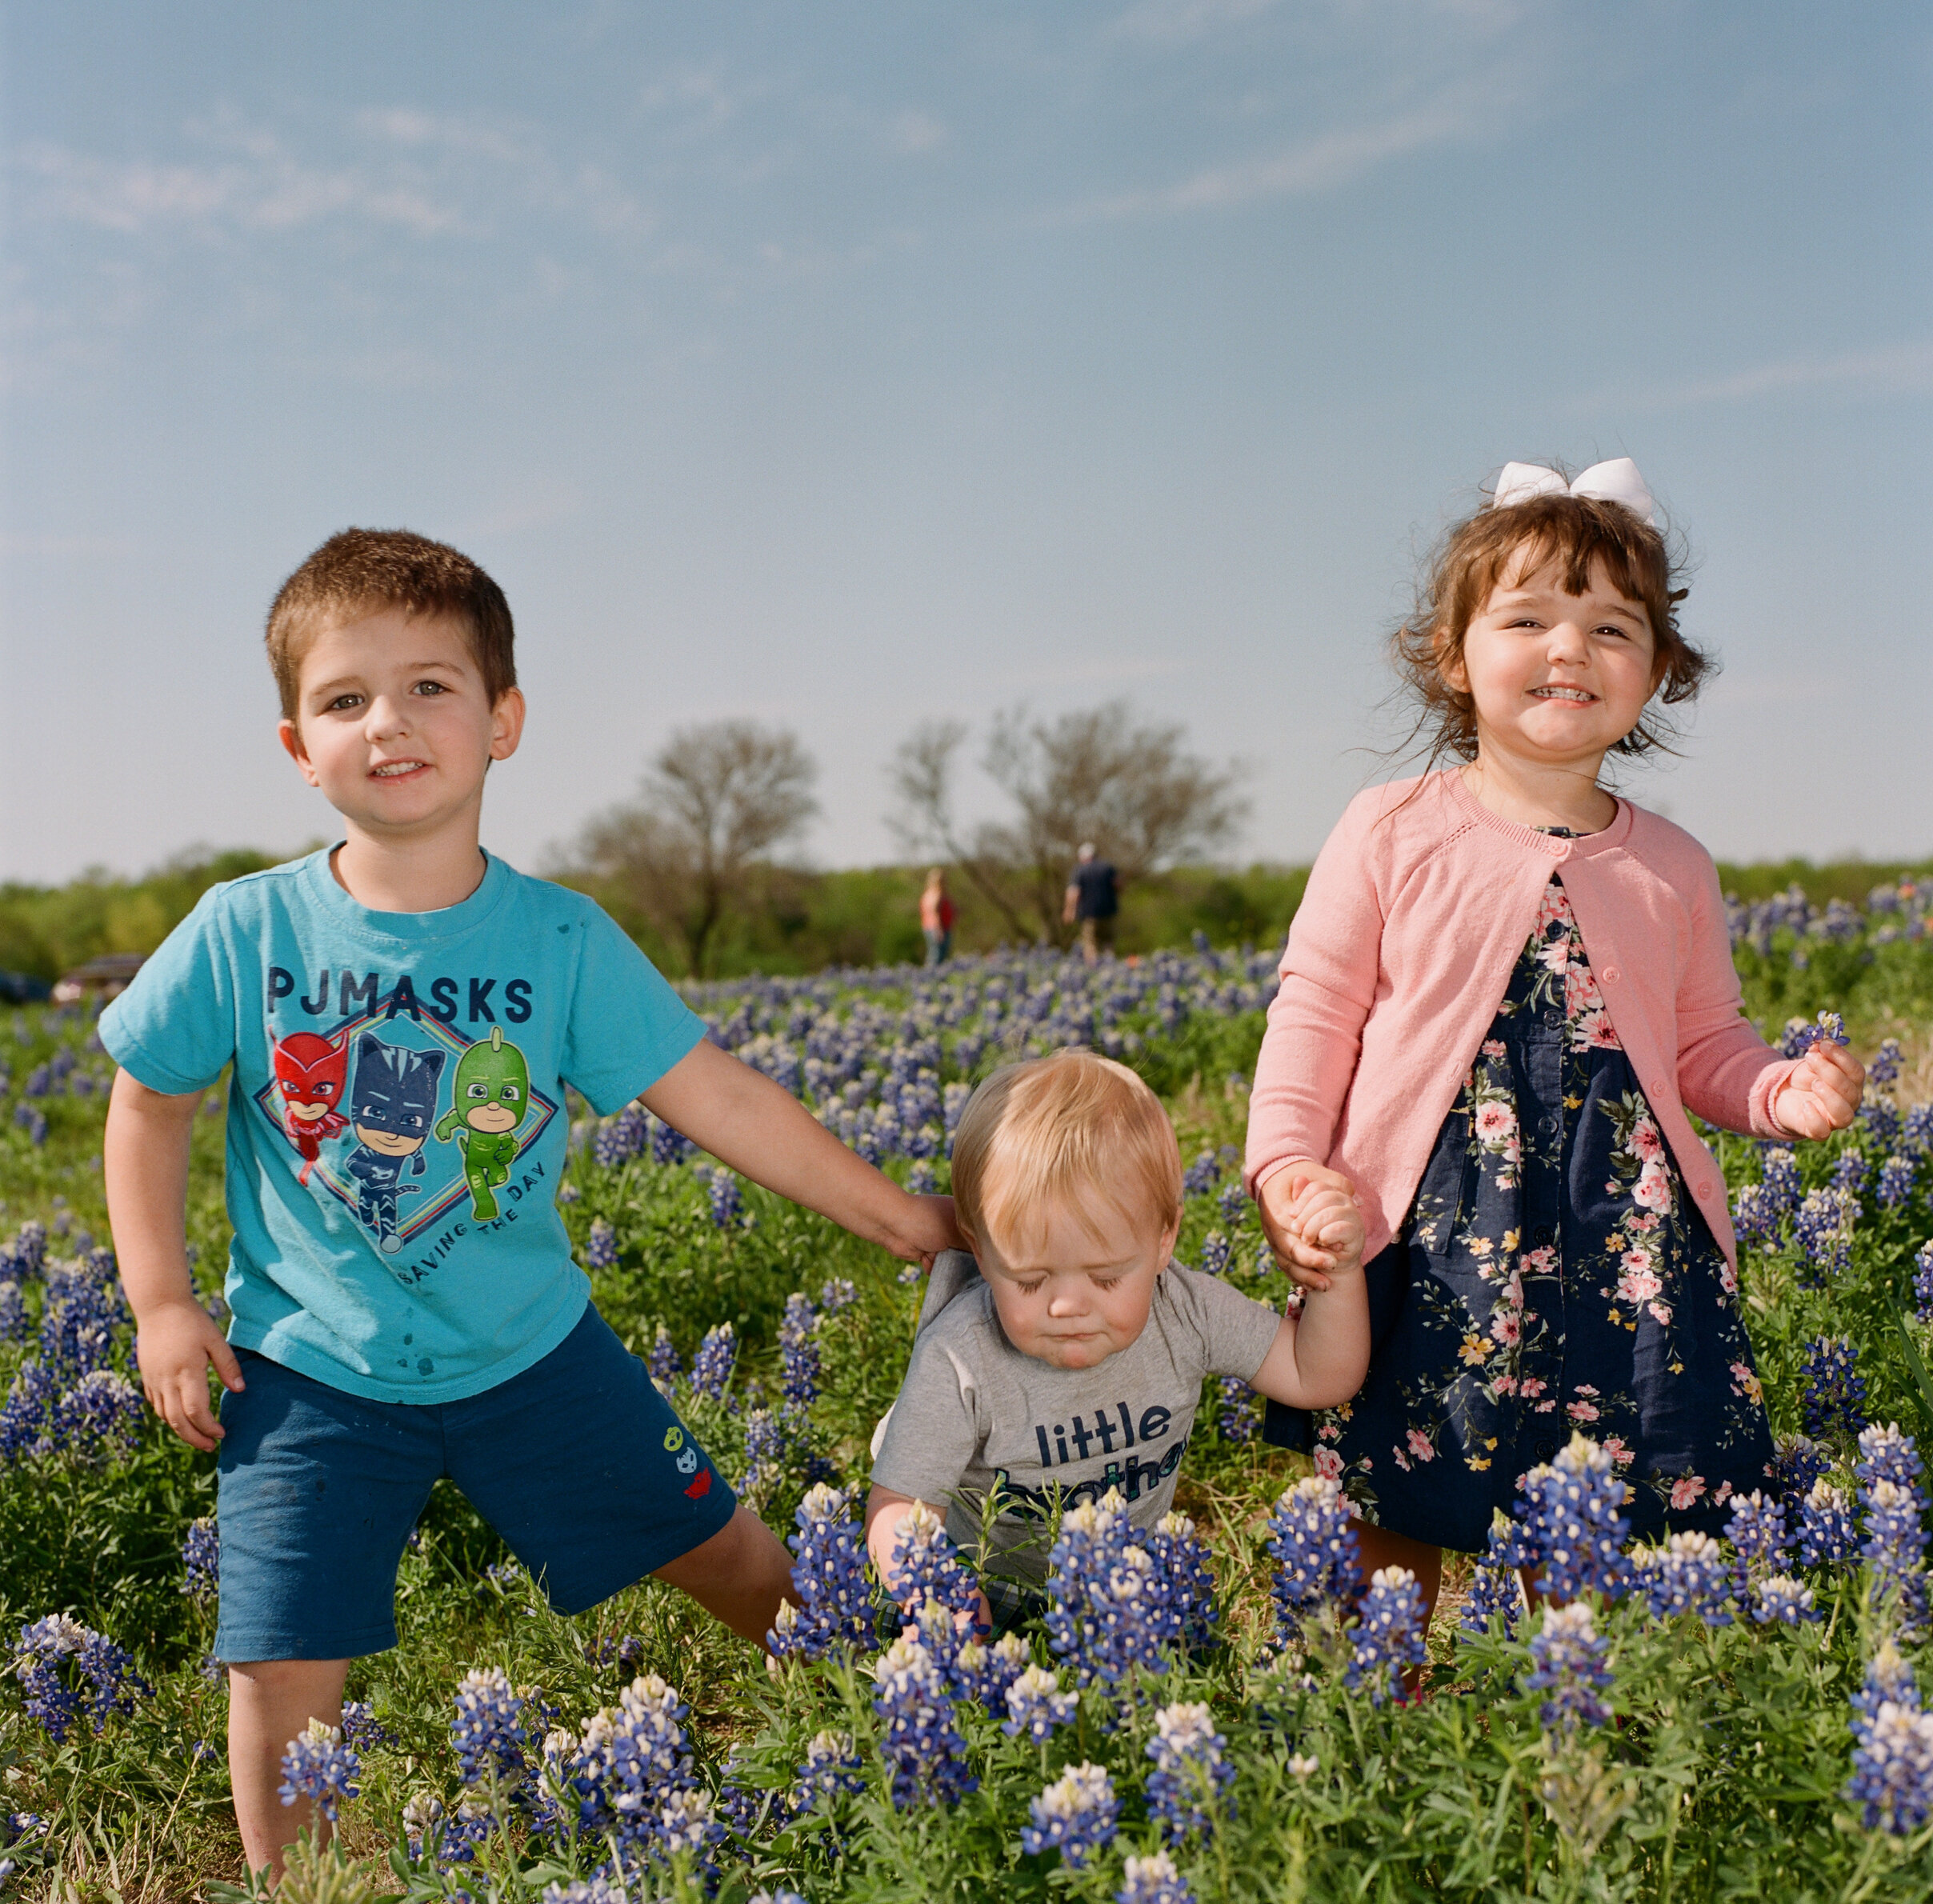
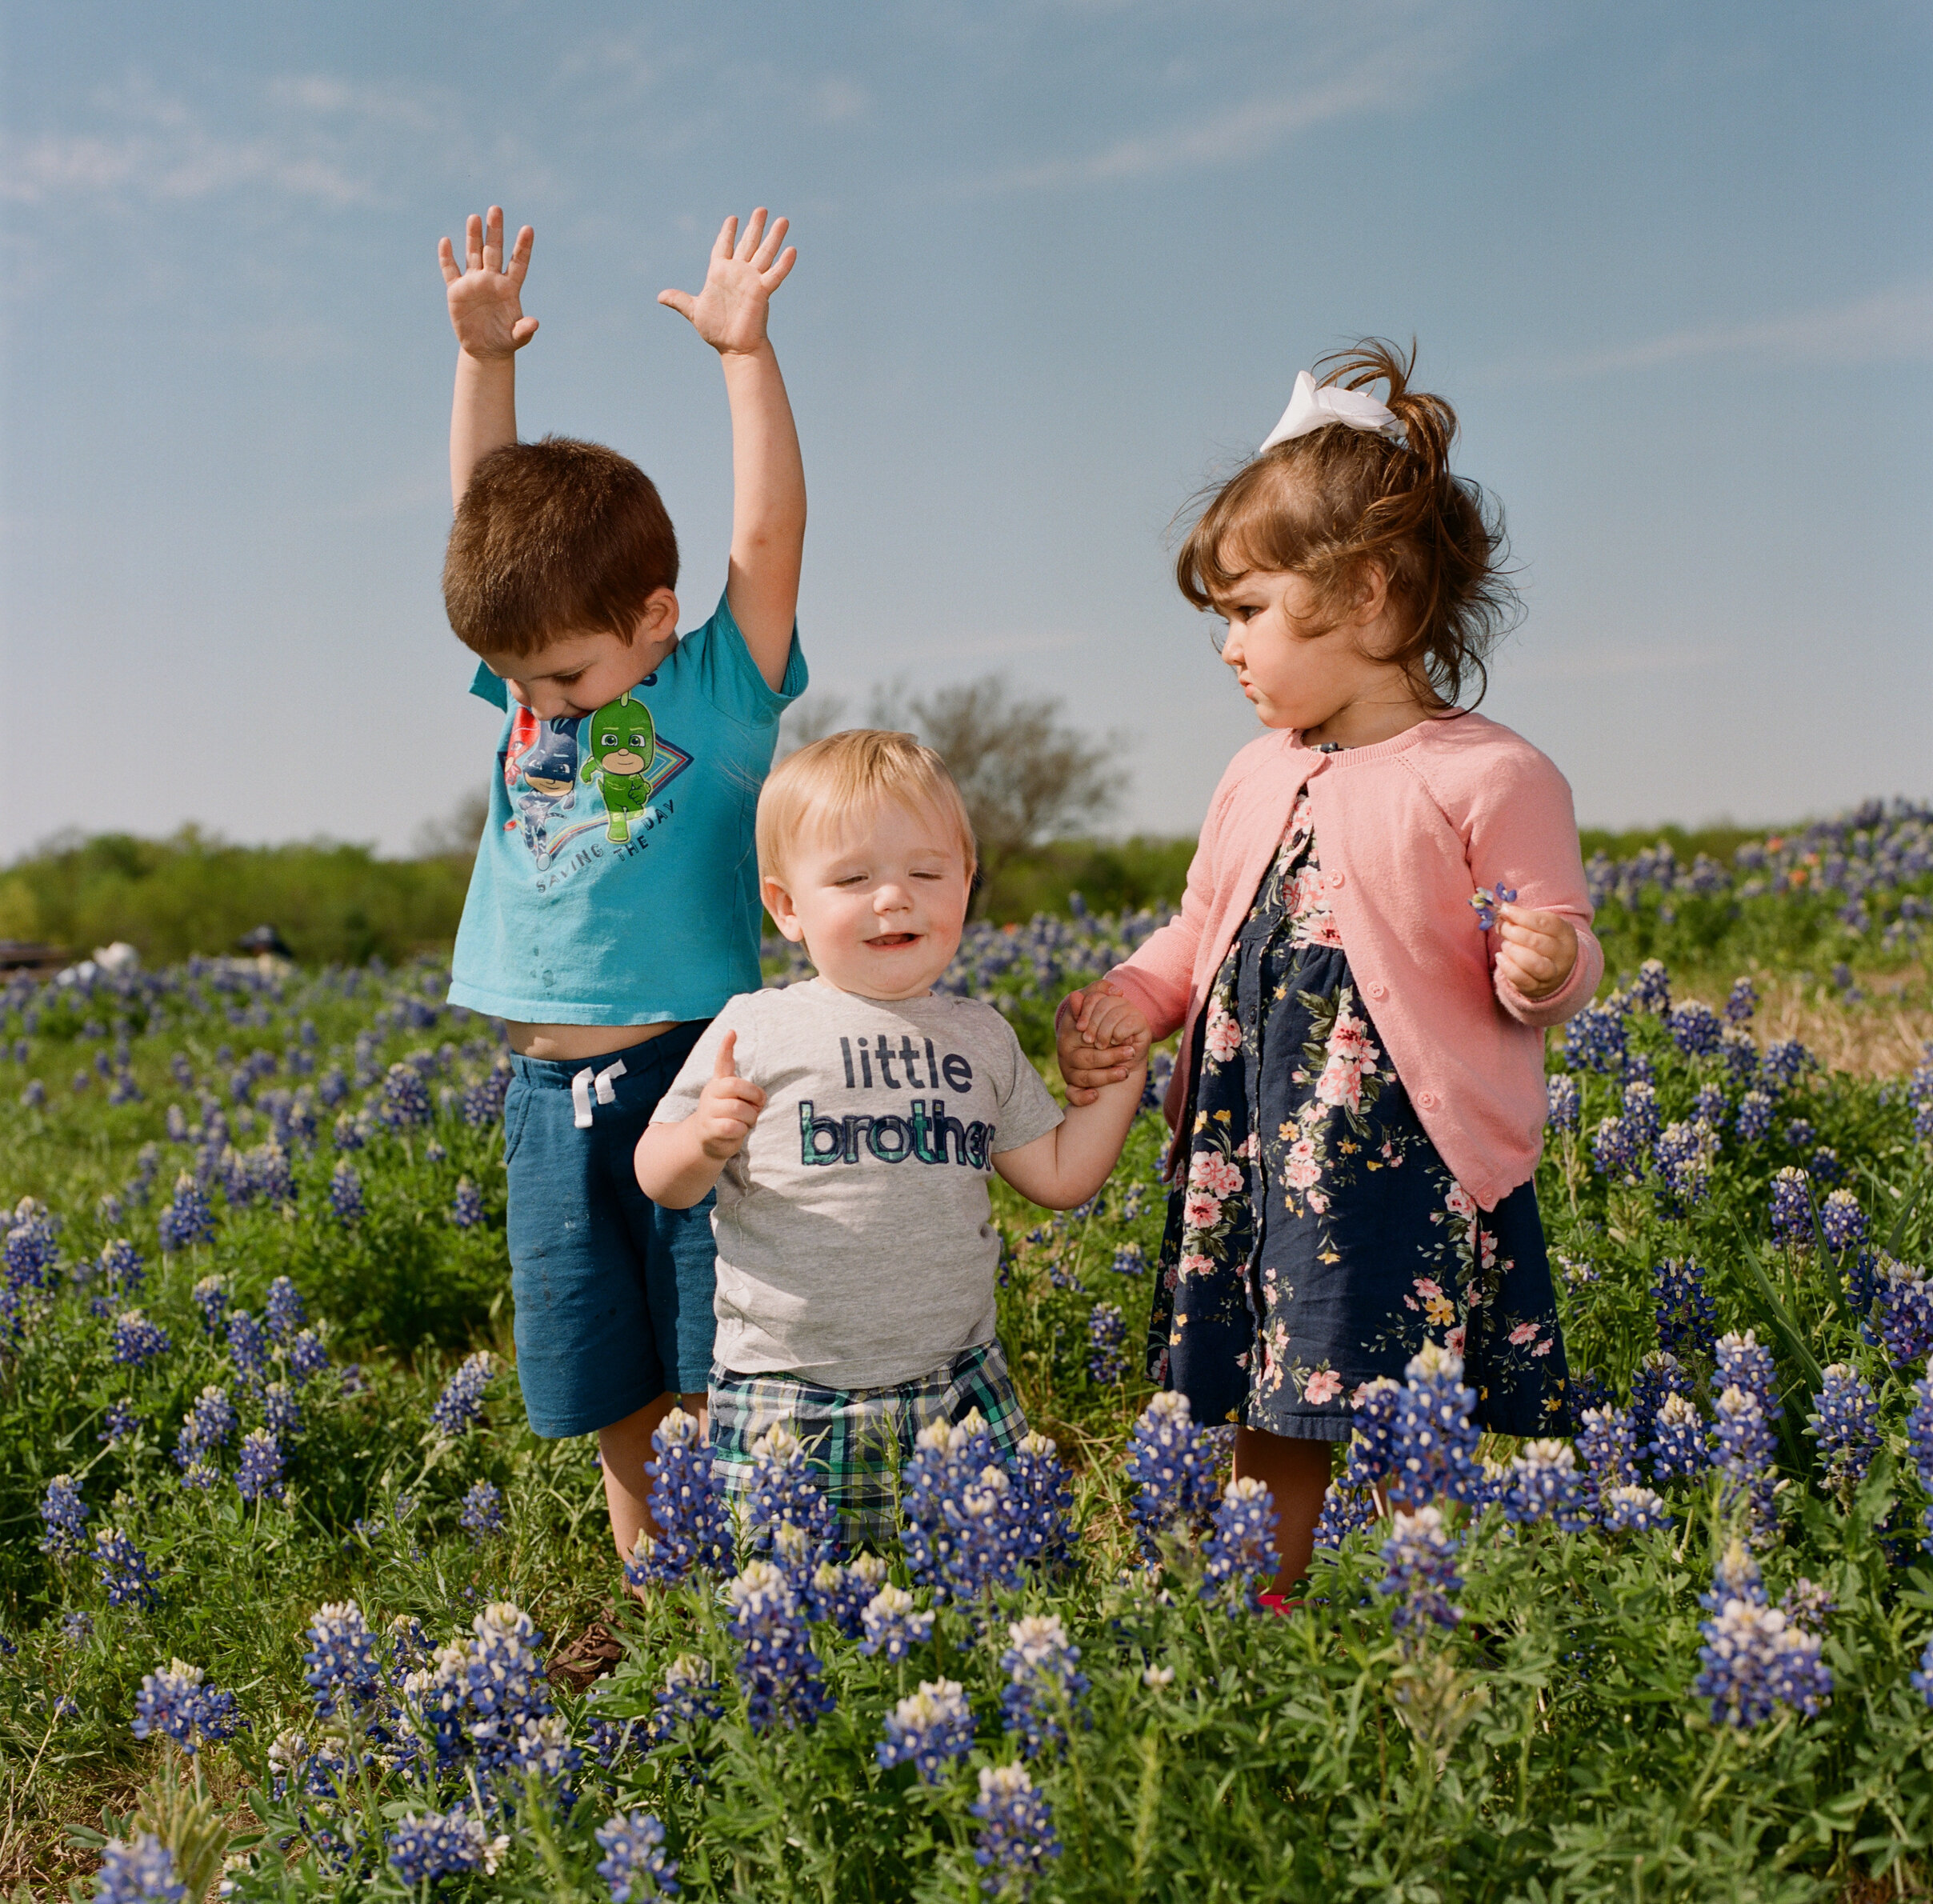
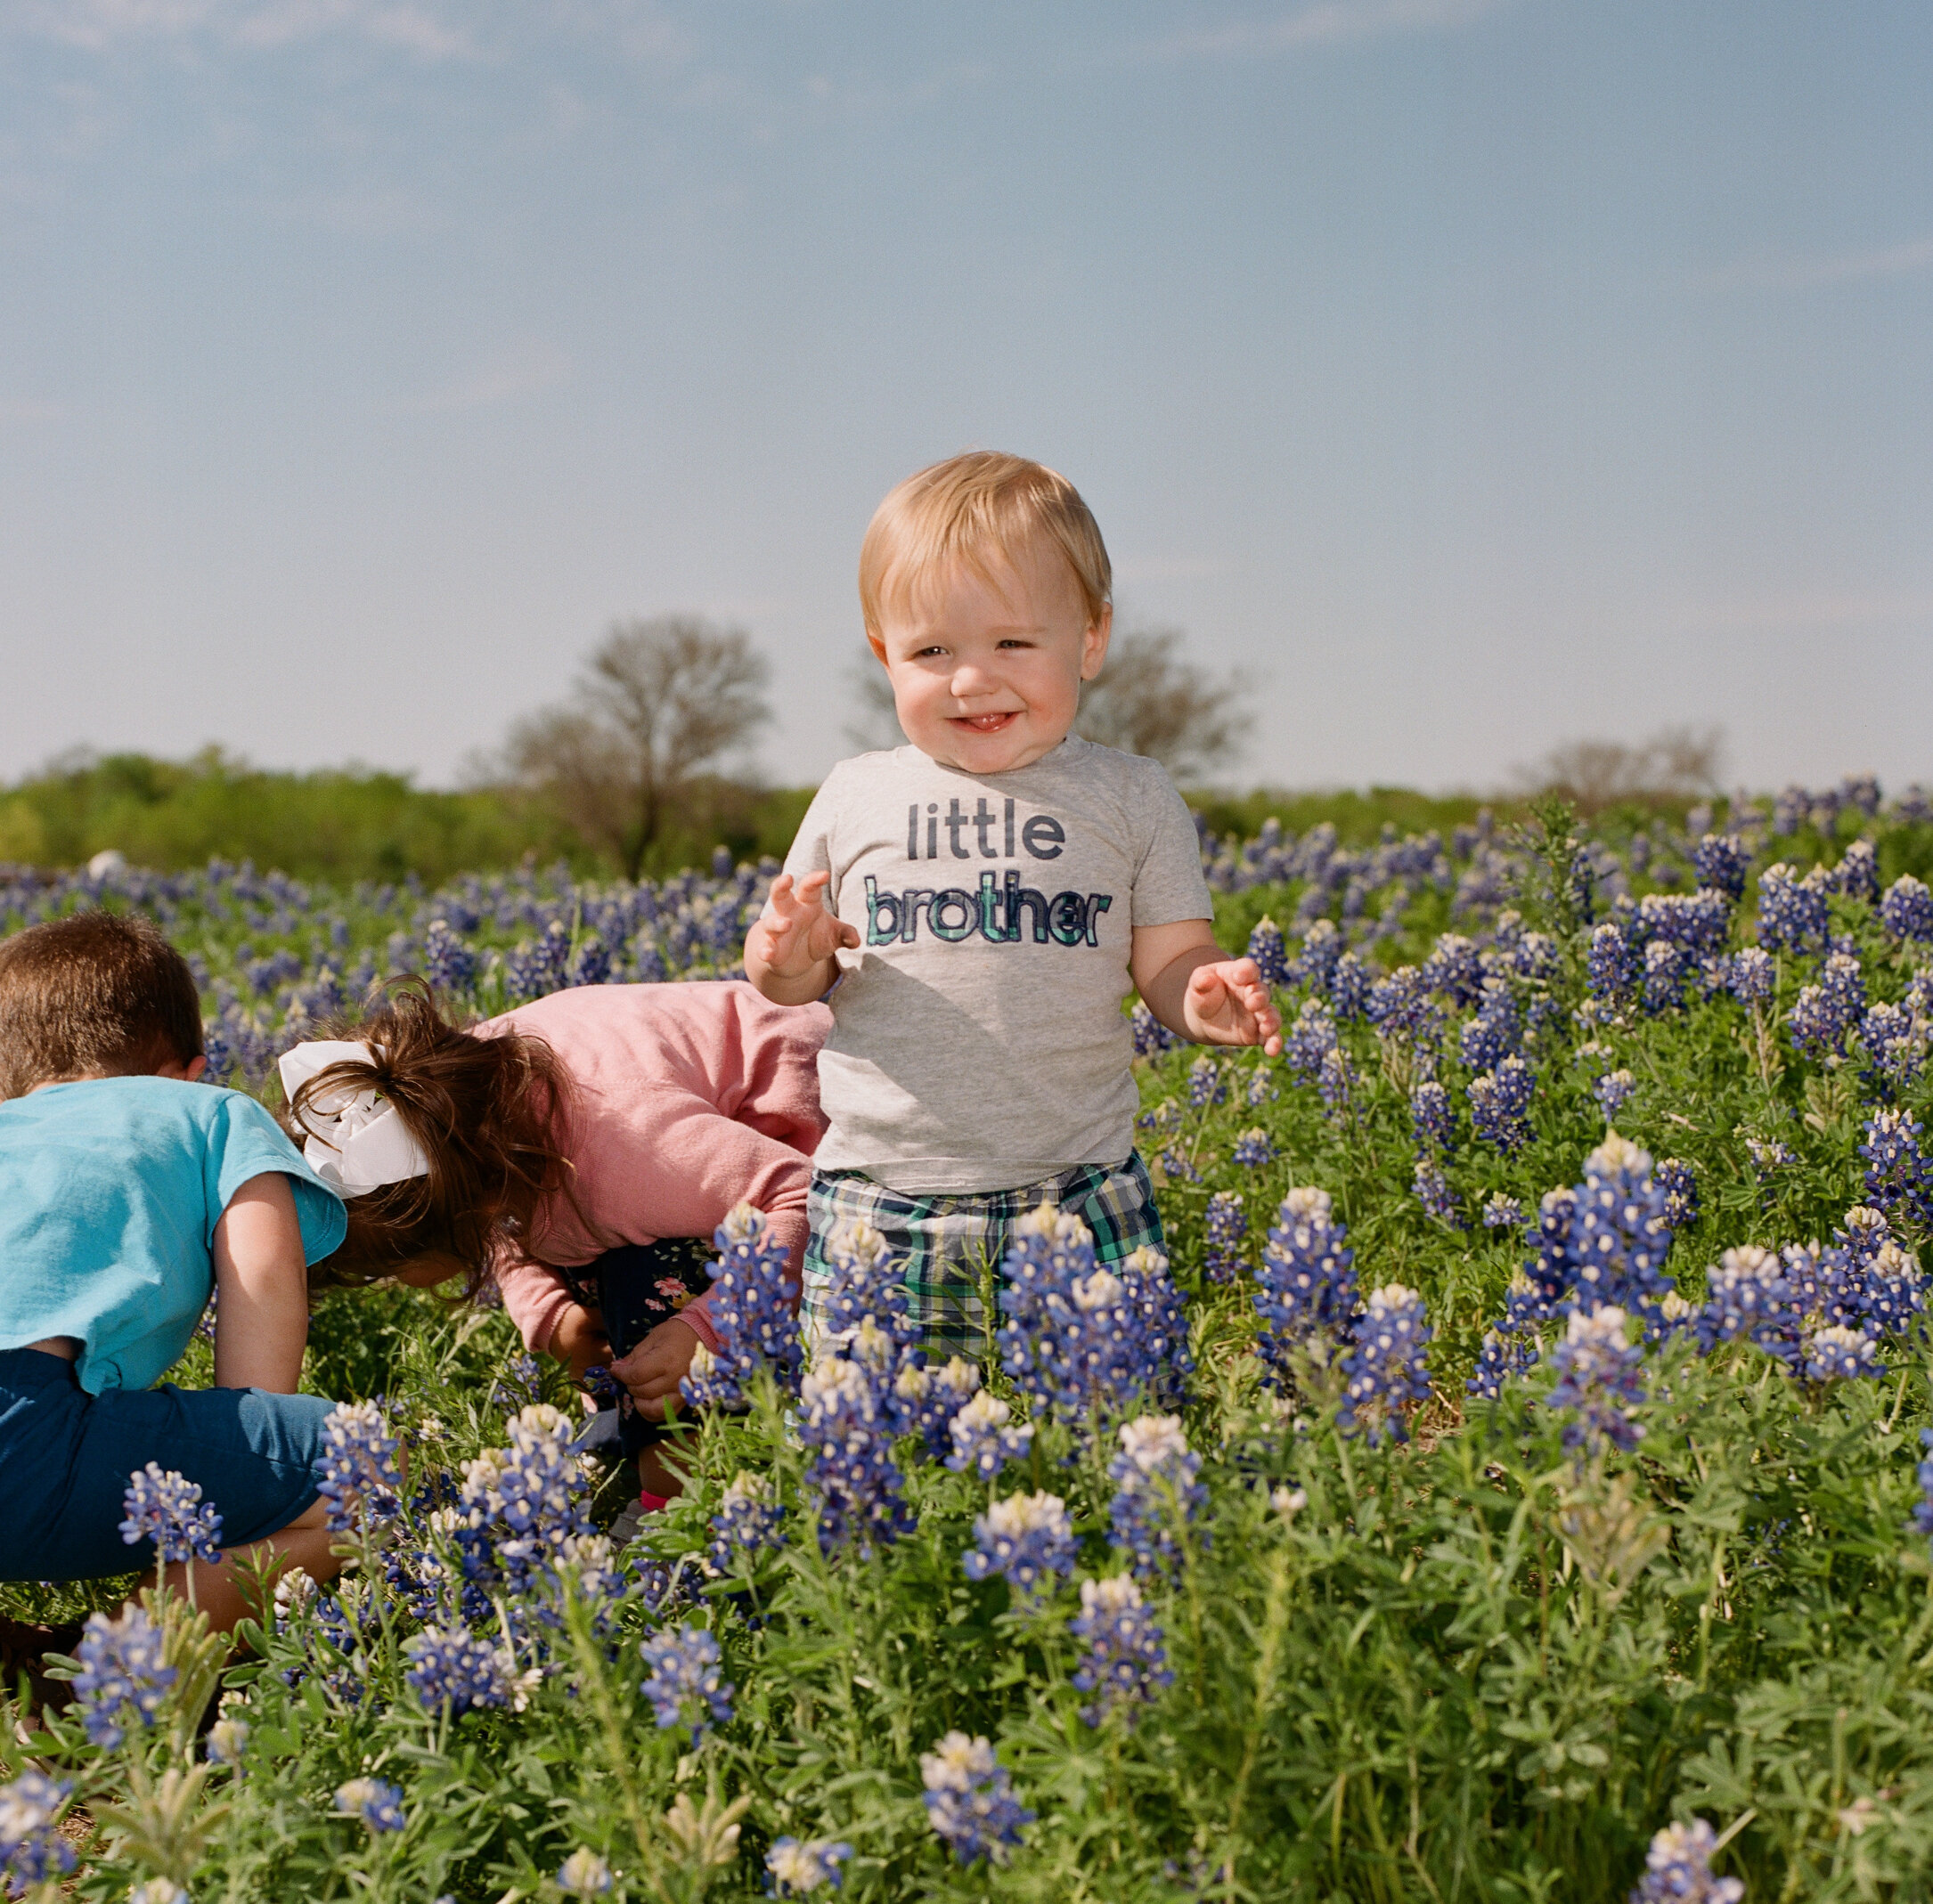
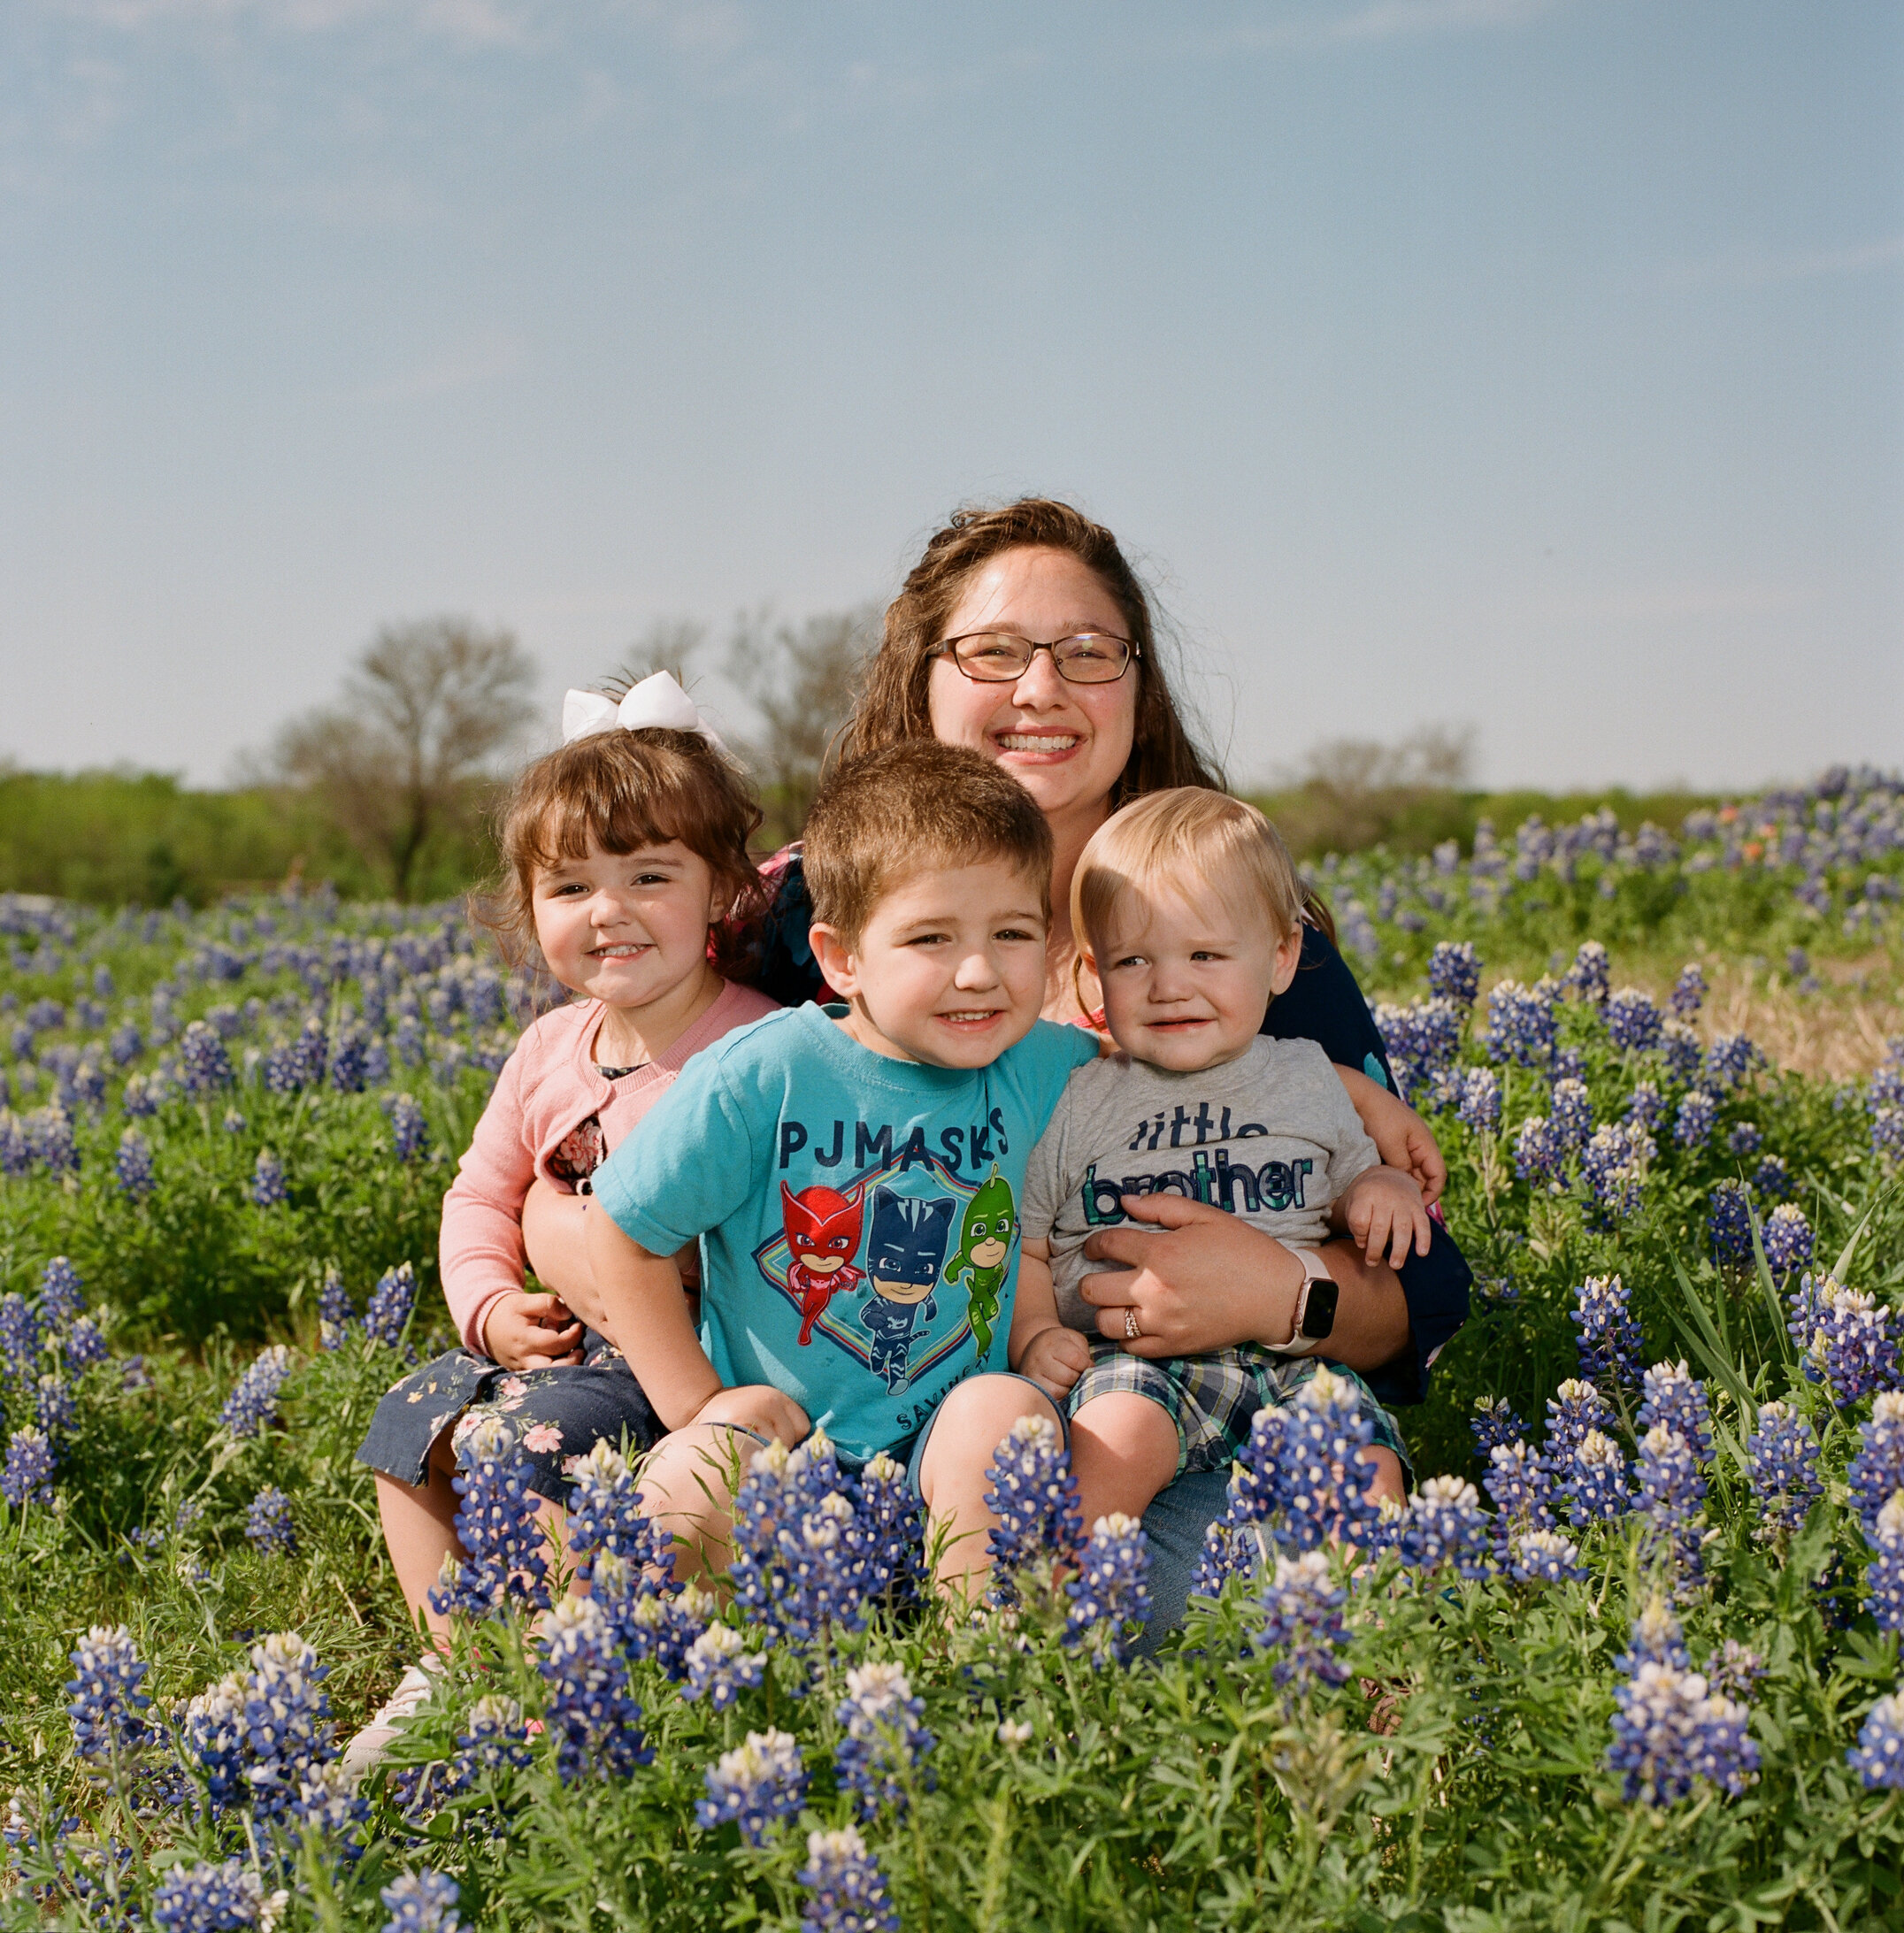
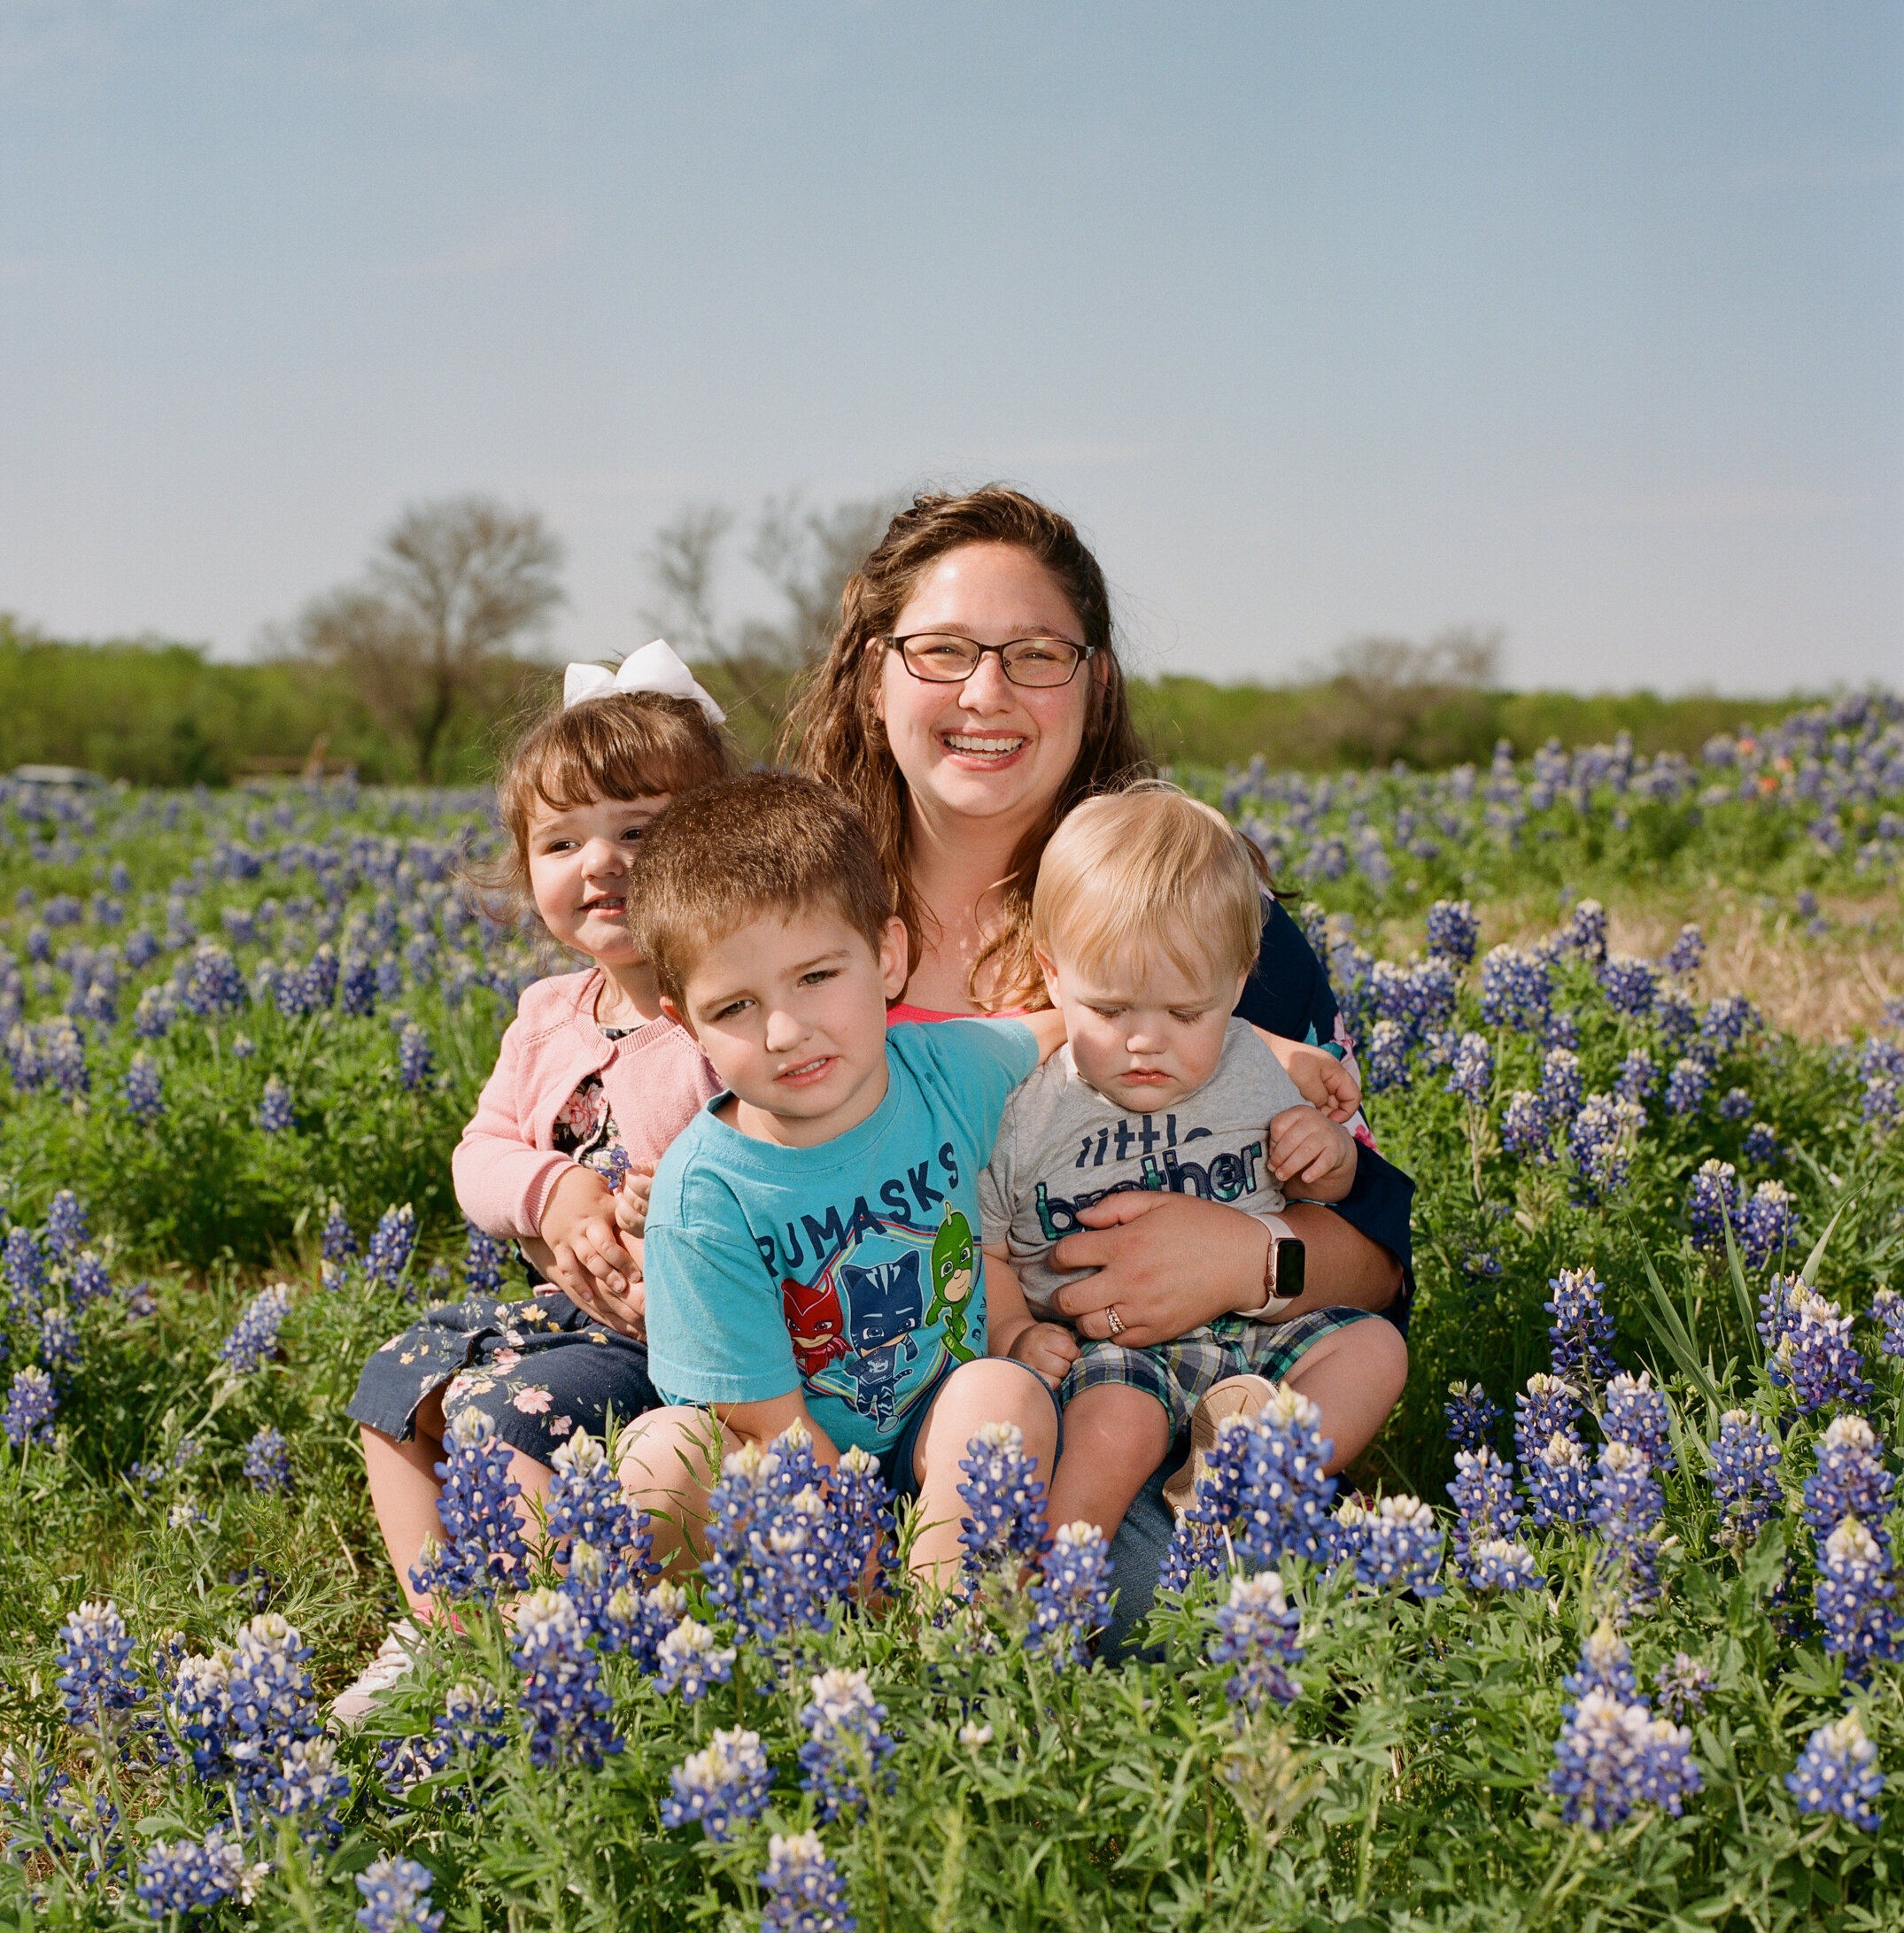
While I had several great picture poses in my head, we had to just go with whatever my kids would do that day. As you can see form the photos below, it was kinda a mess. Make sure you get low and get lots of bluebonnets in the shot and in the background. We were positioned on a hill so being lower also meant I could cut out all of the people that were on the other side of the hill taking photos also.
Processing the Film
While I normally process my own film, I’ve been swamped lately with weddings and events so I sent my photos off to done at Richard Photo Lab. These guys are absolutely amazing! Their prices are reasonable and their customer service and attention to detail is unmatched! I went ahead an ordered prints as well and have been so very pleased with the results!
The hard part about film, especially when you send it off is waiting. Richard Photo Lab is very prompt and it doesn’t take very long to get your images back, but when you’re really excited to see if they turned out, it might was well take forever lol.
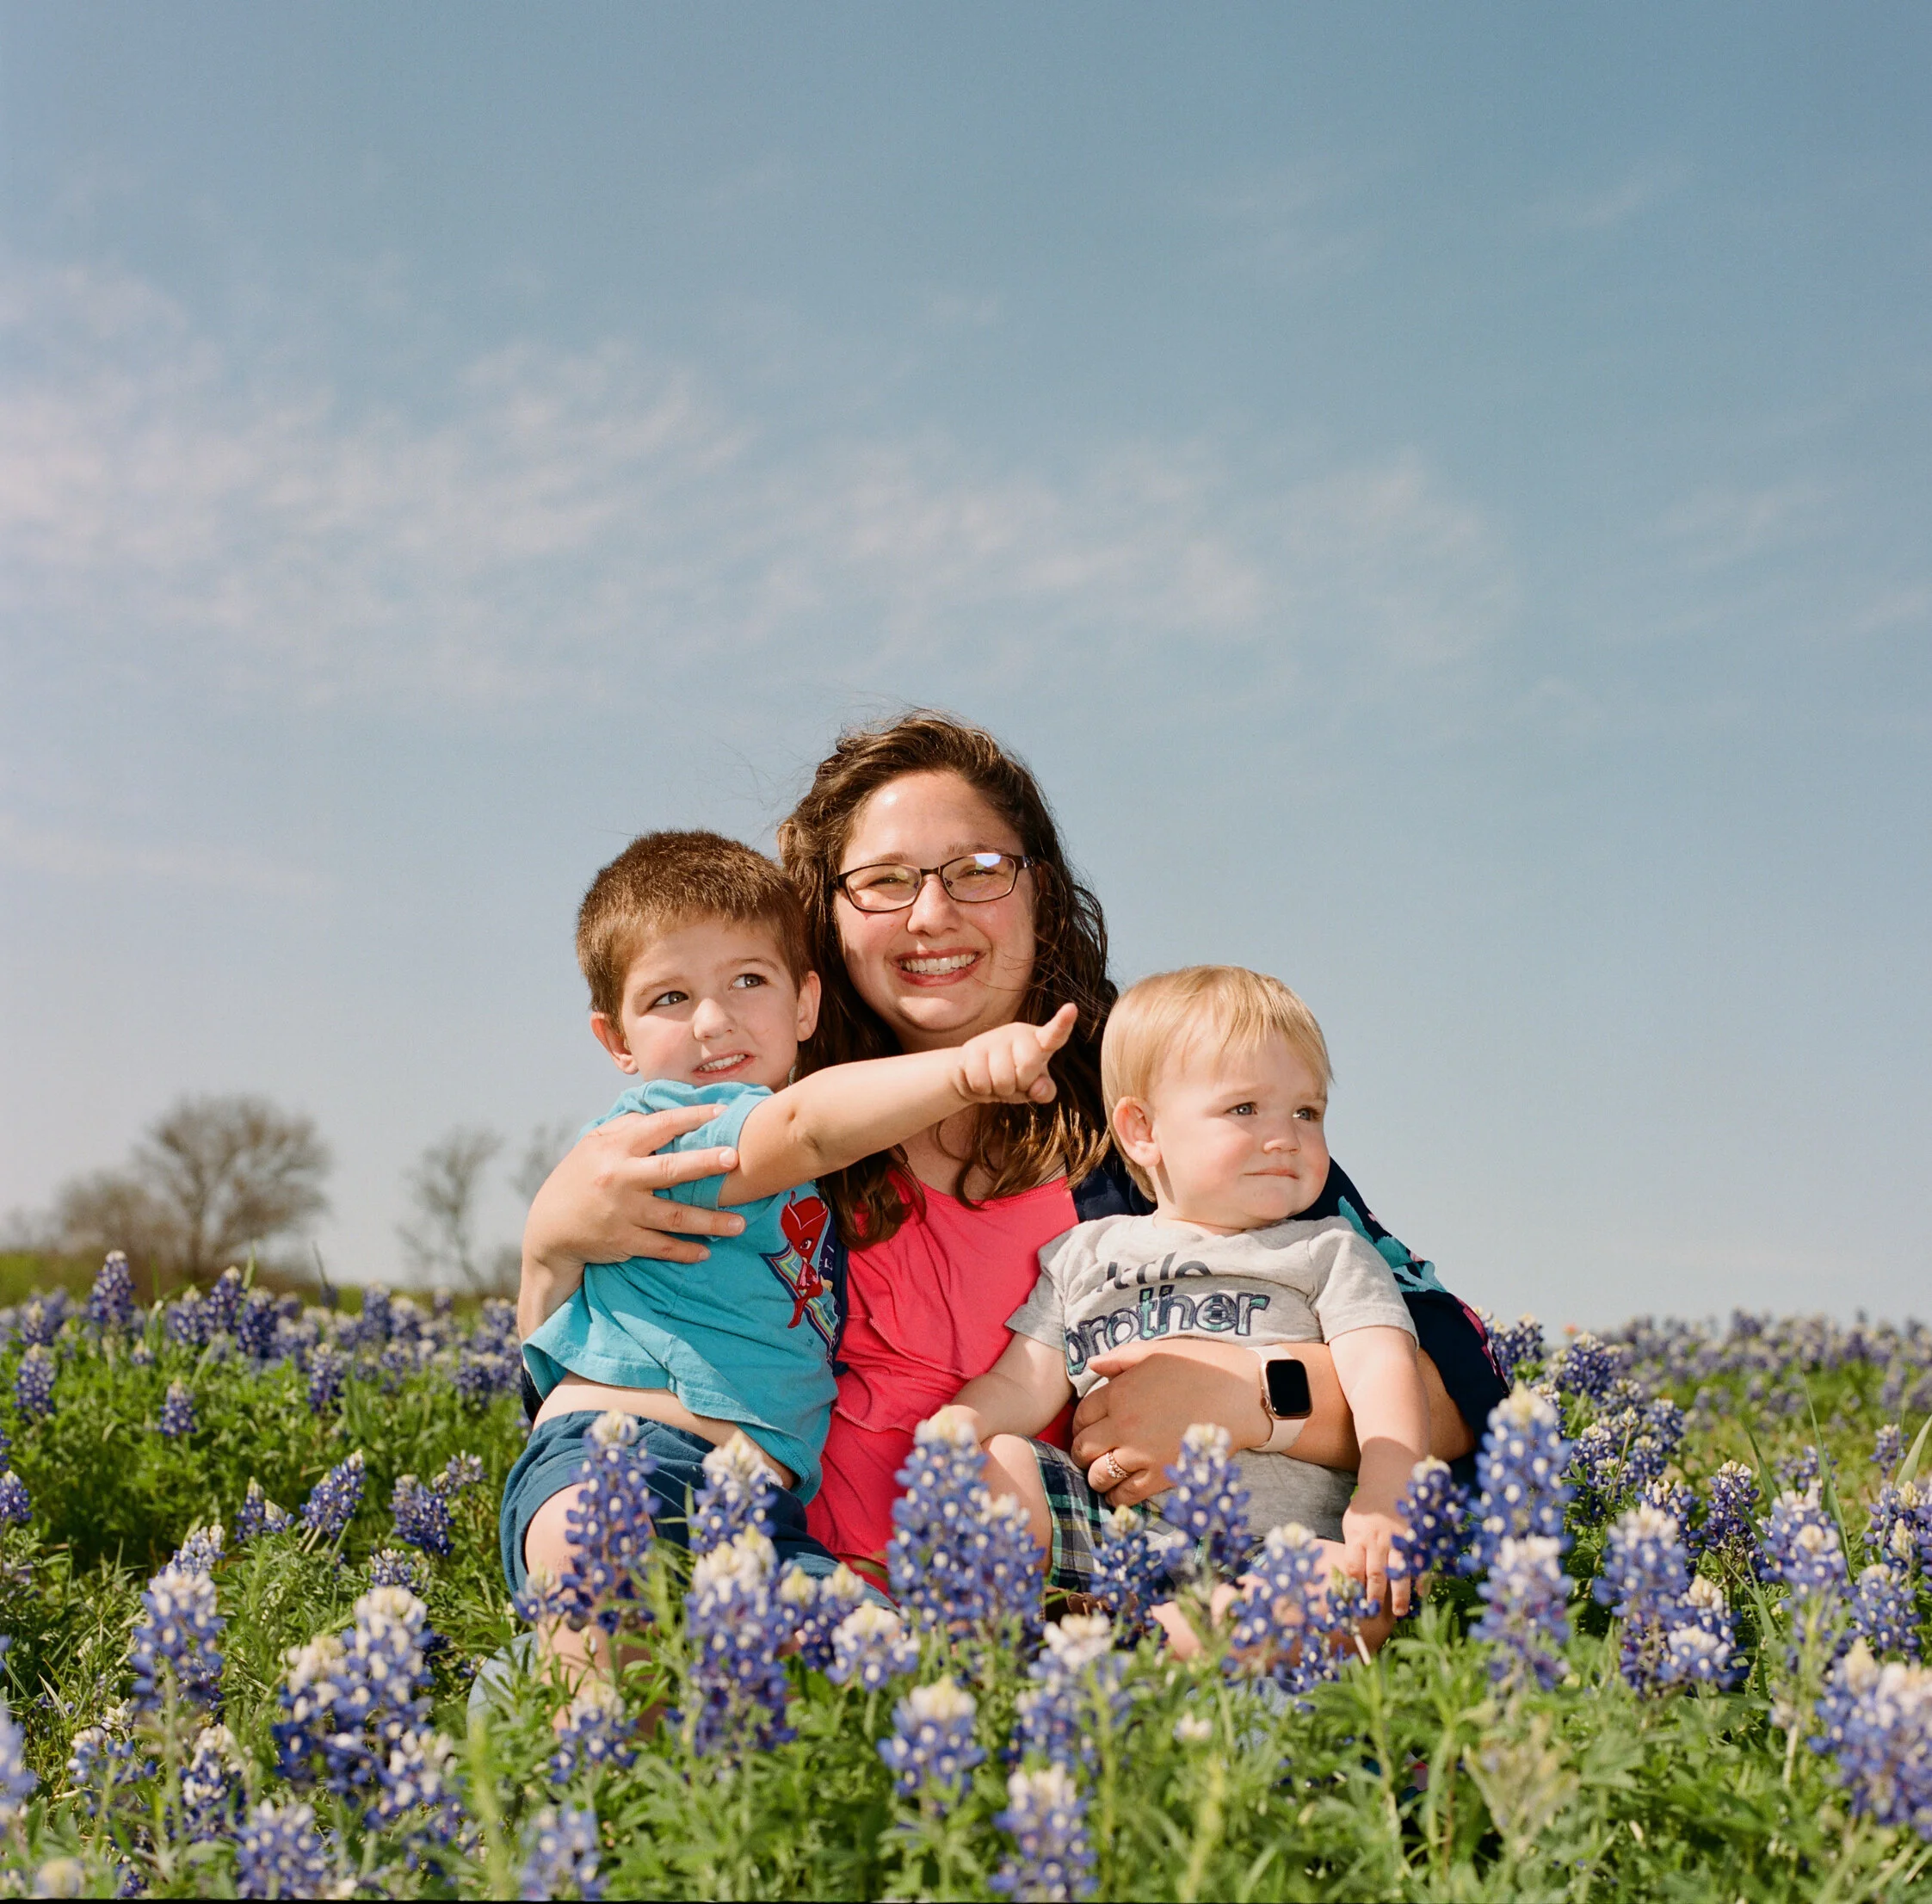
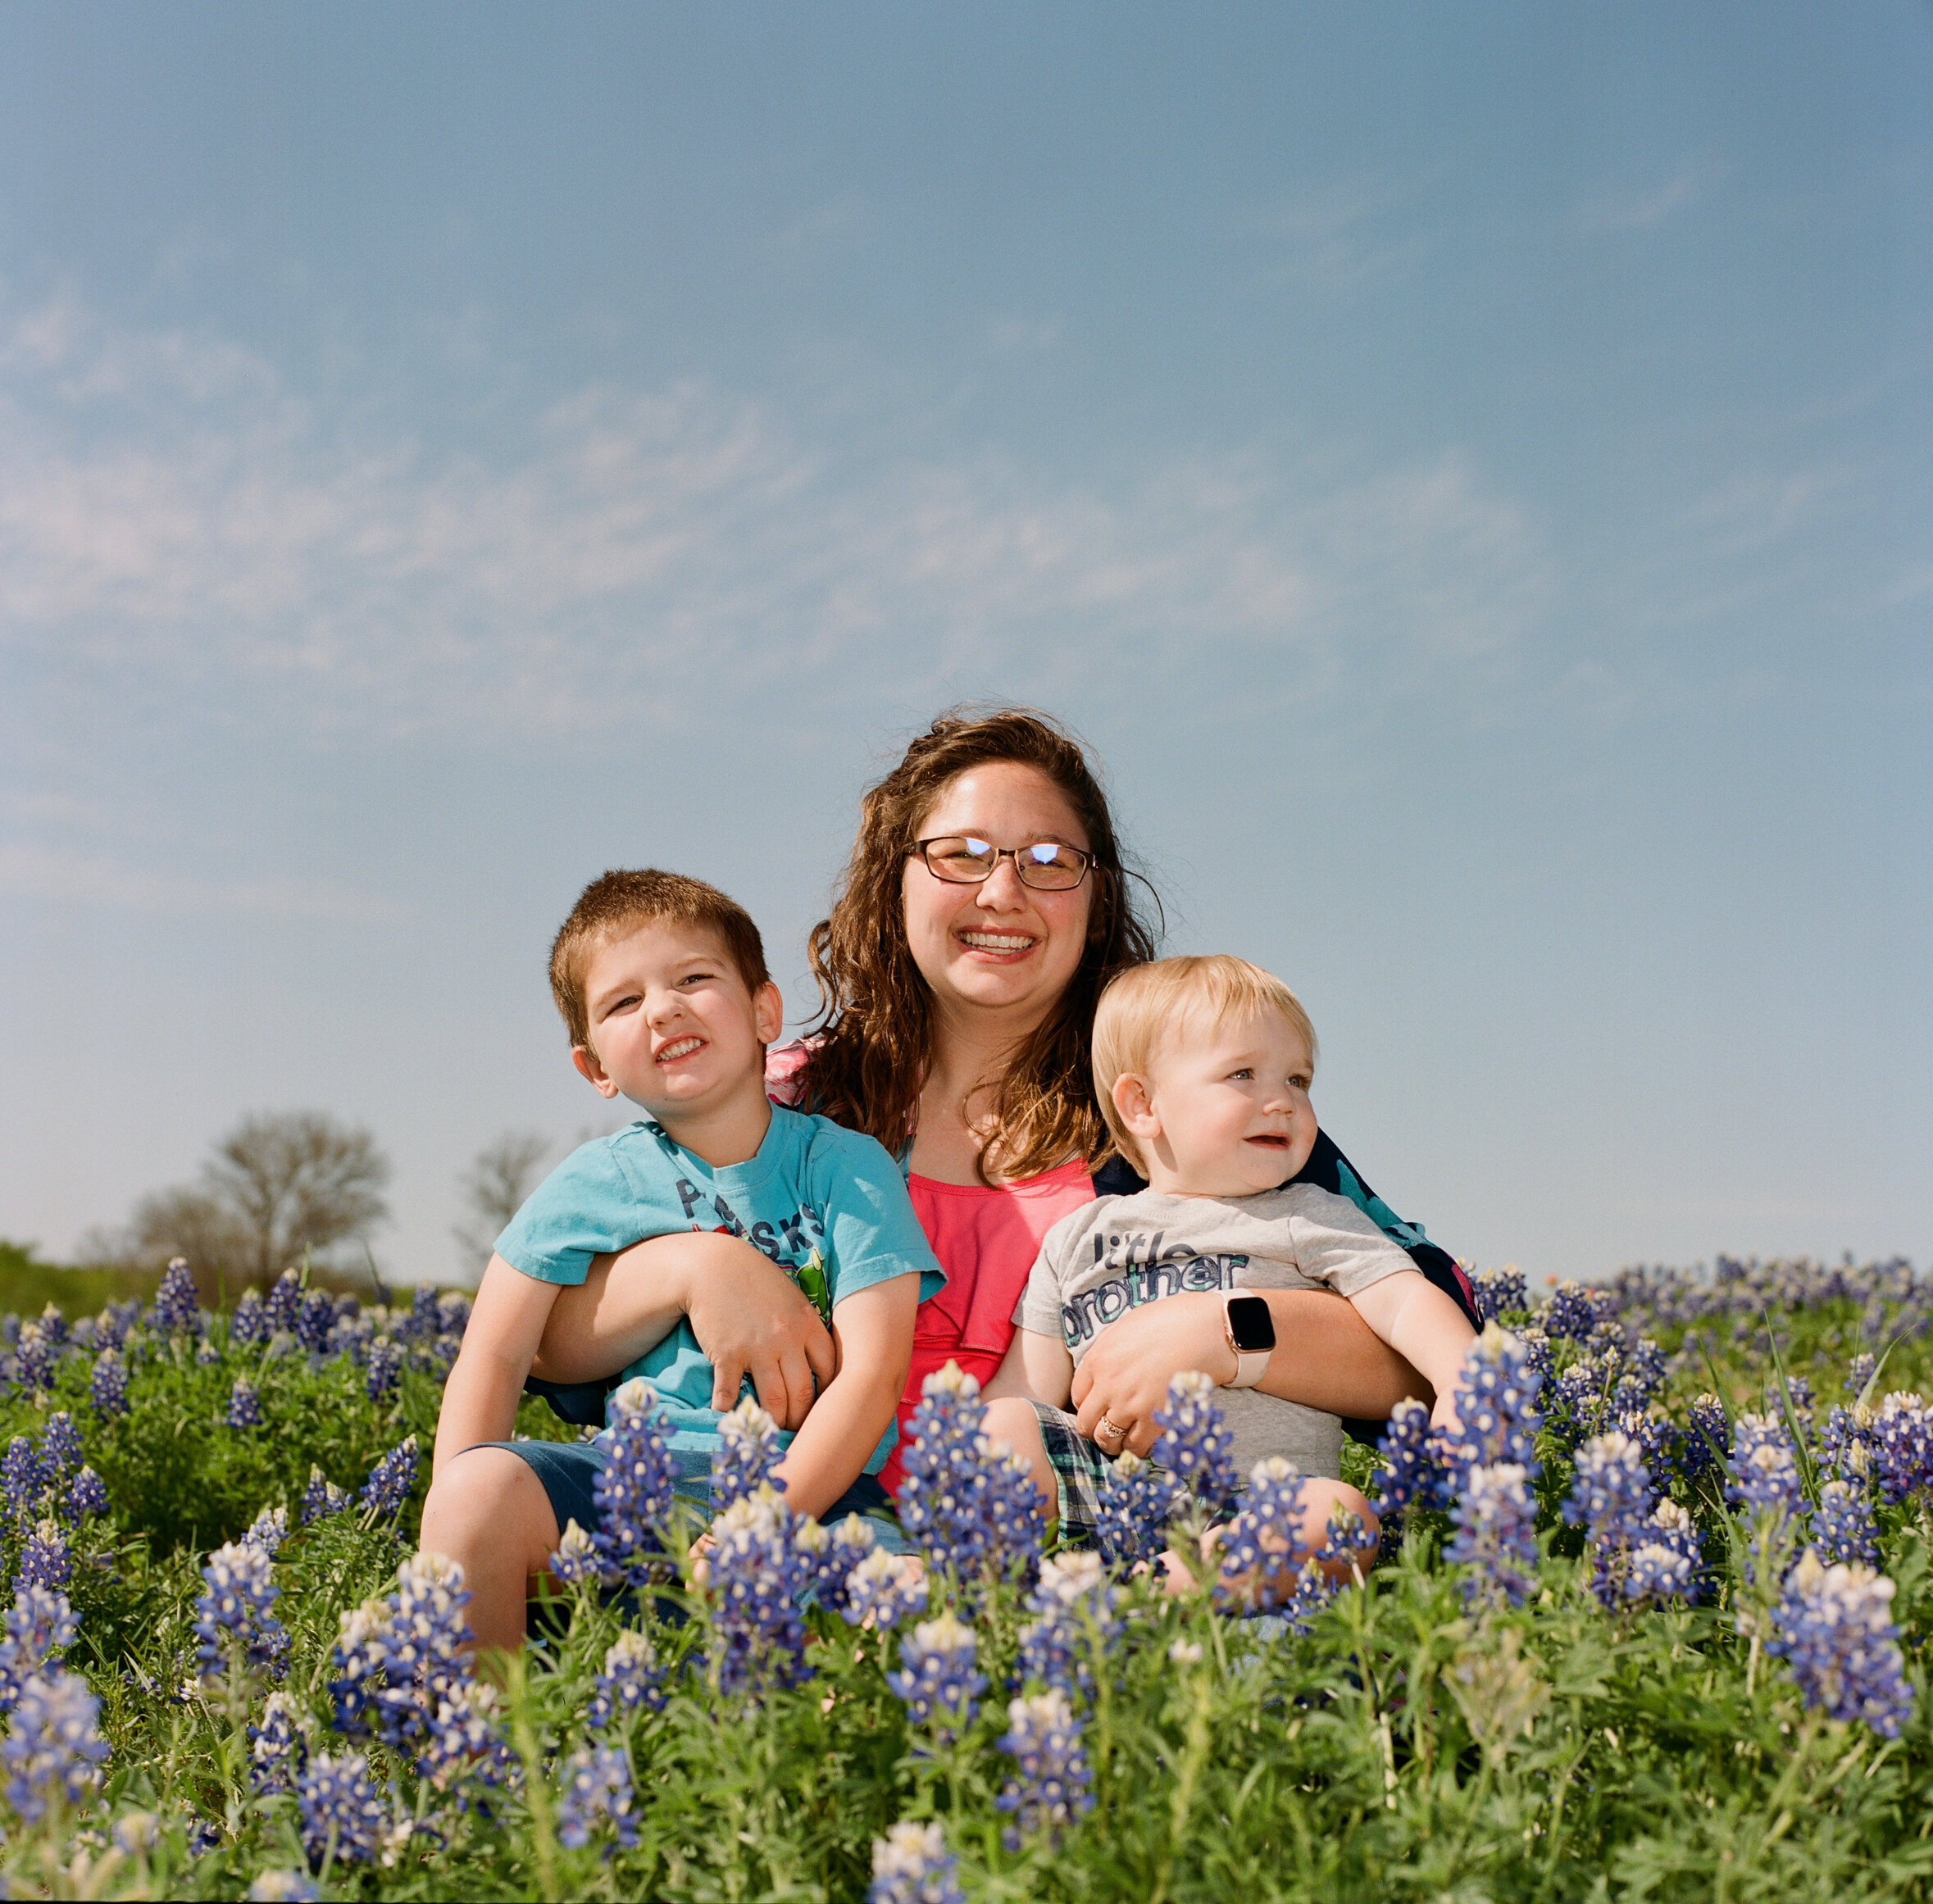
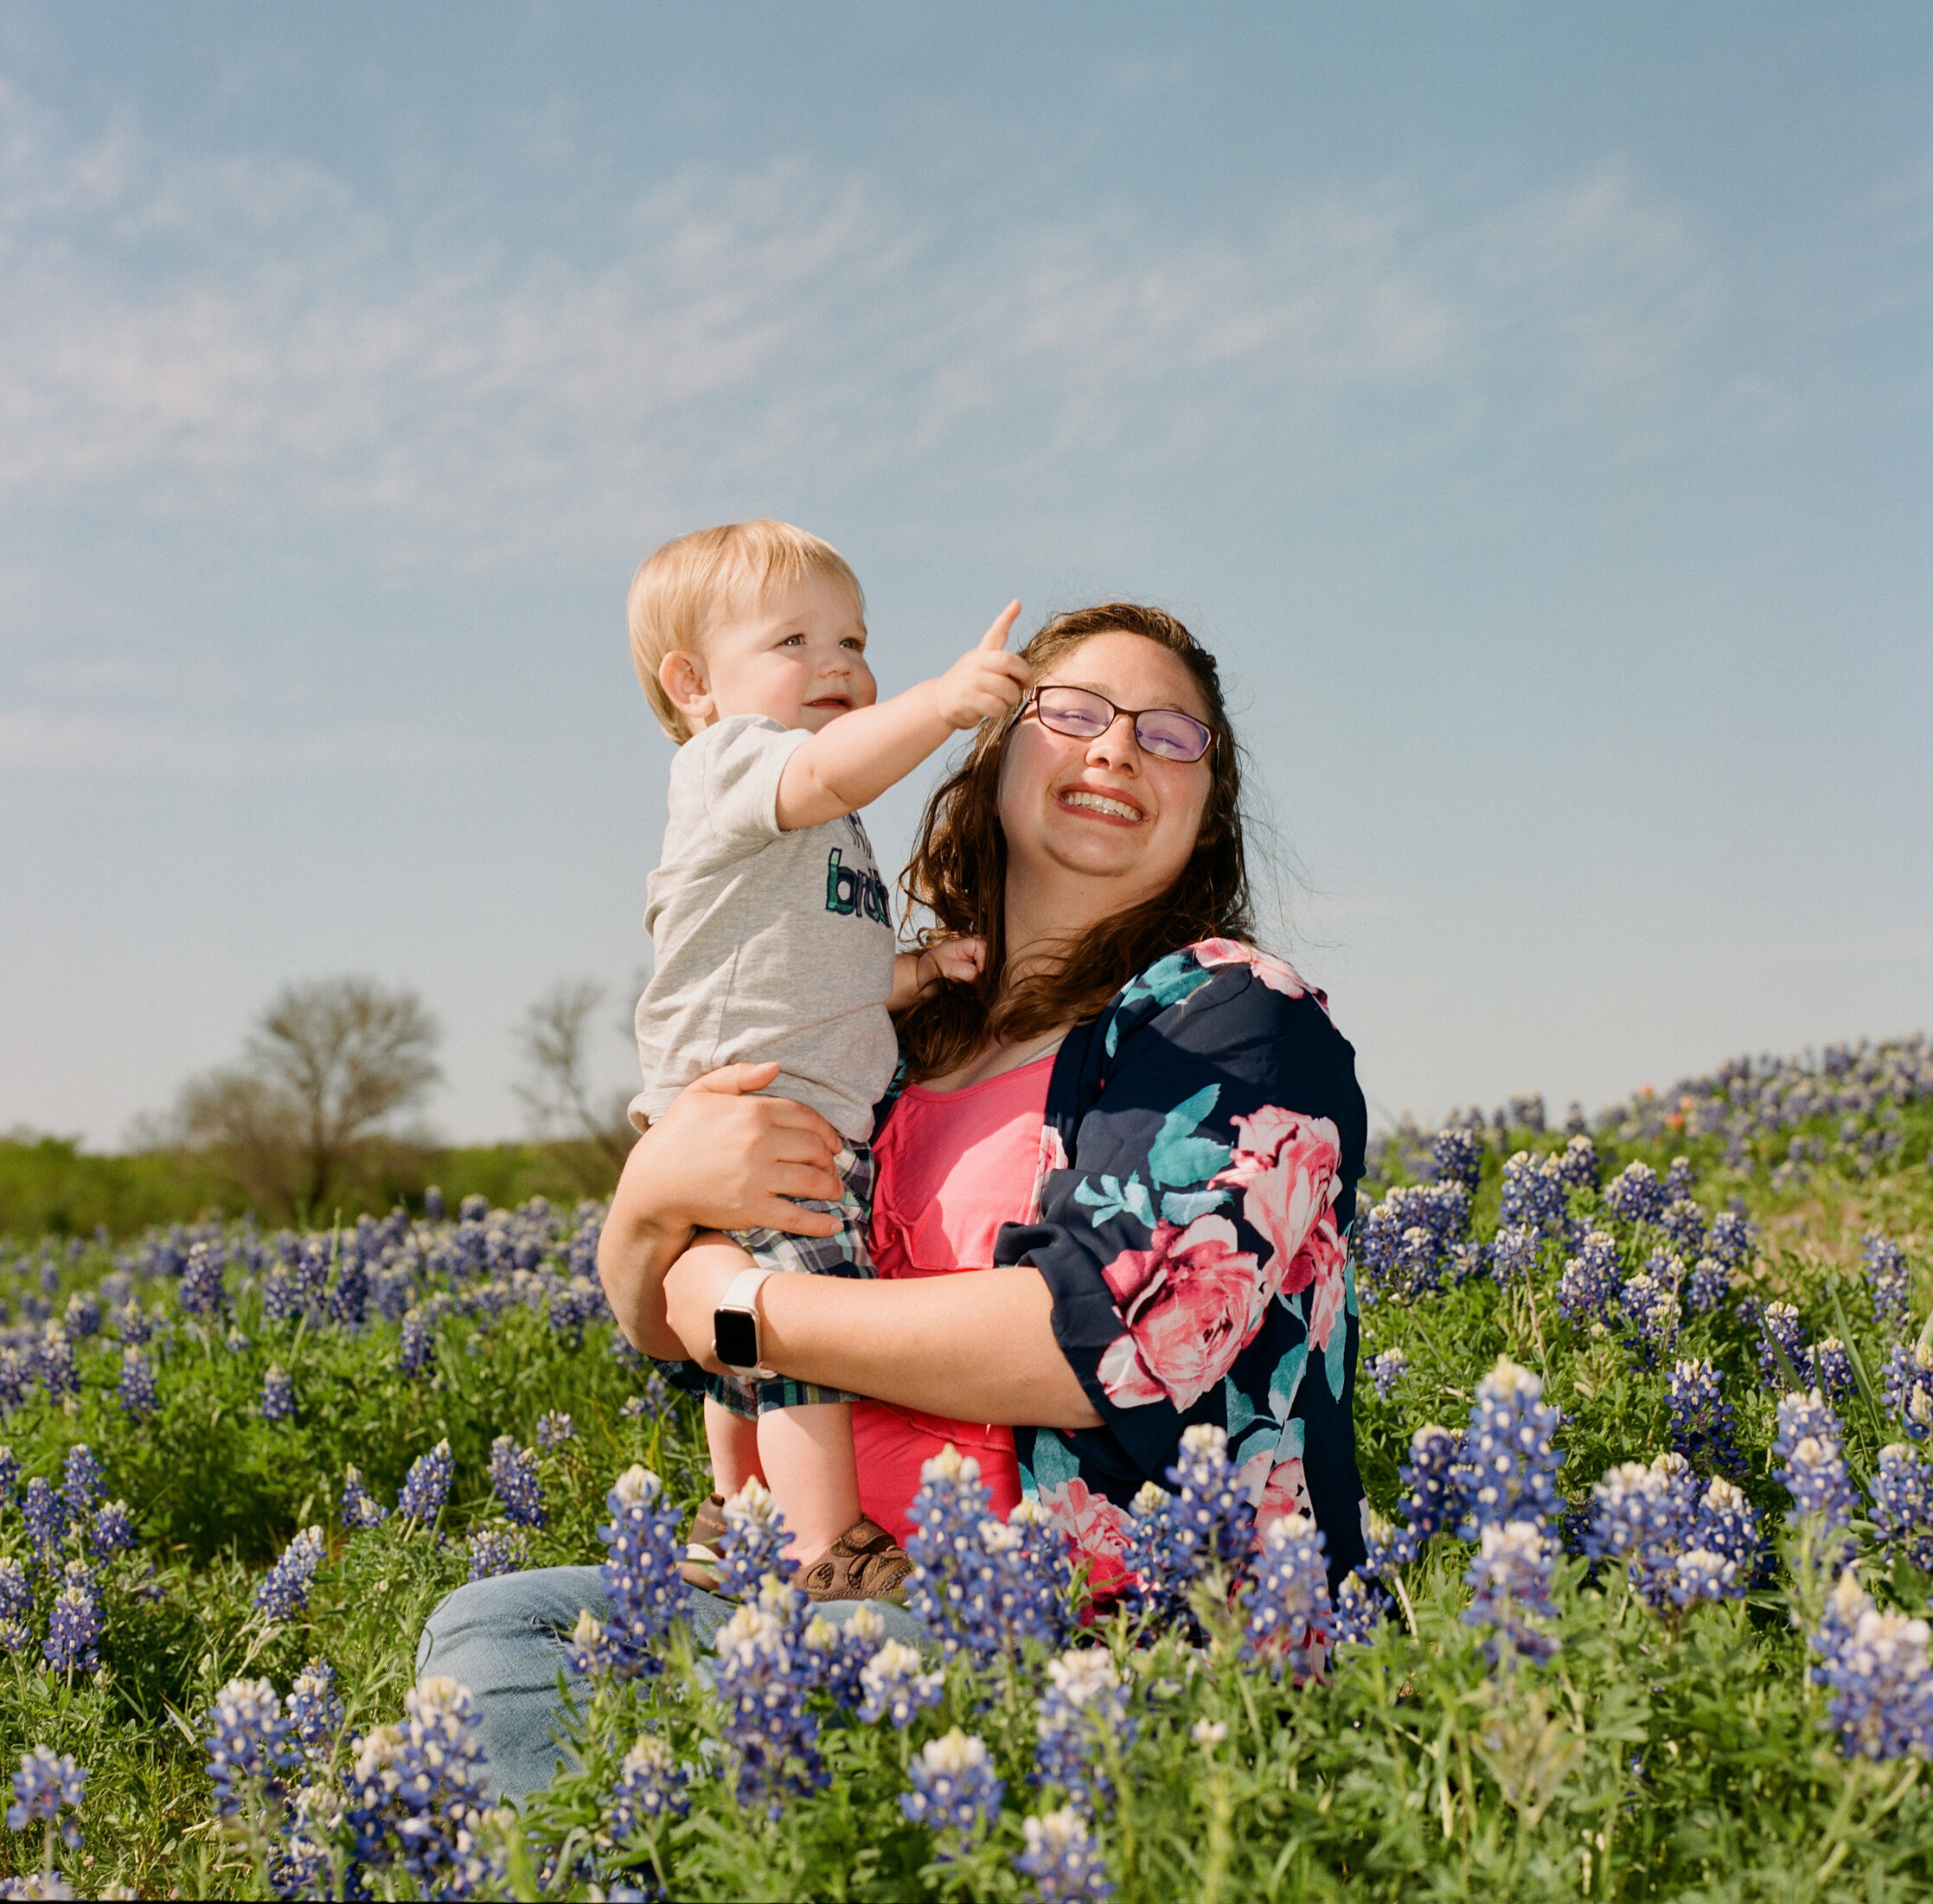
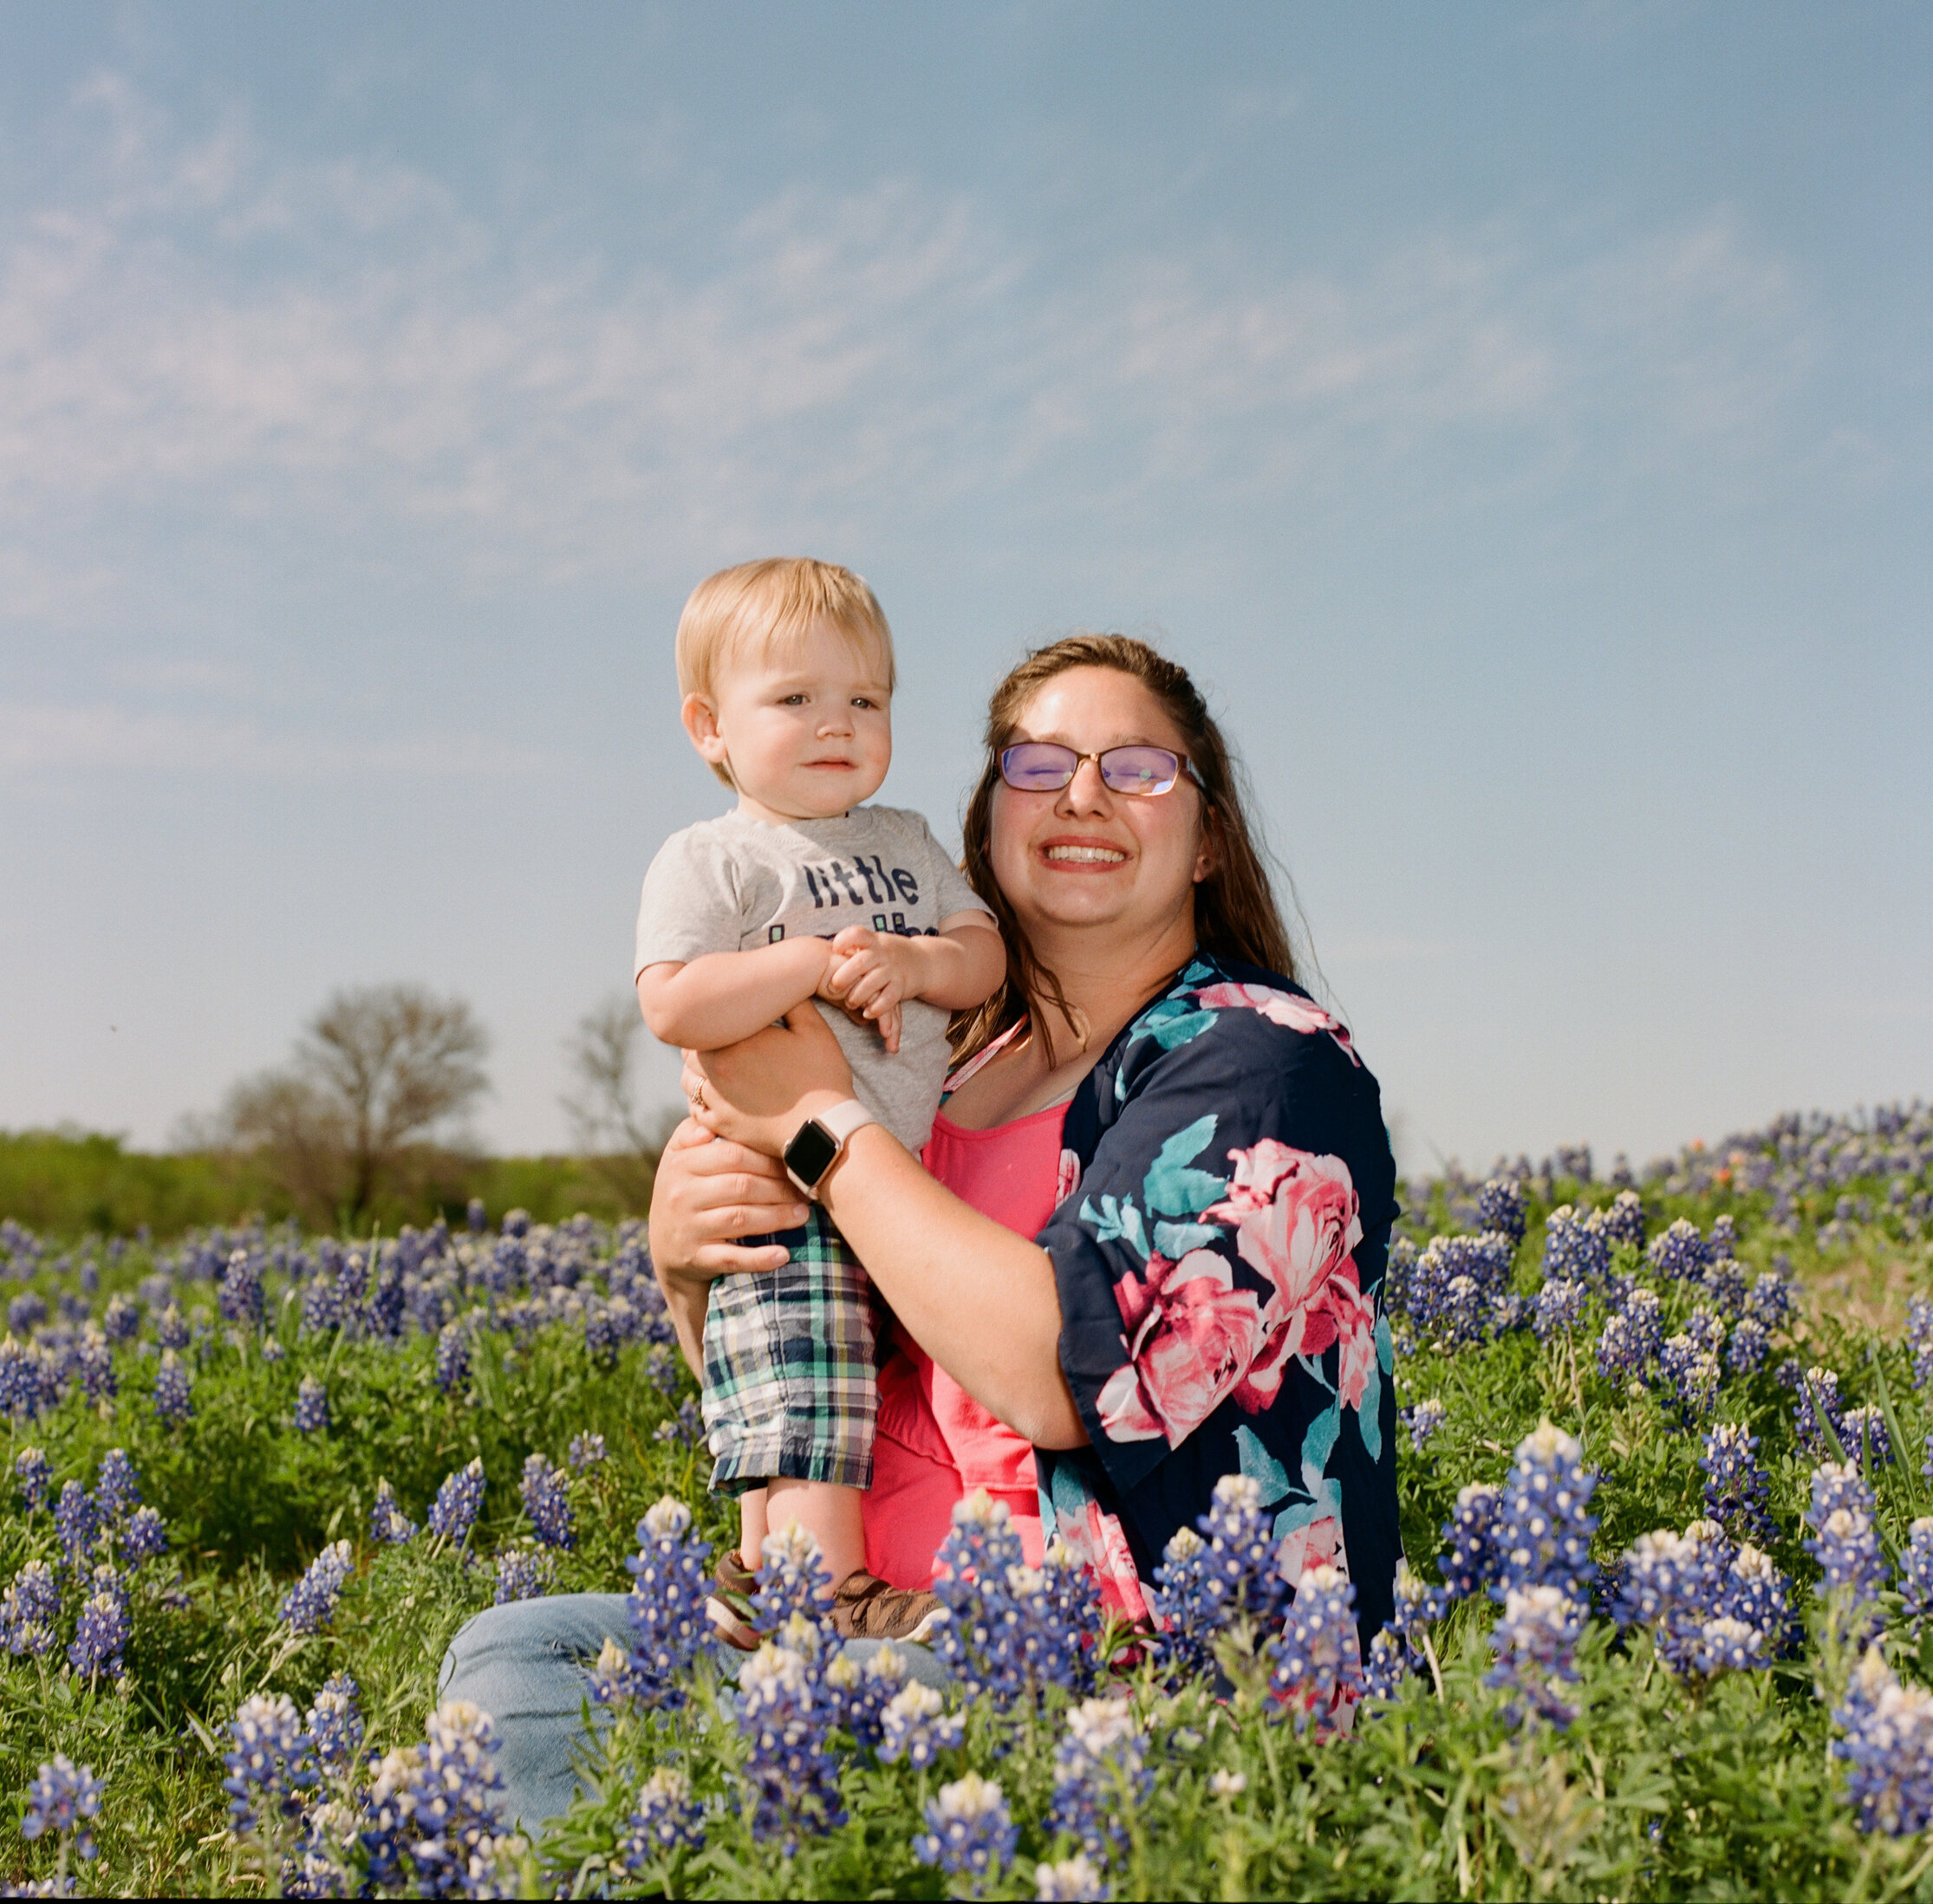
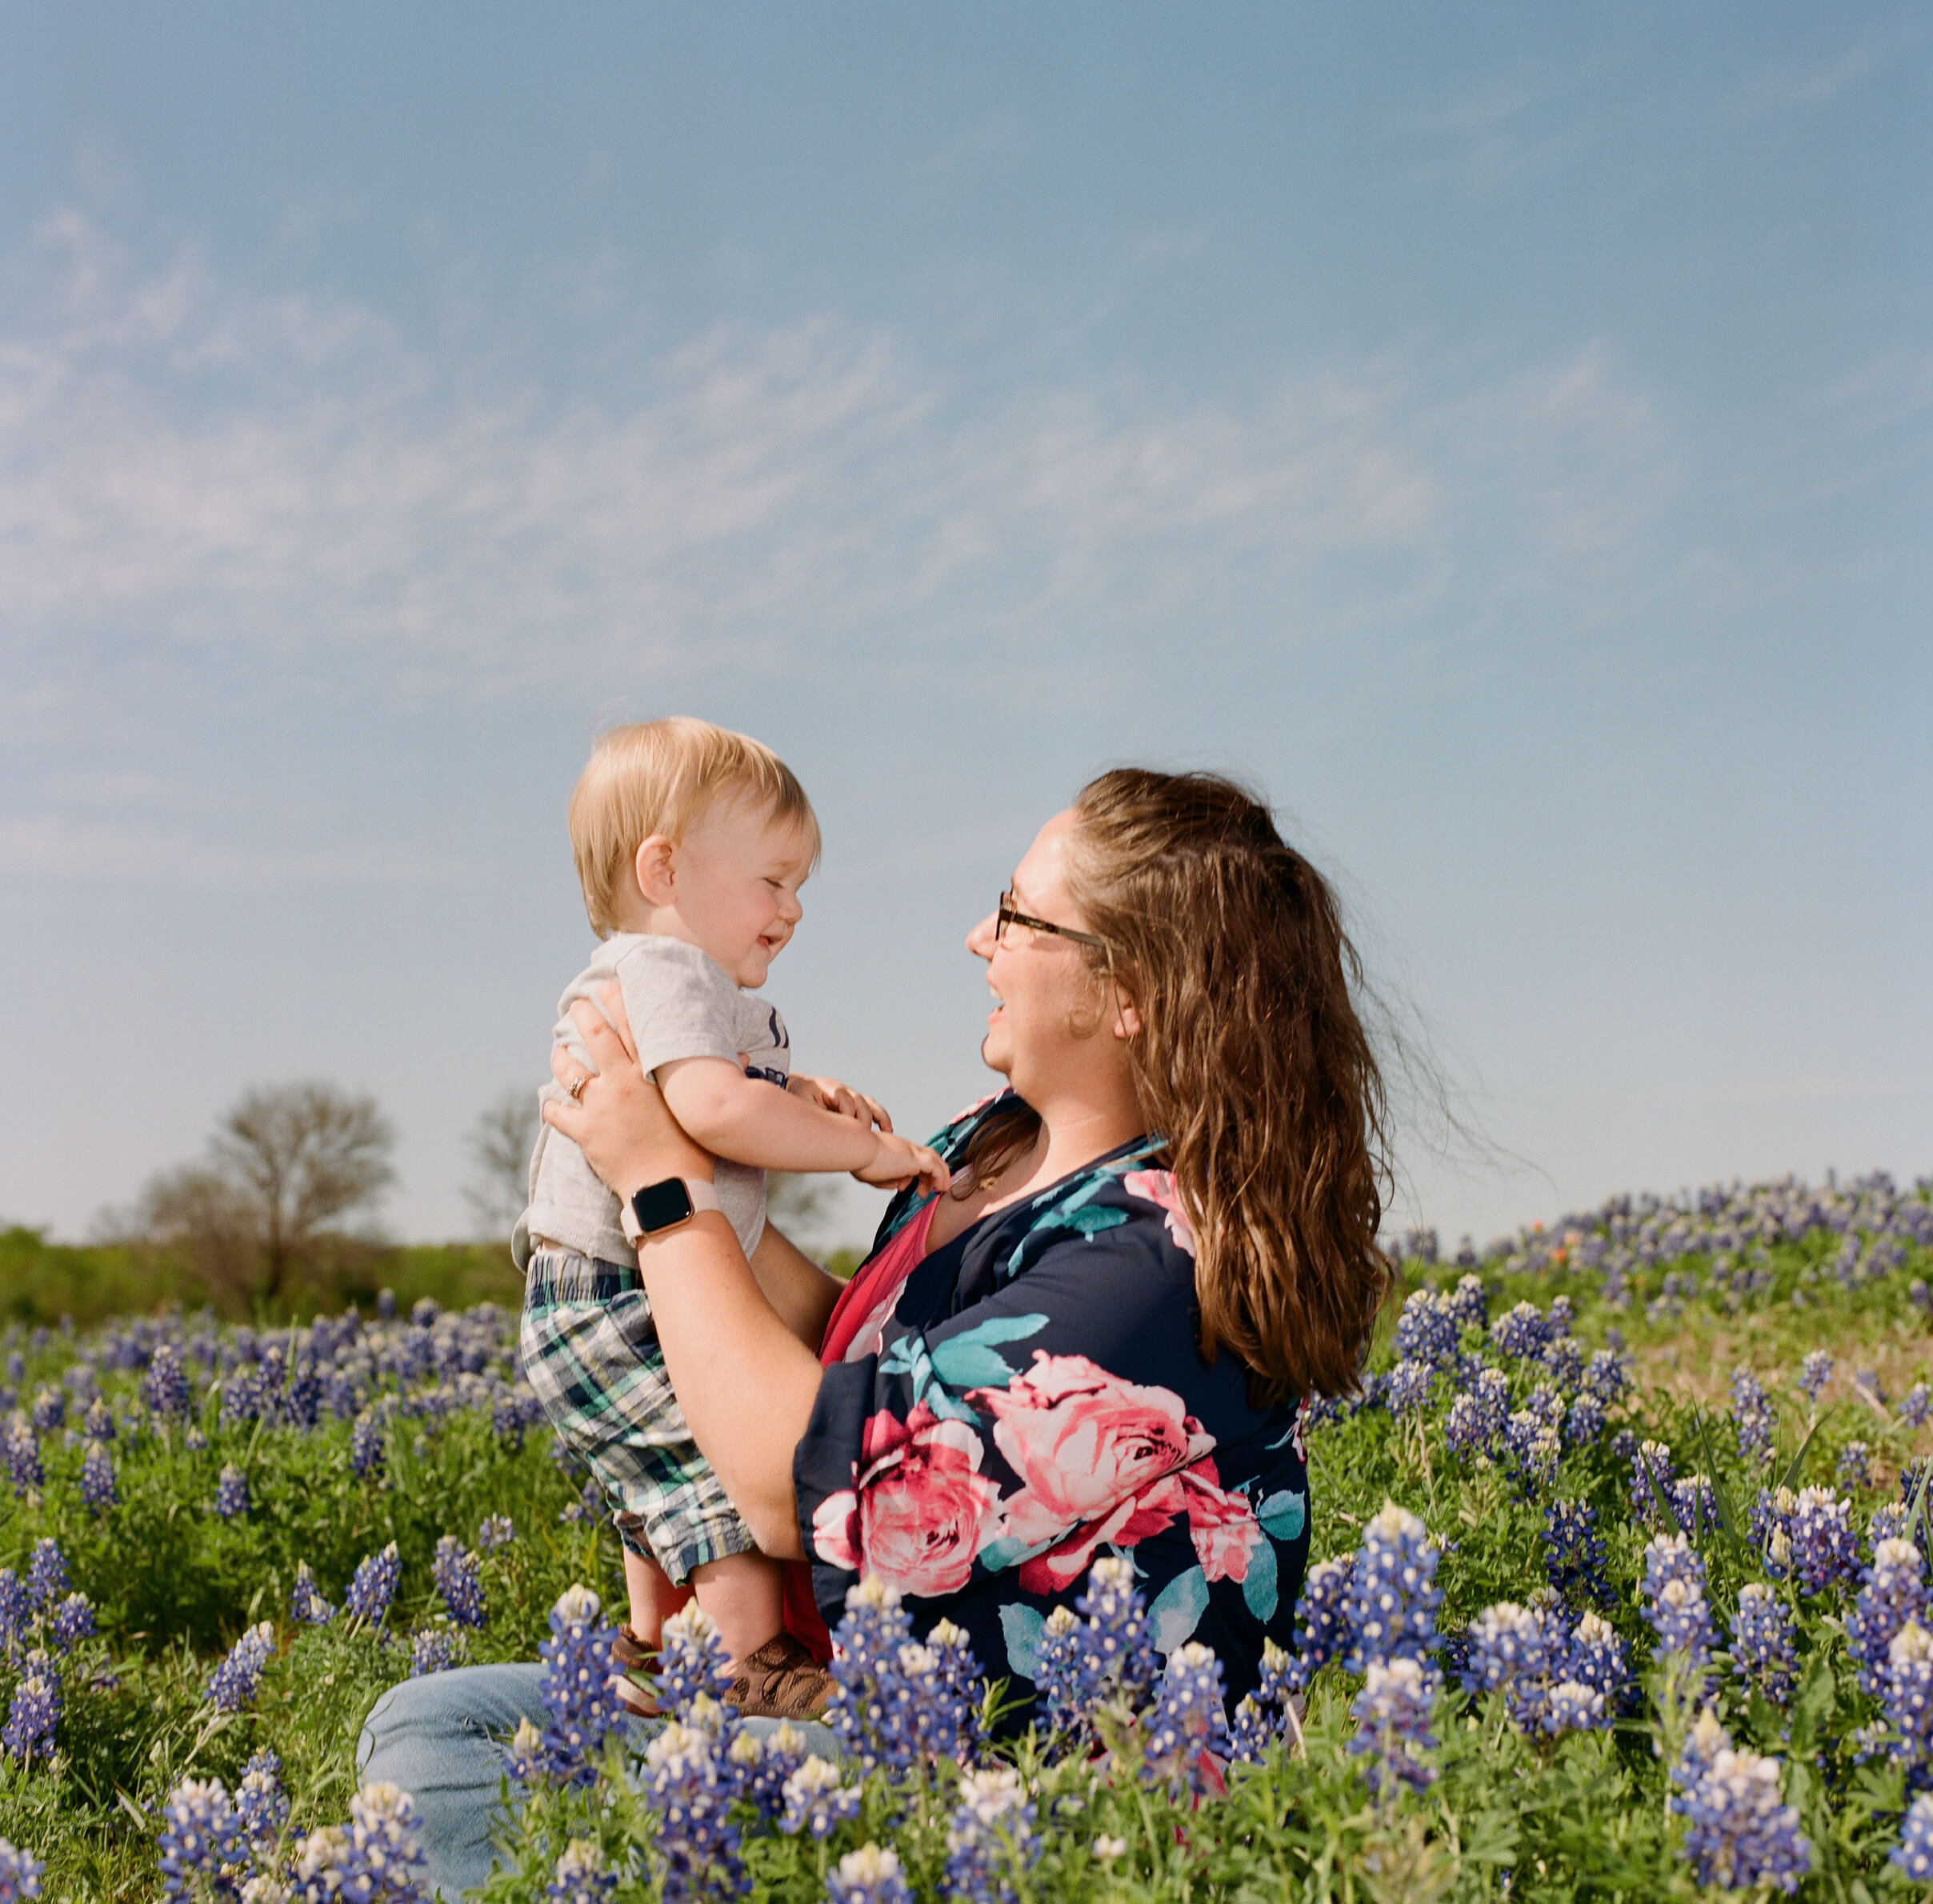
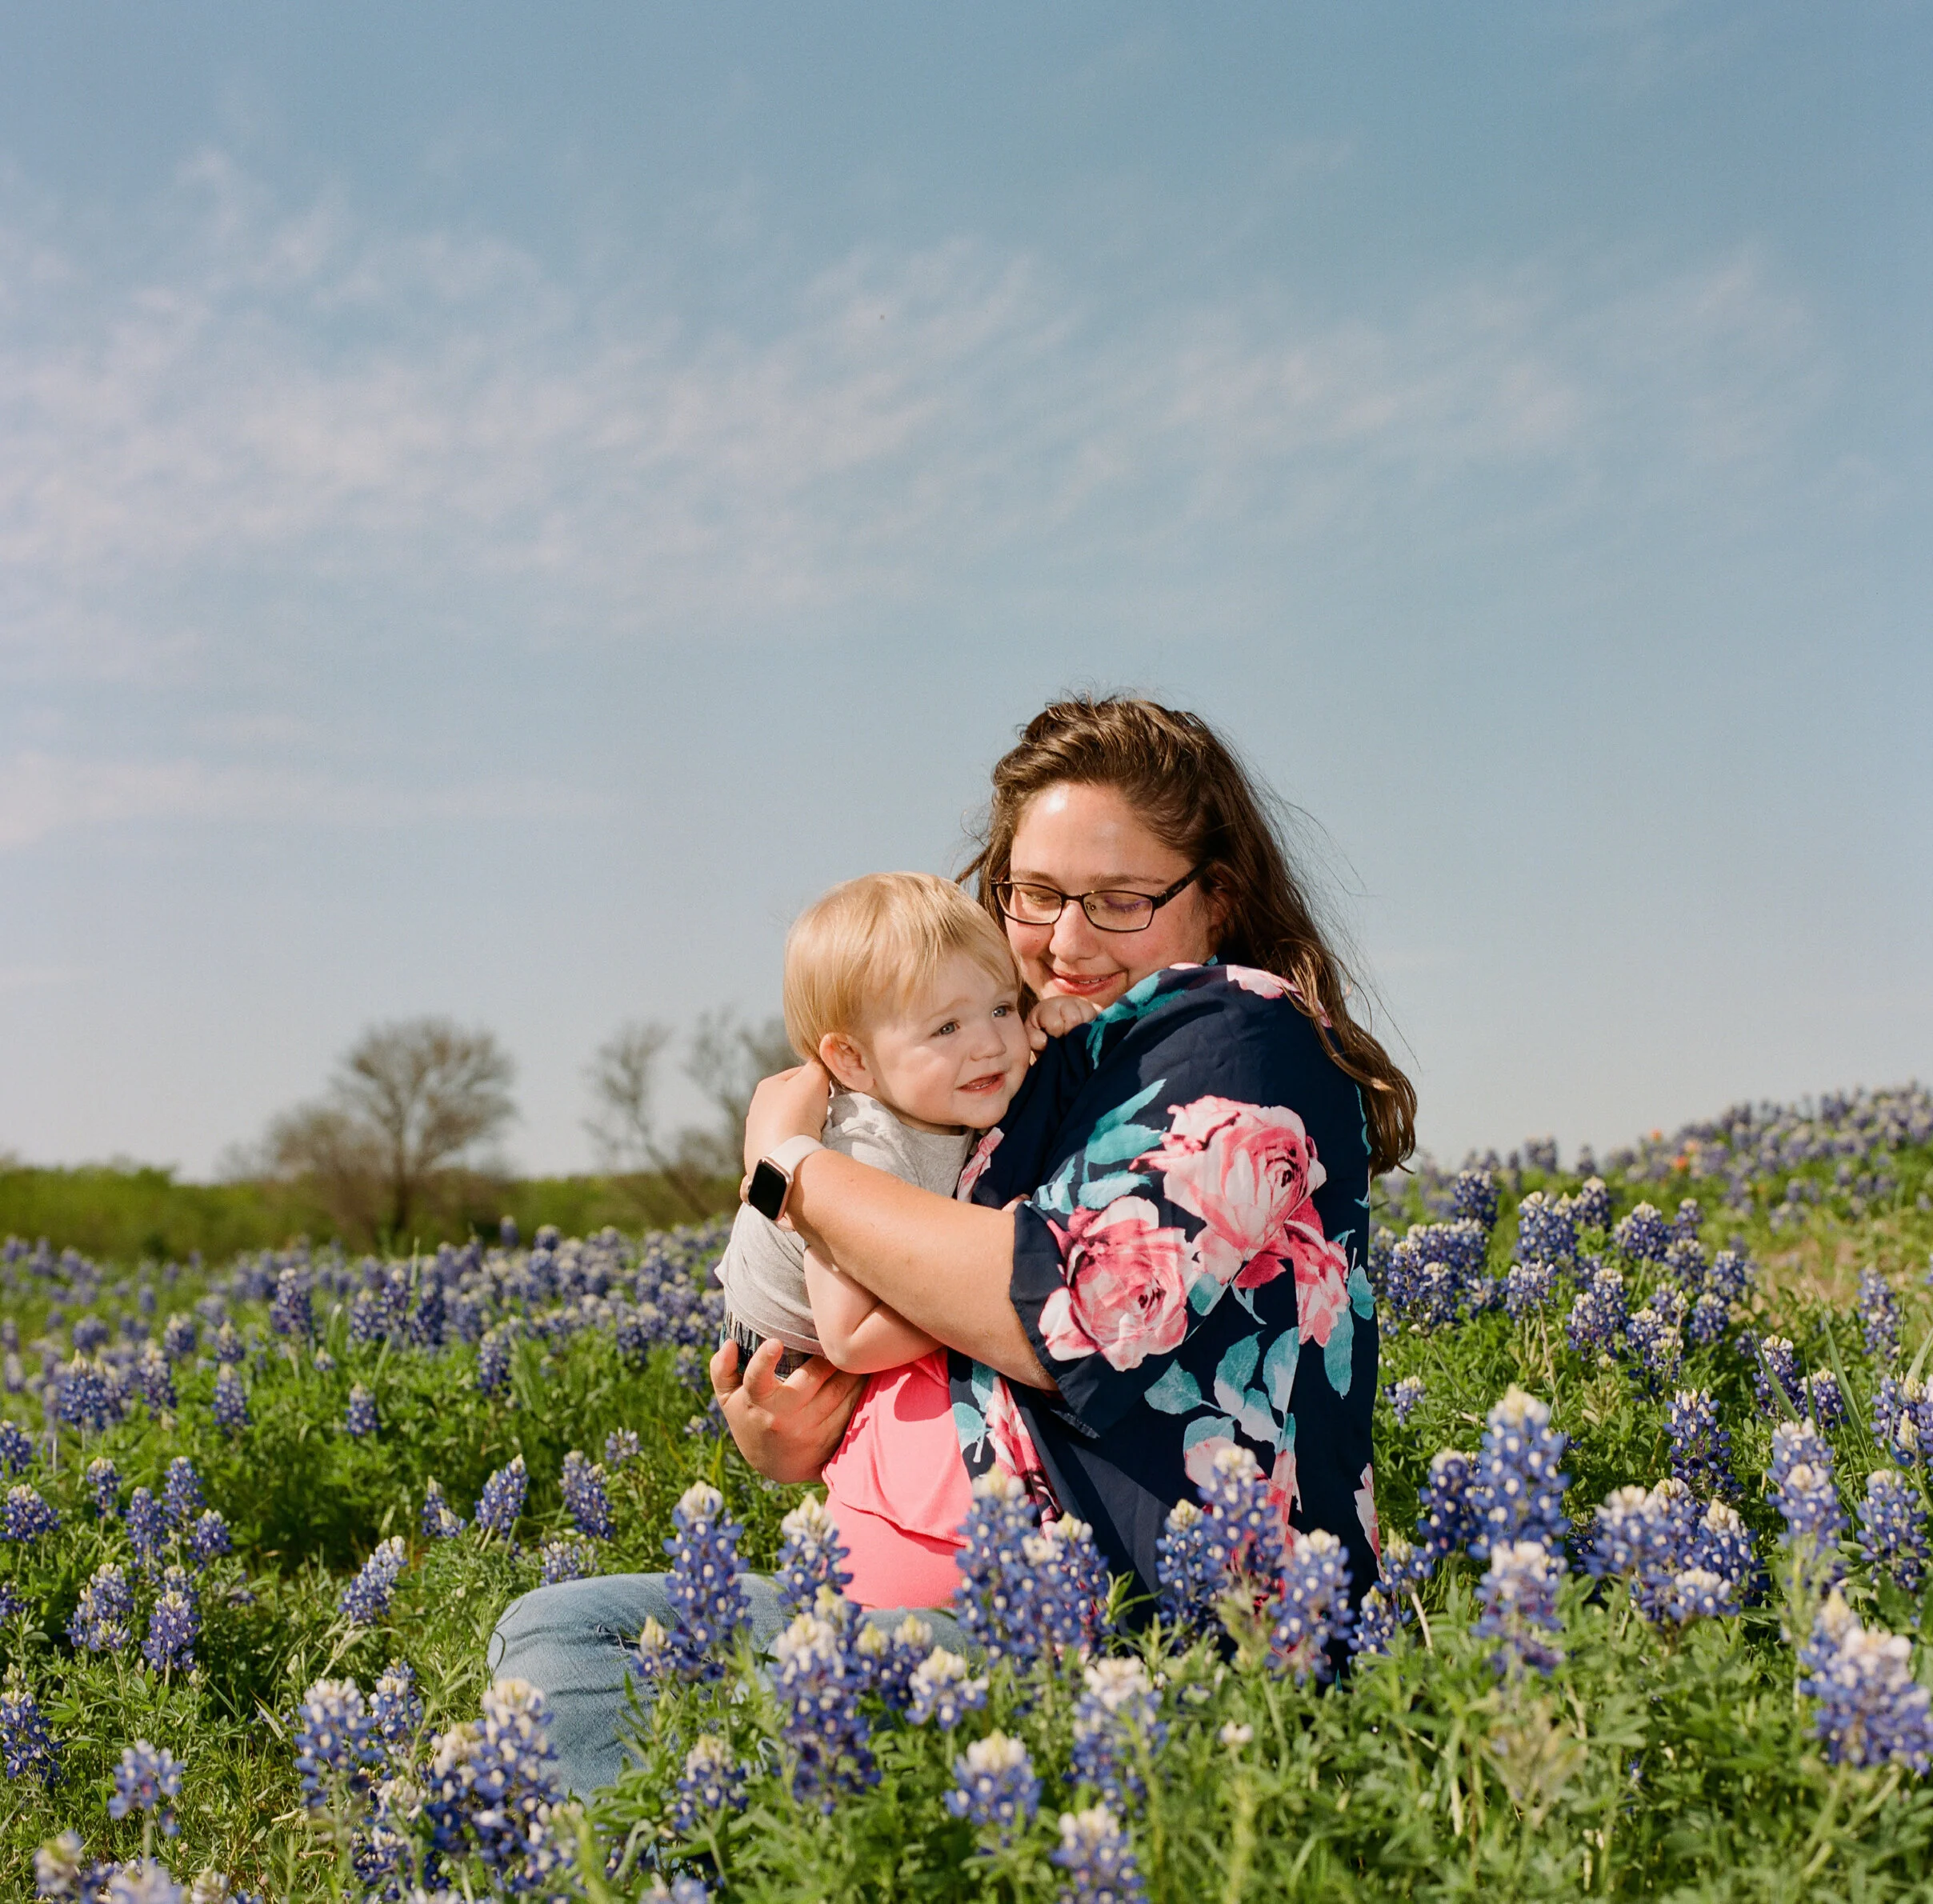
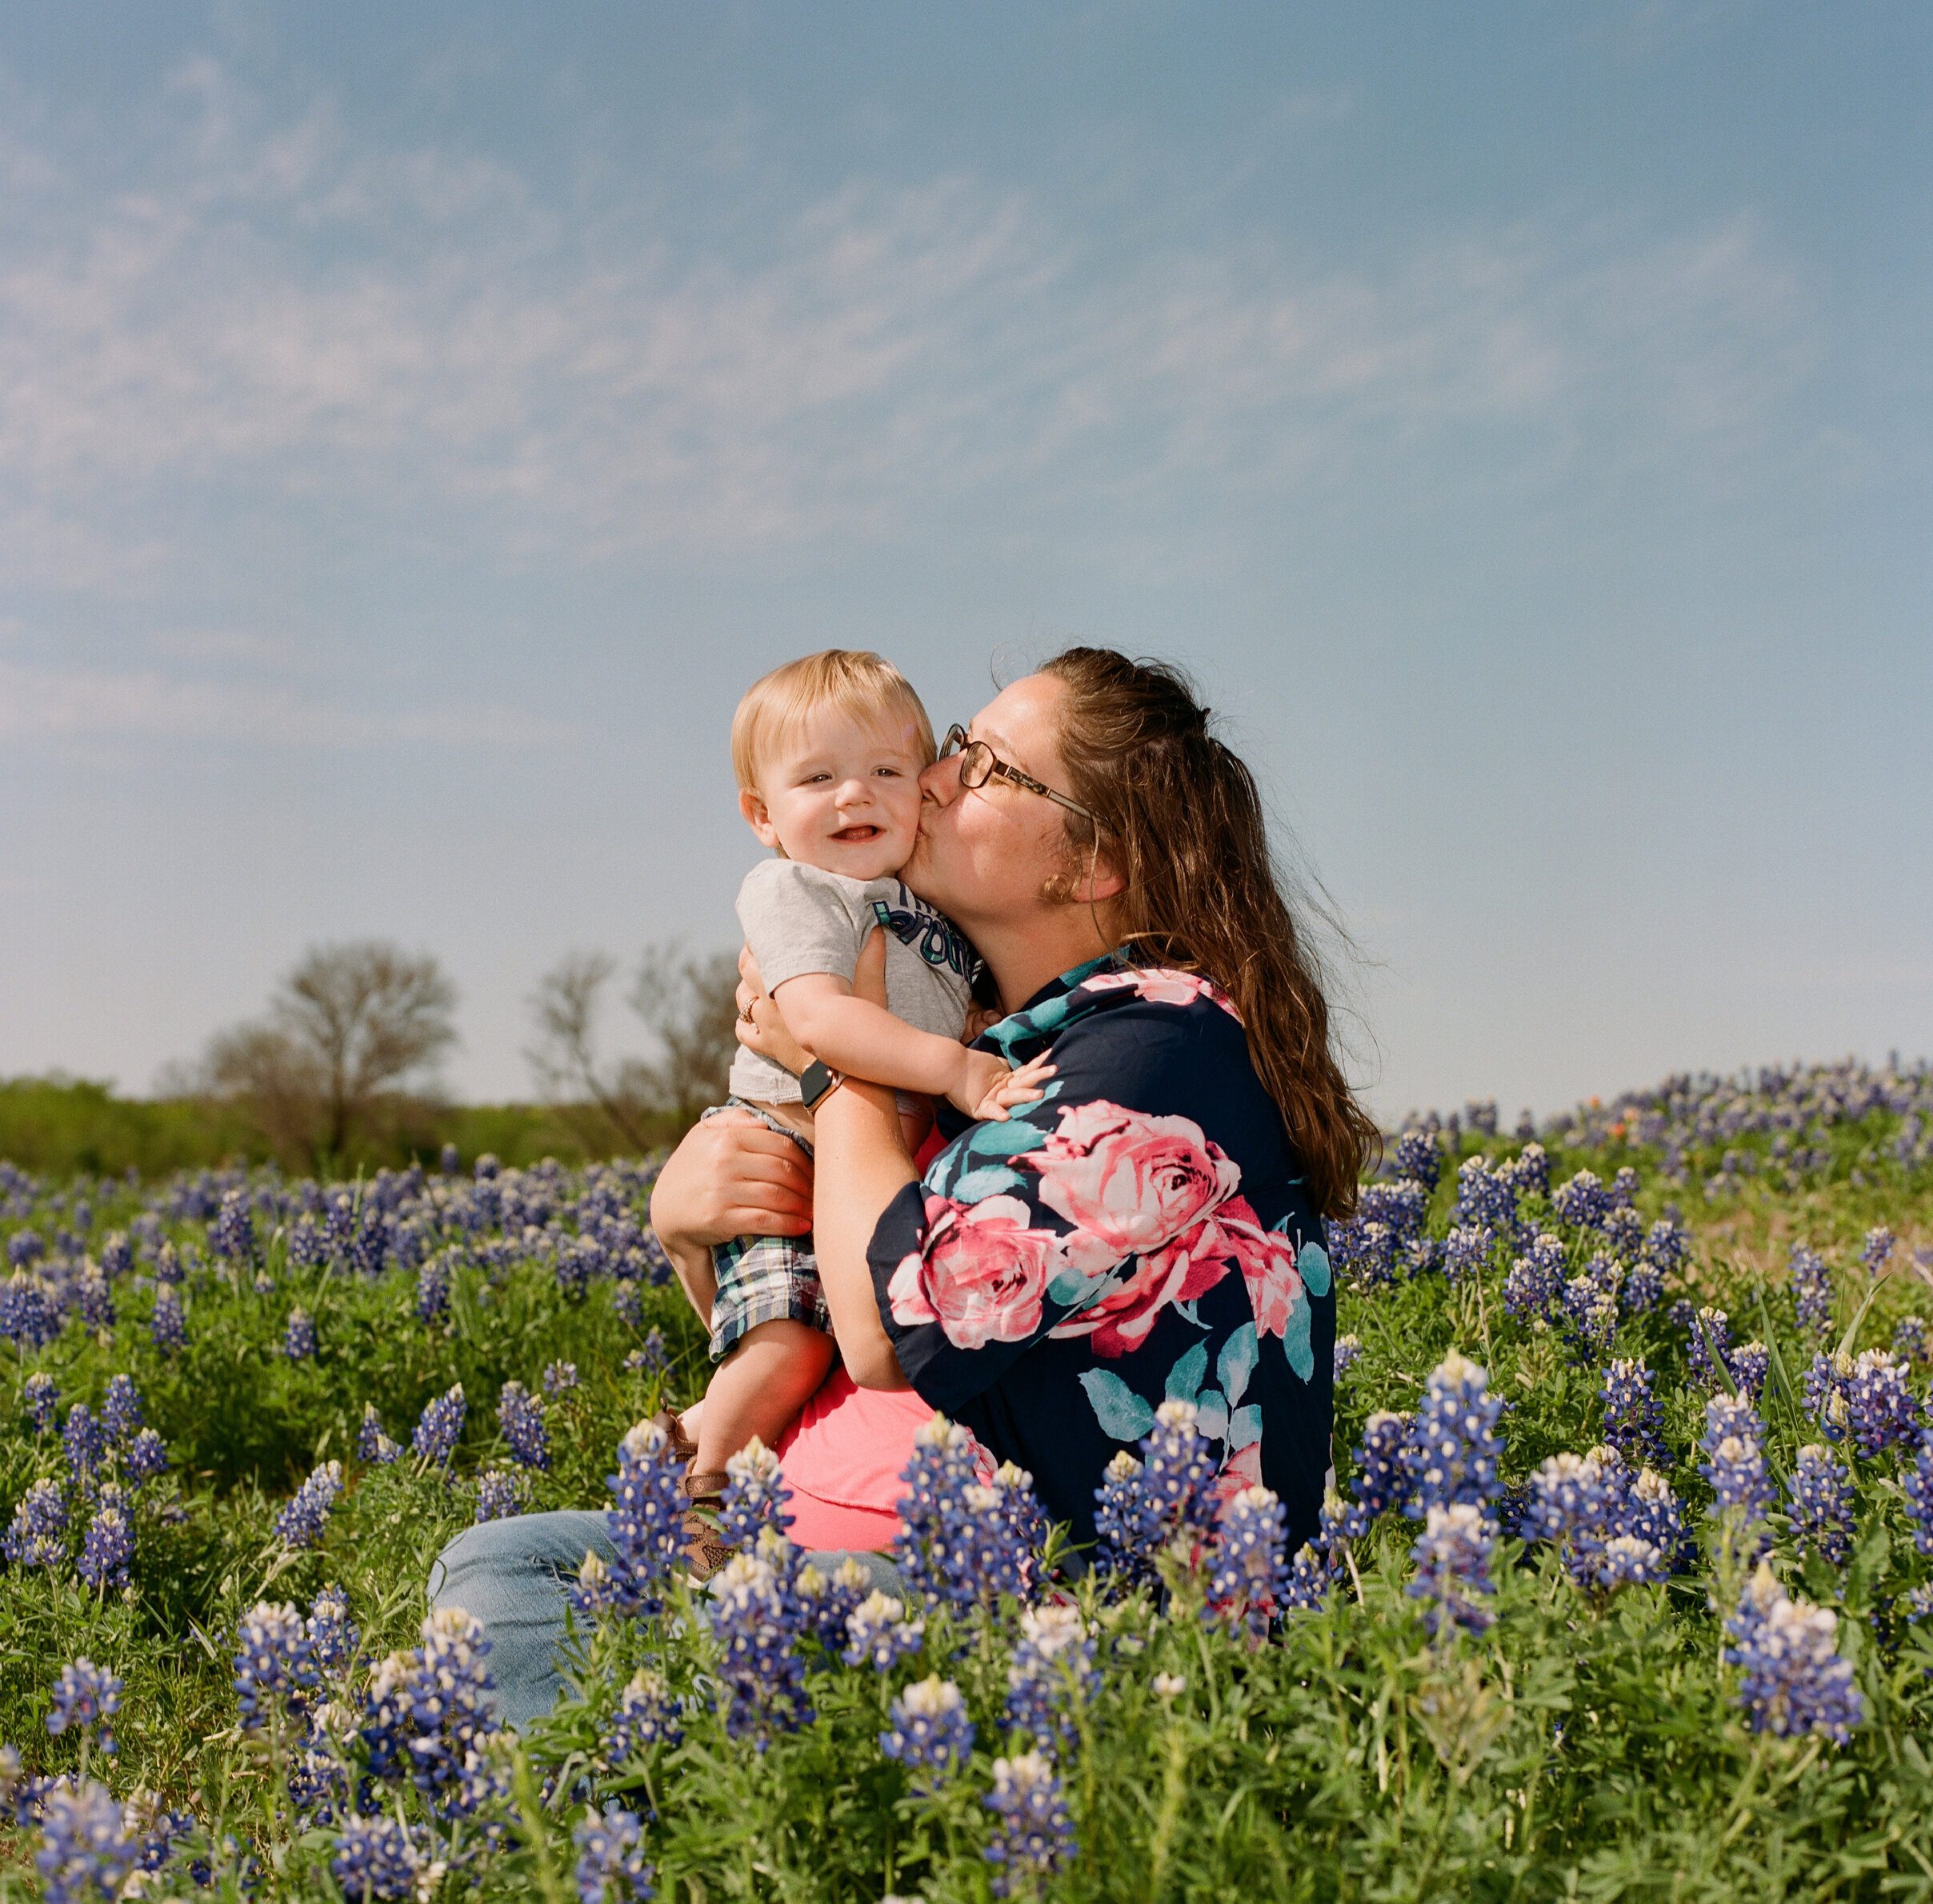
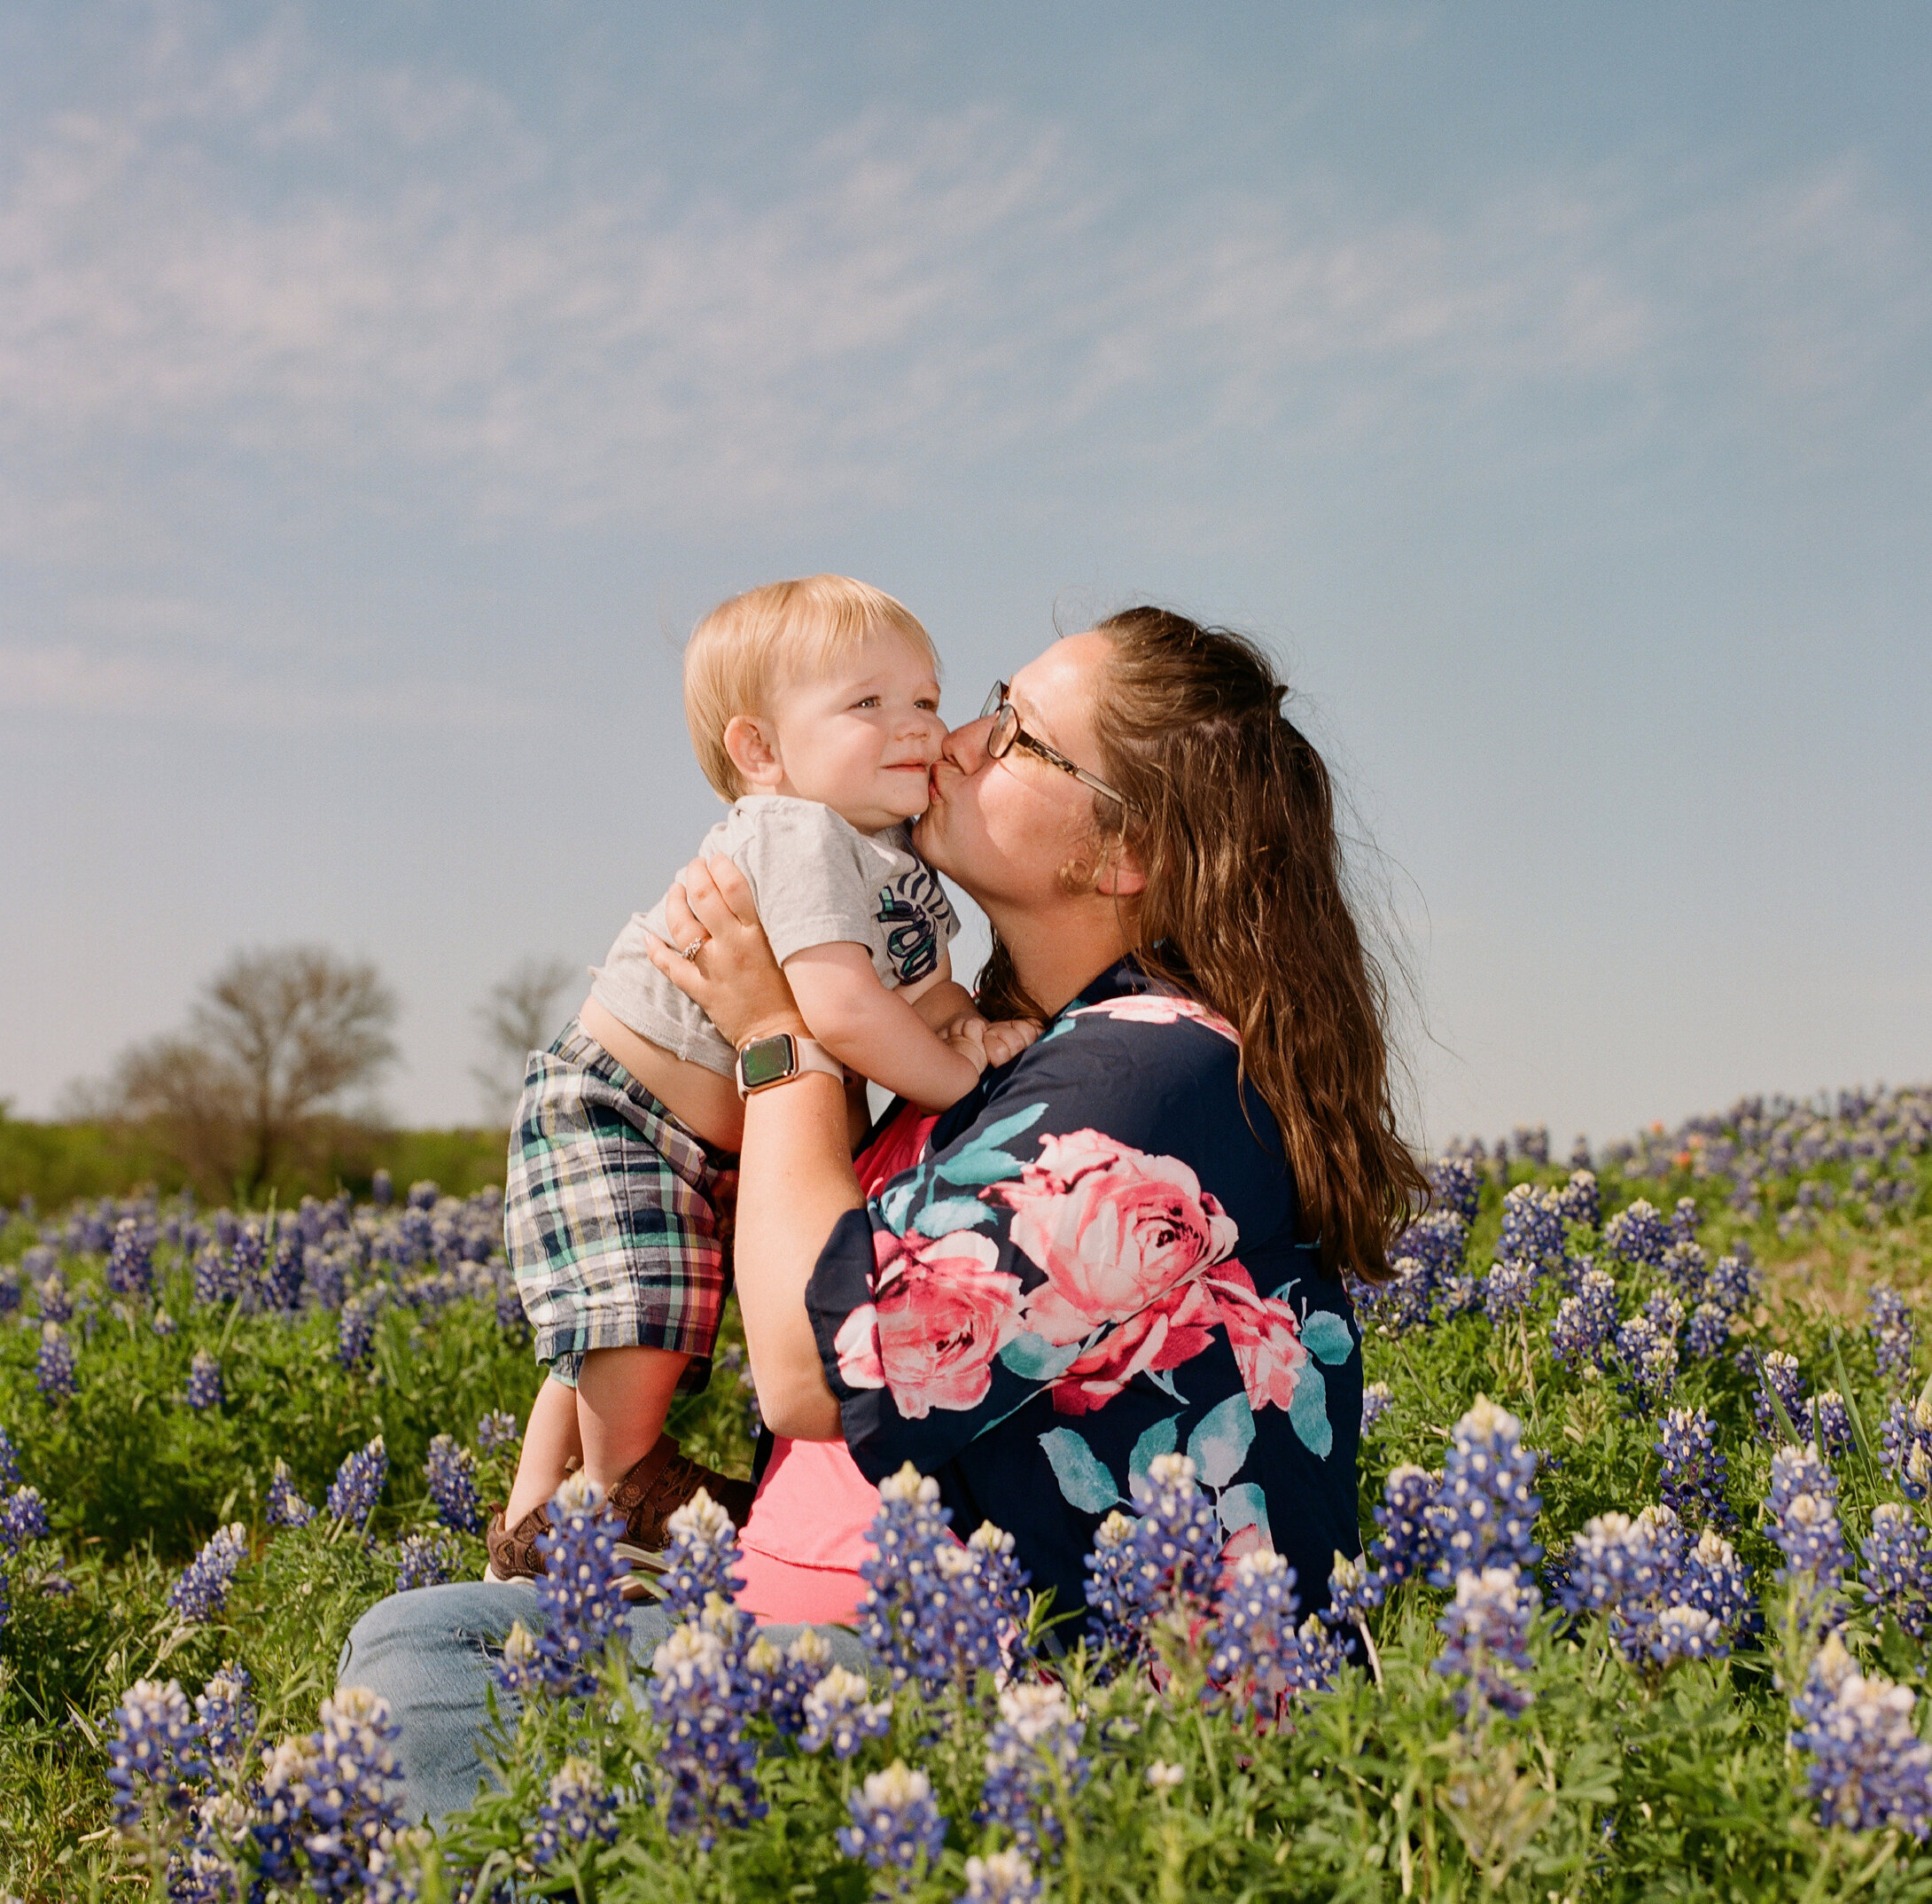
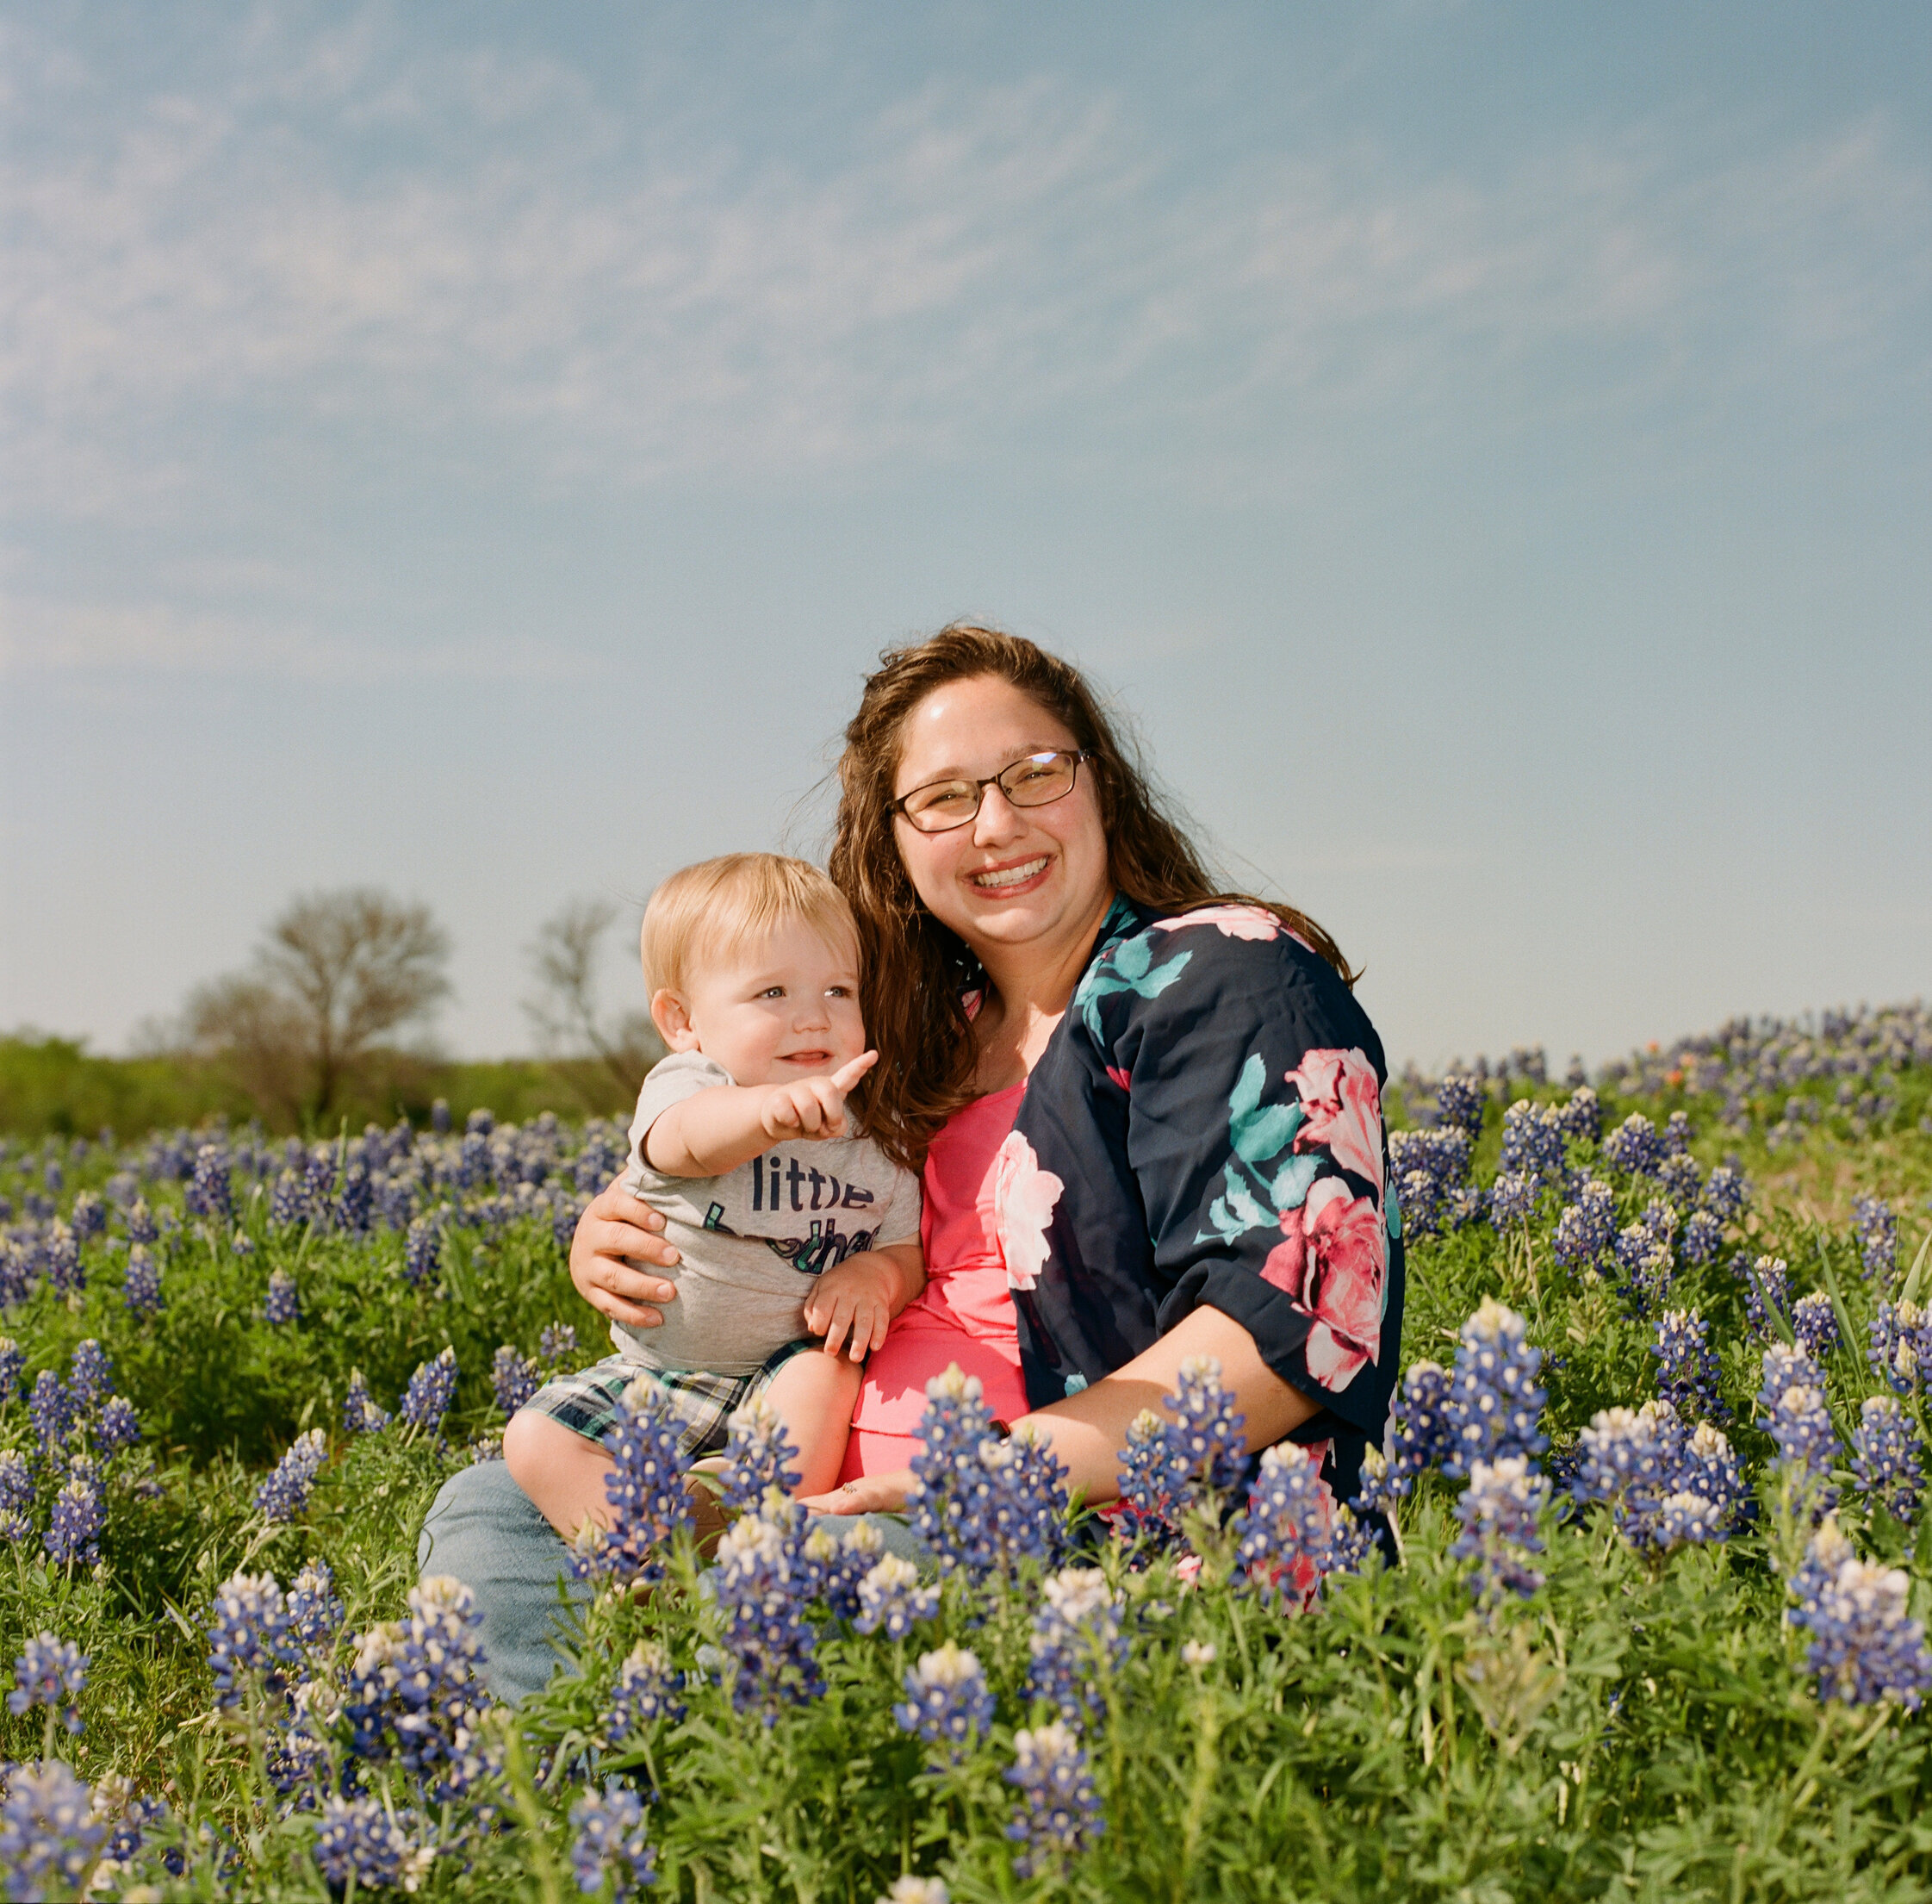
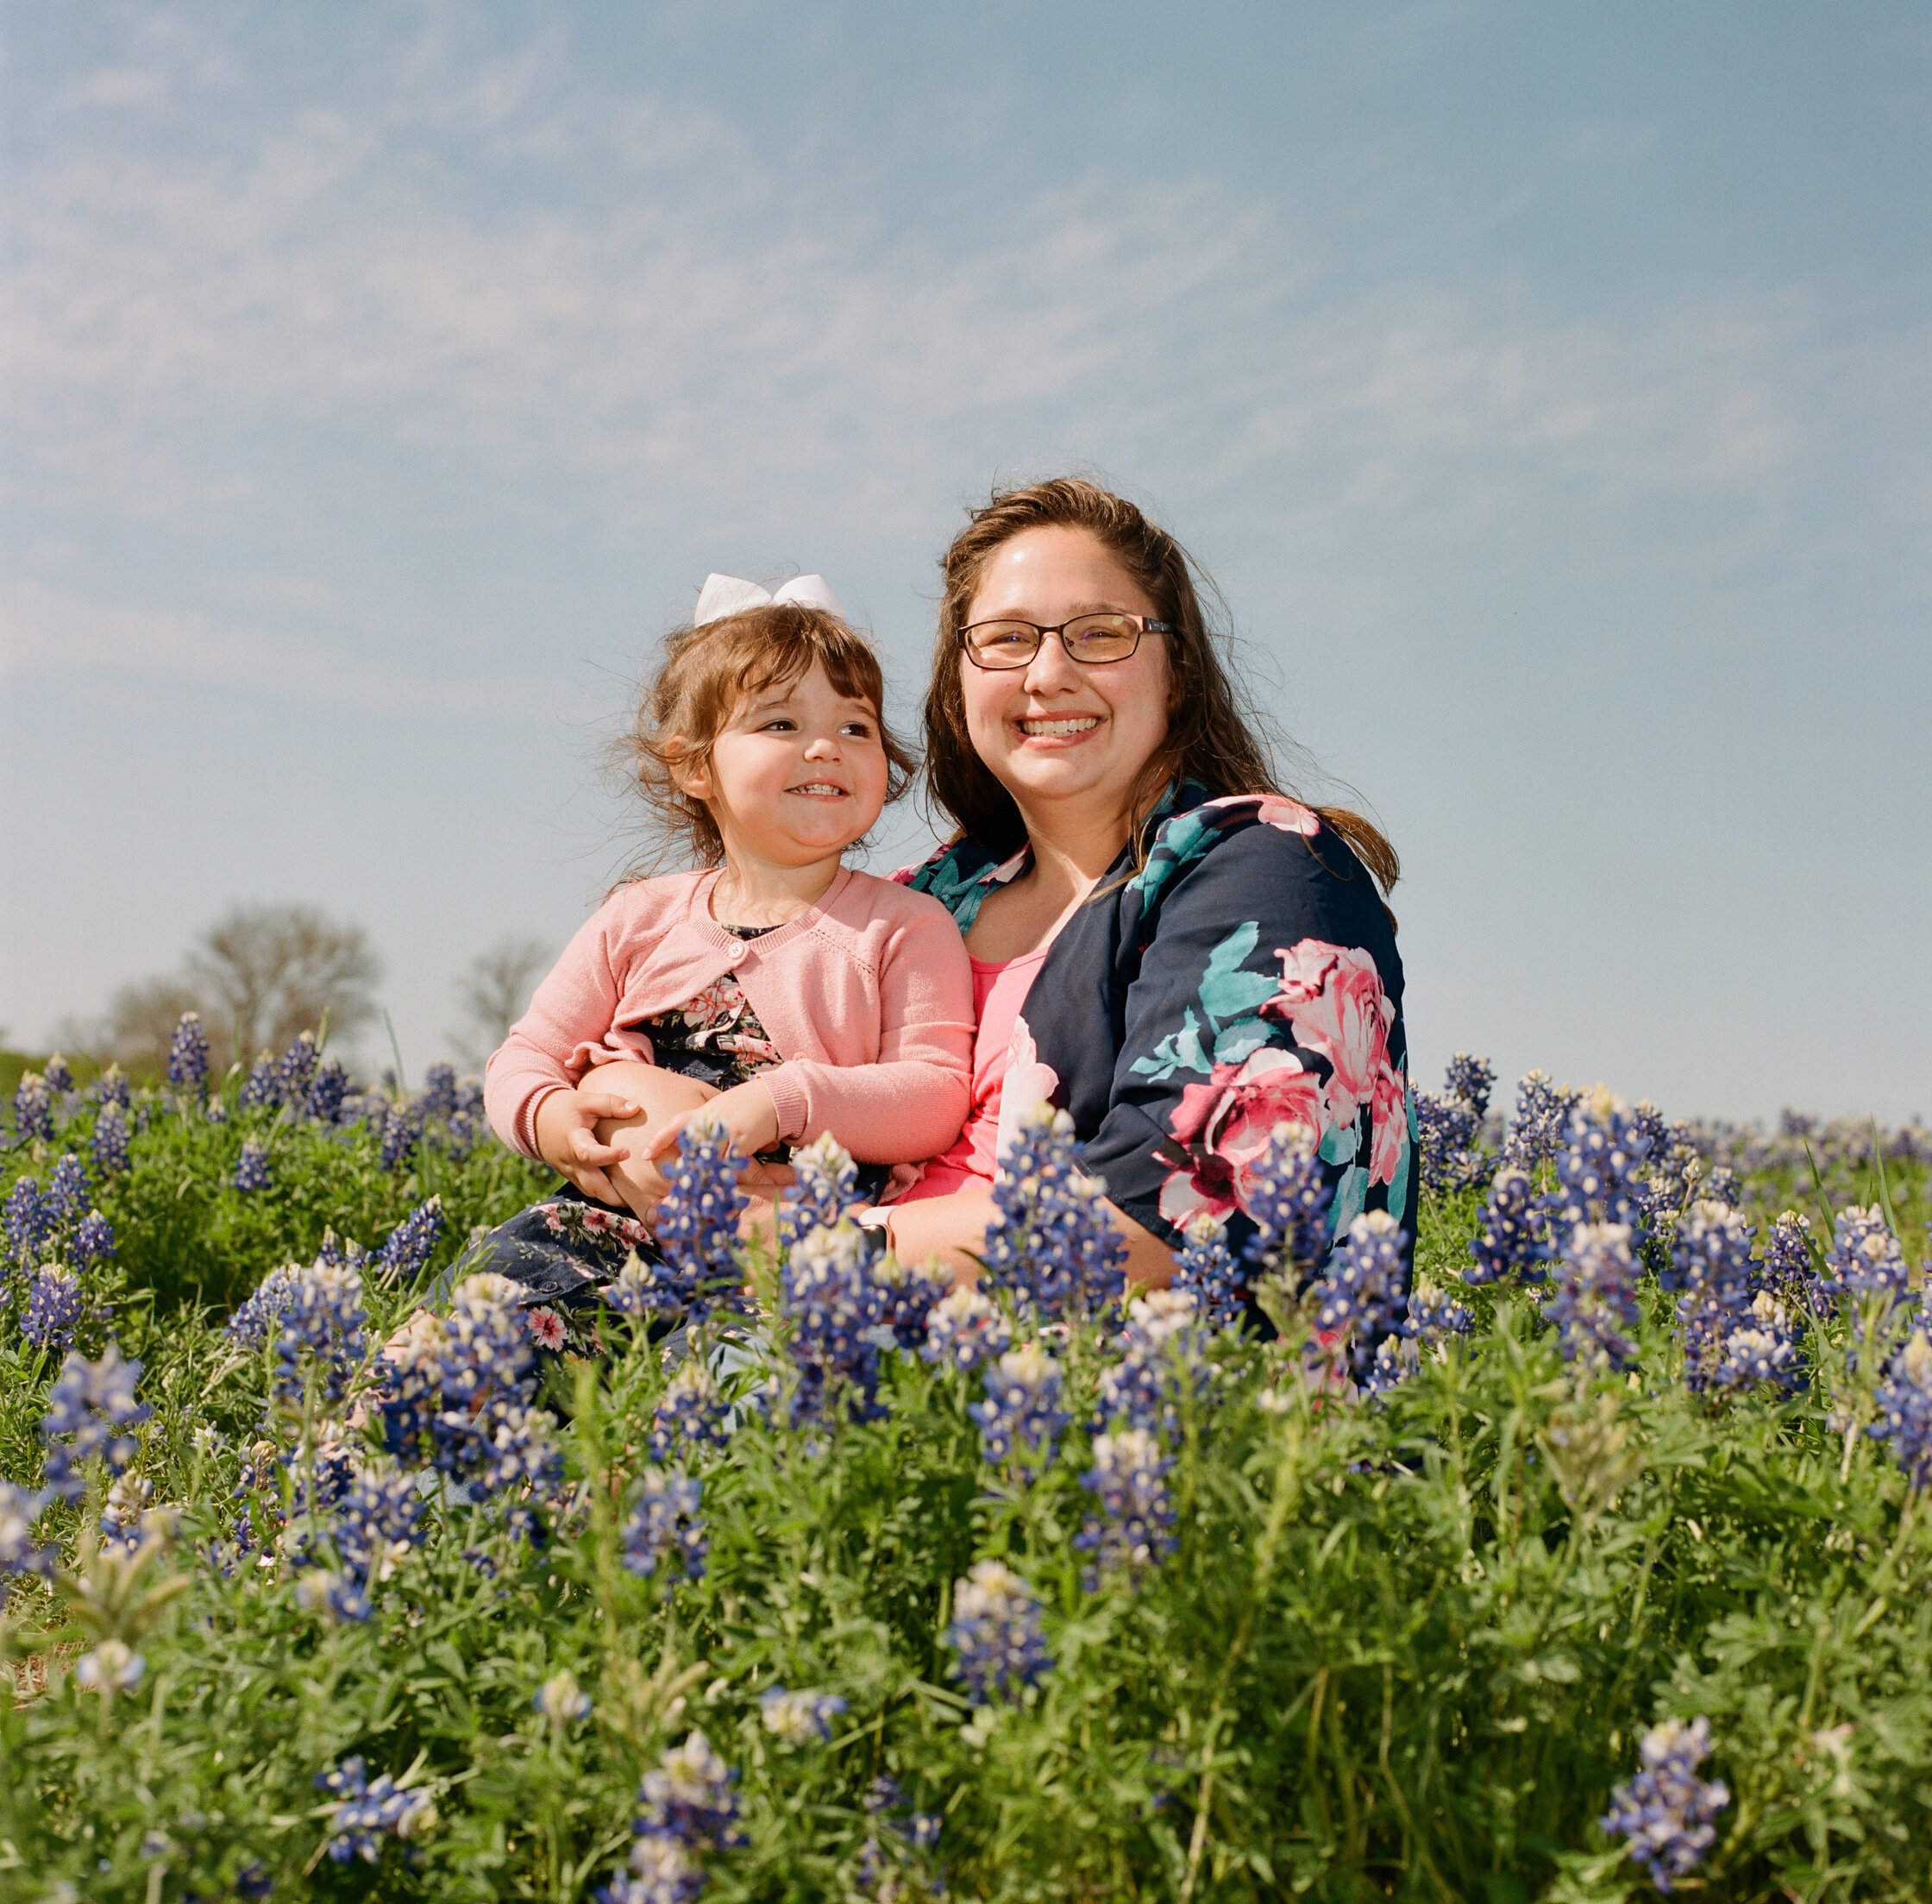
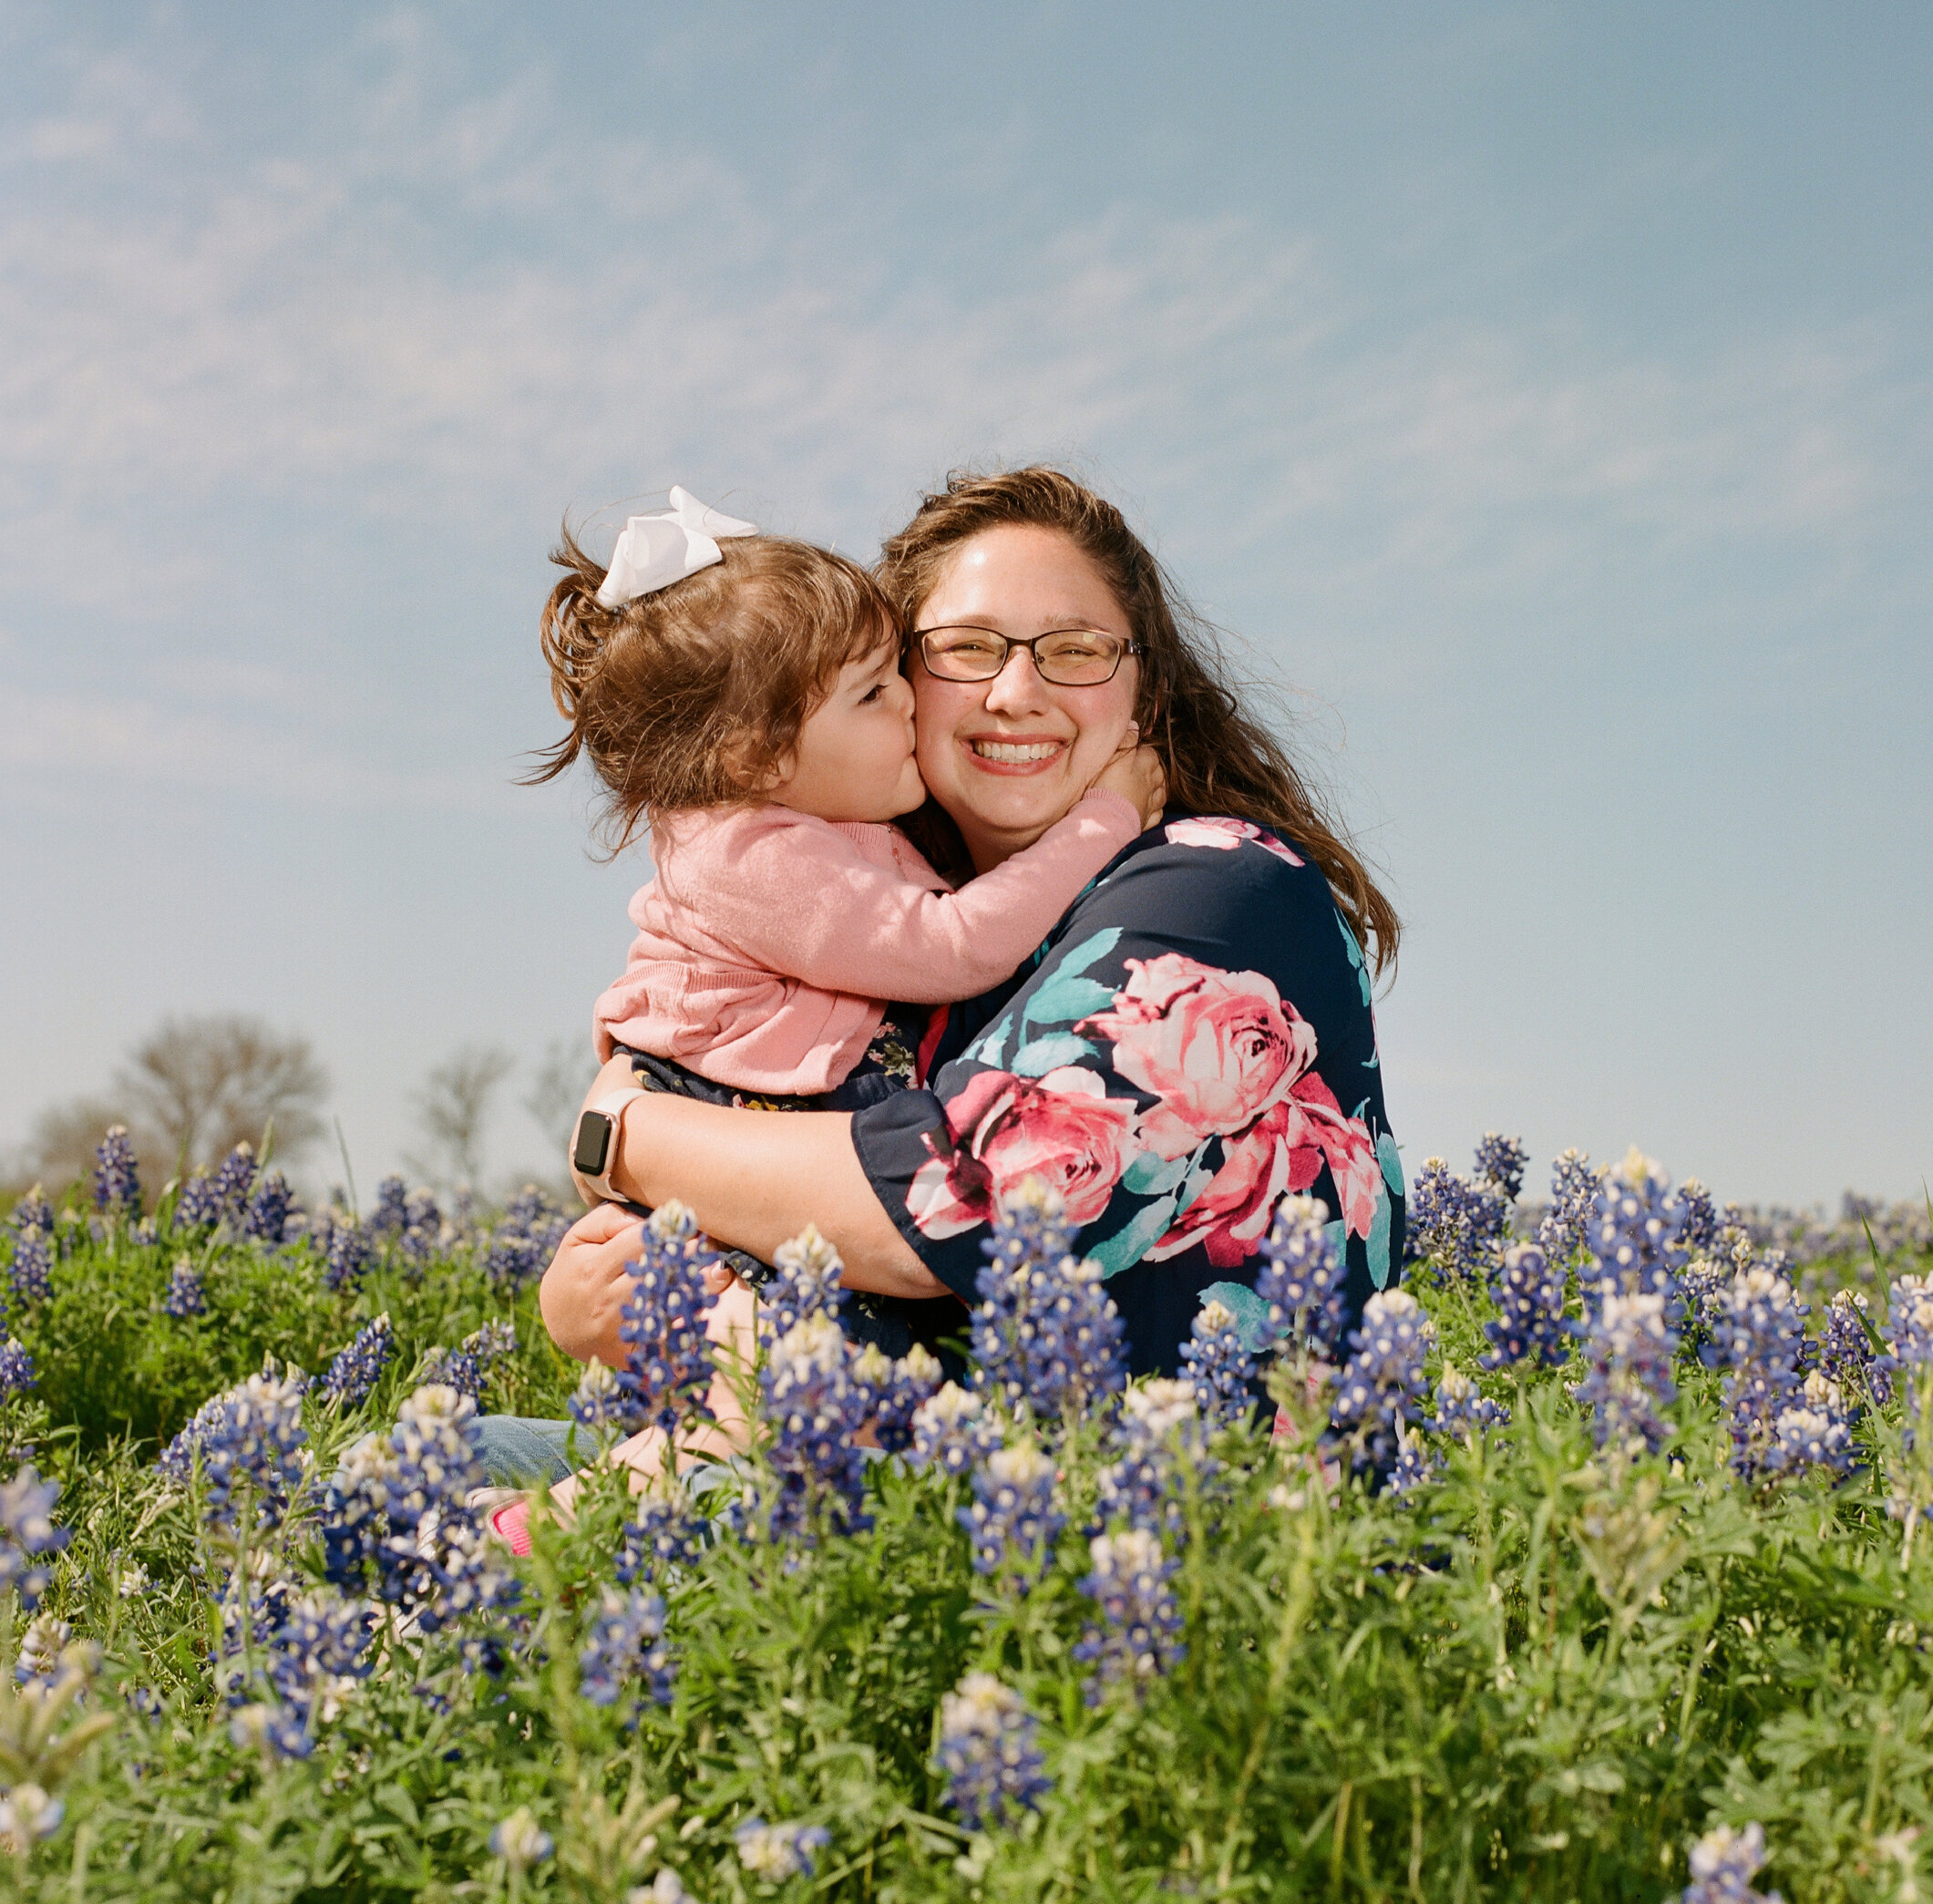
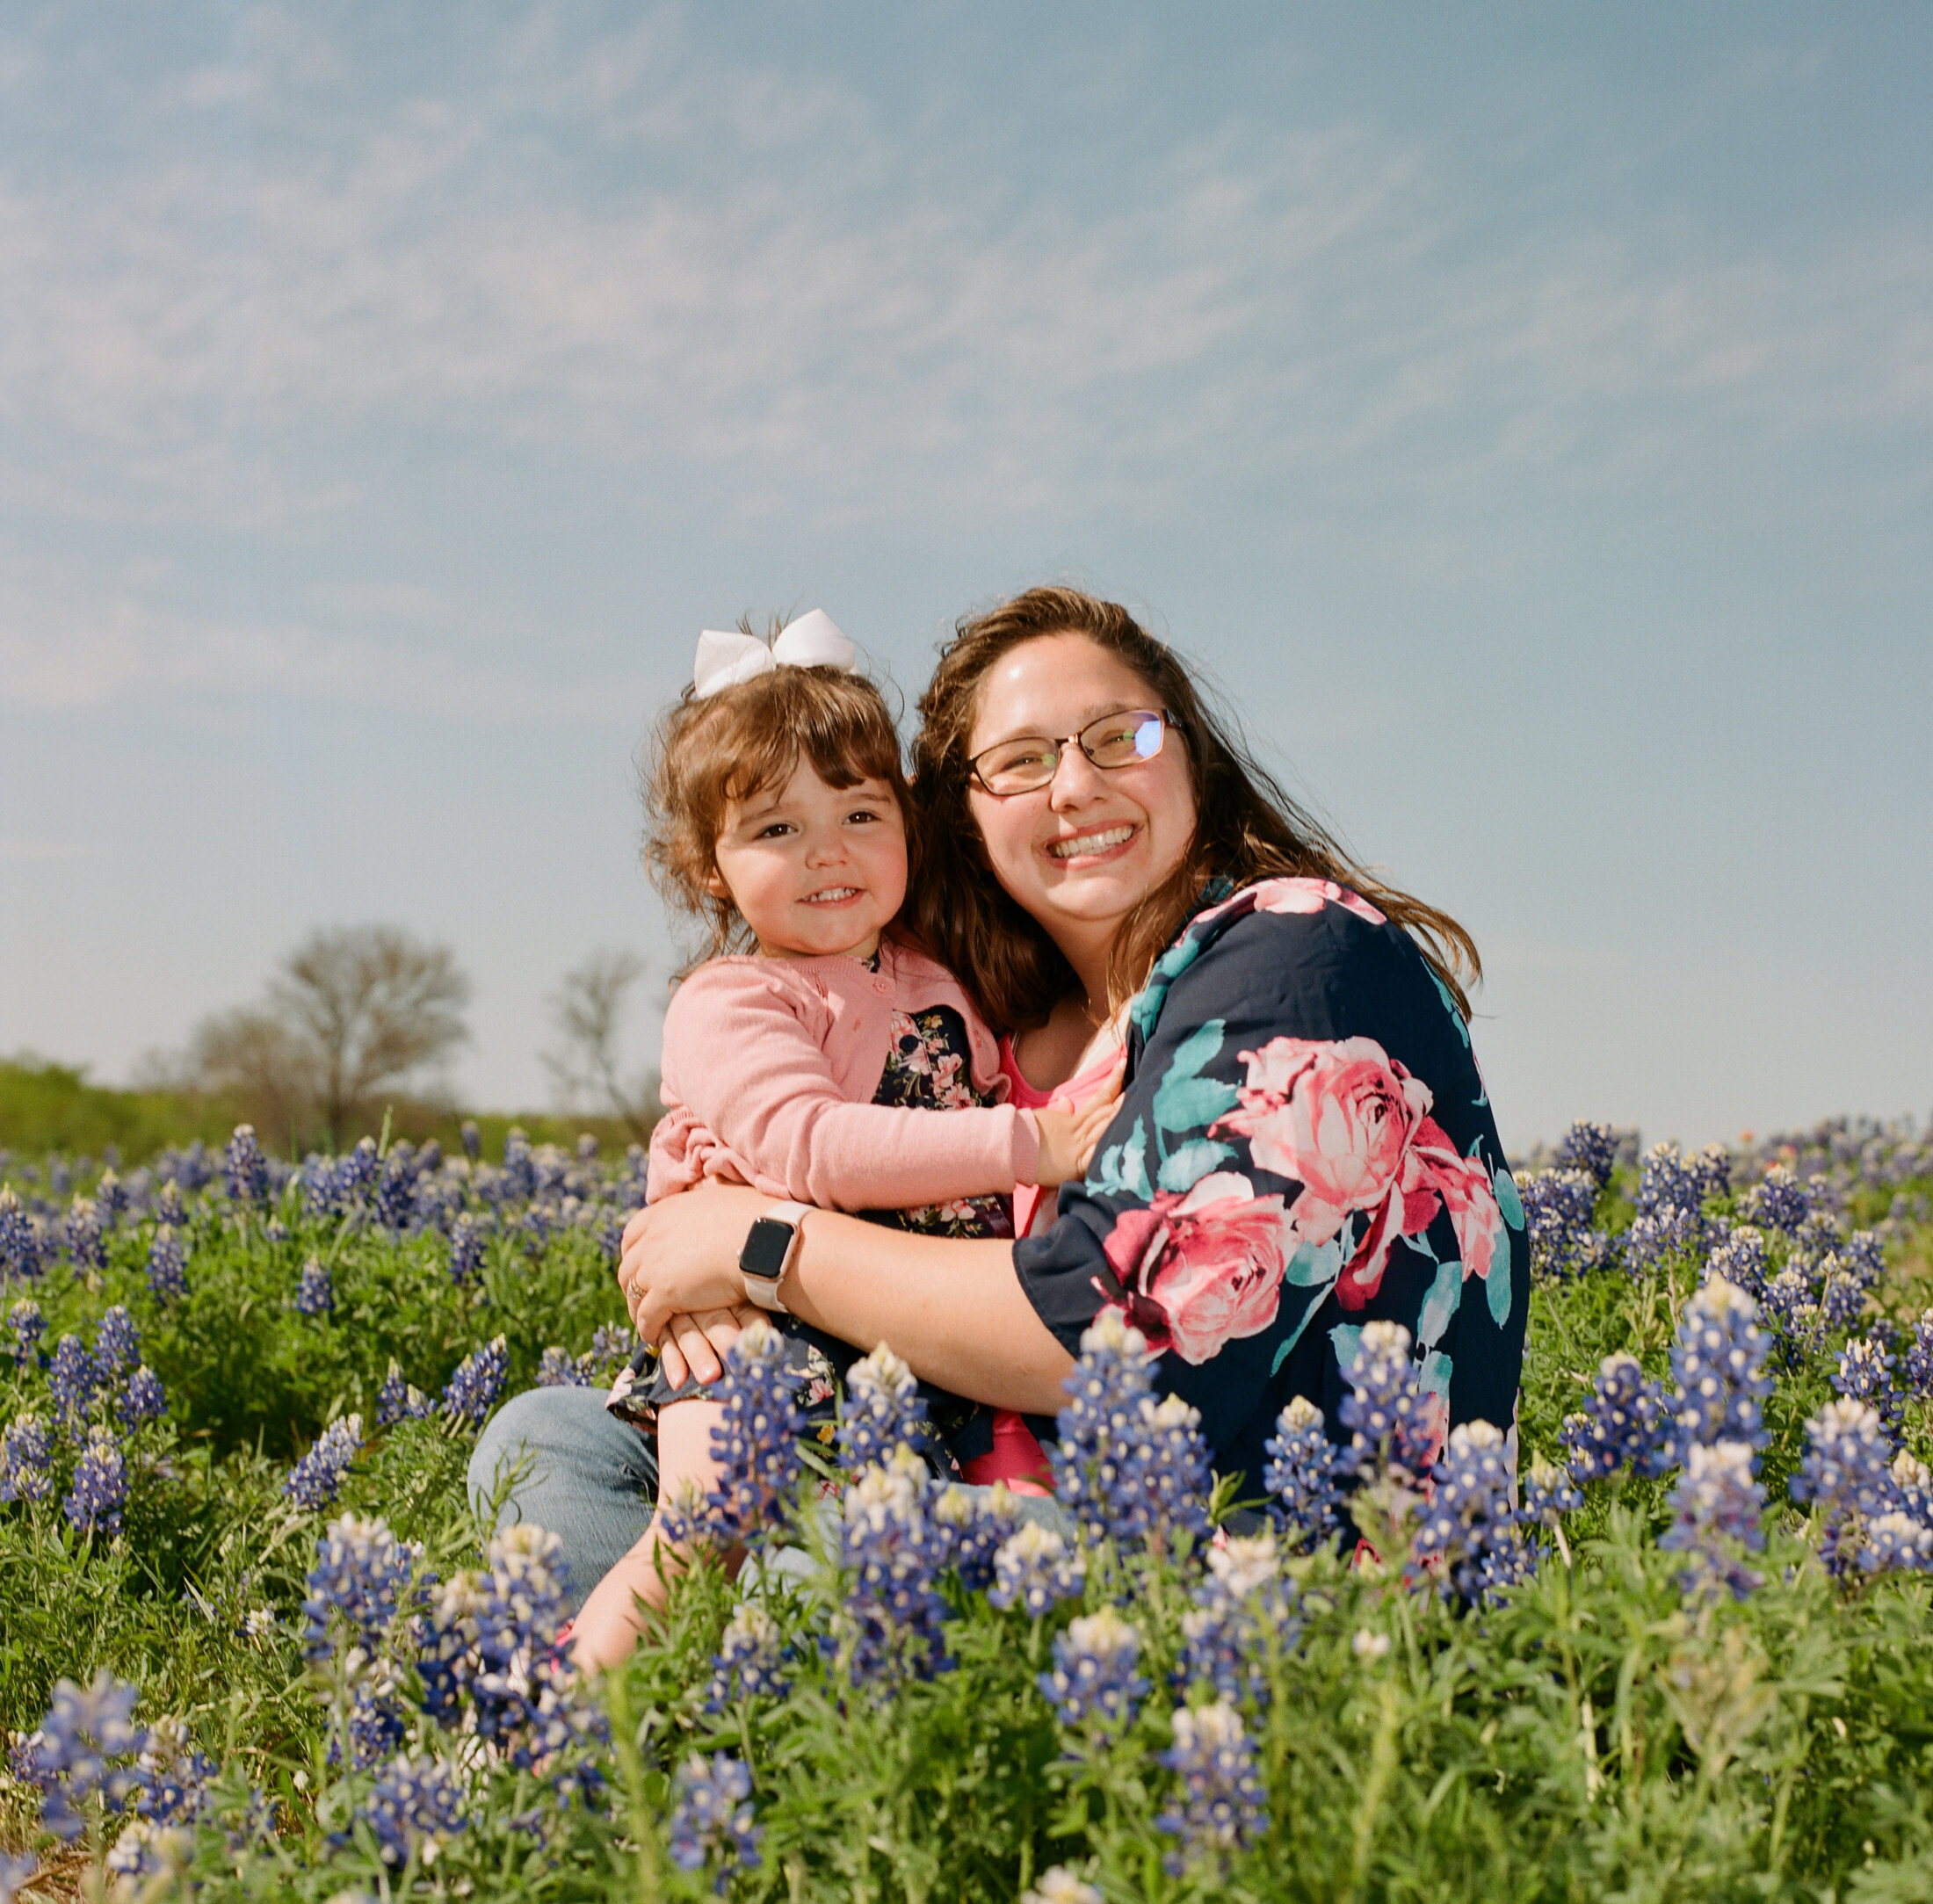
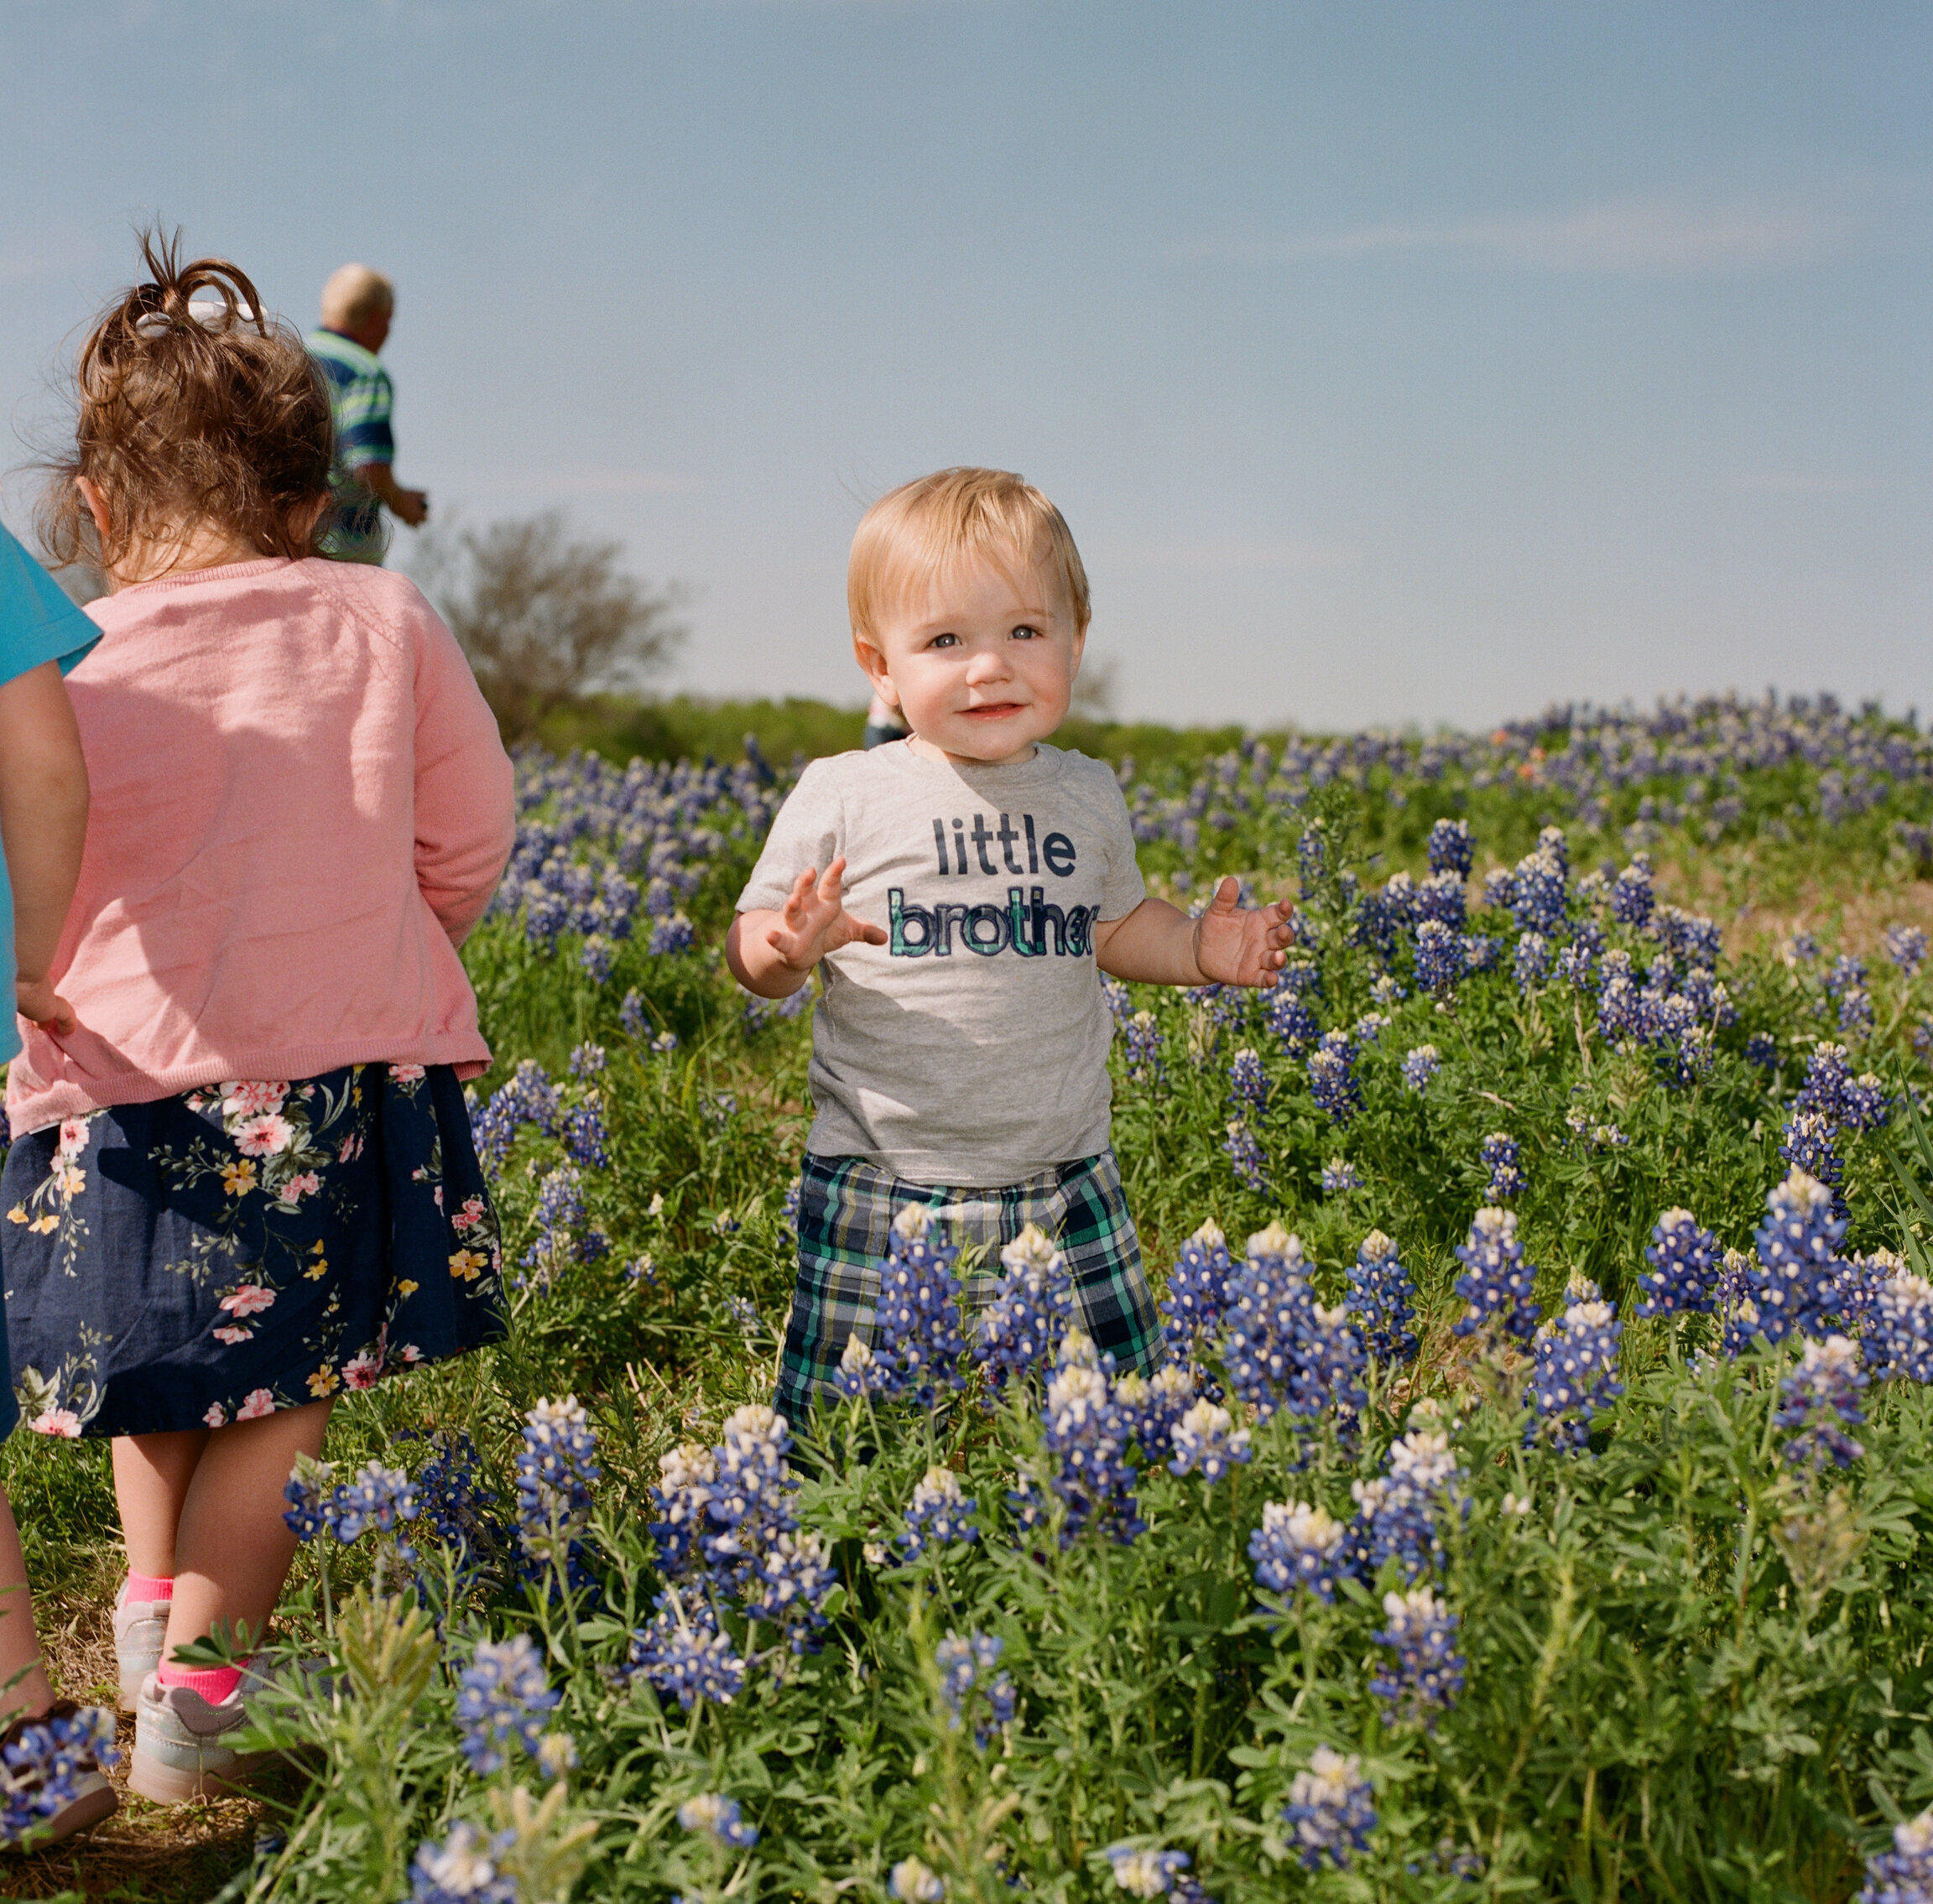
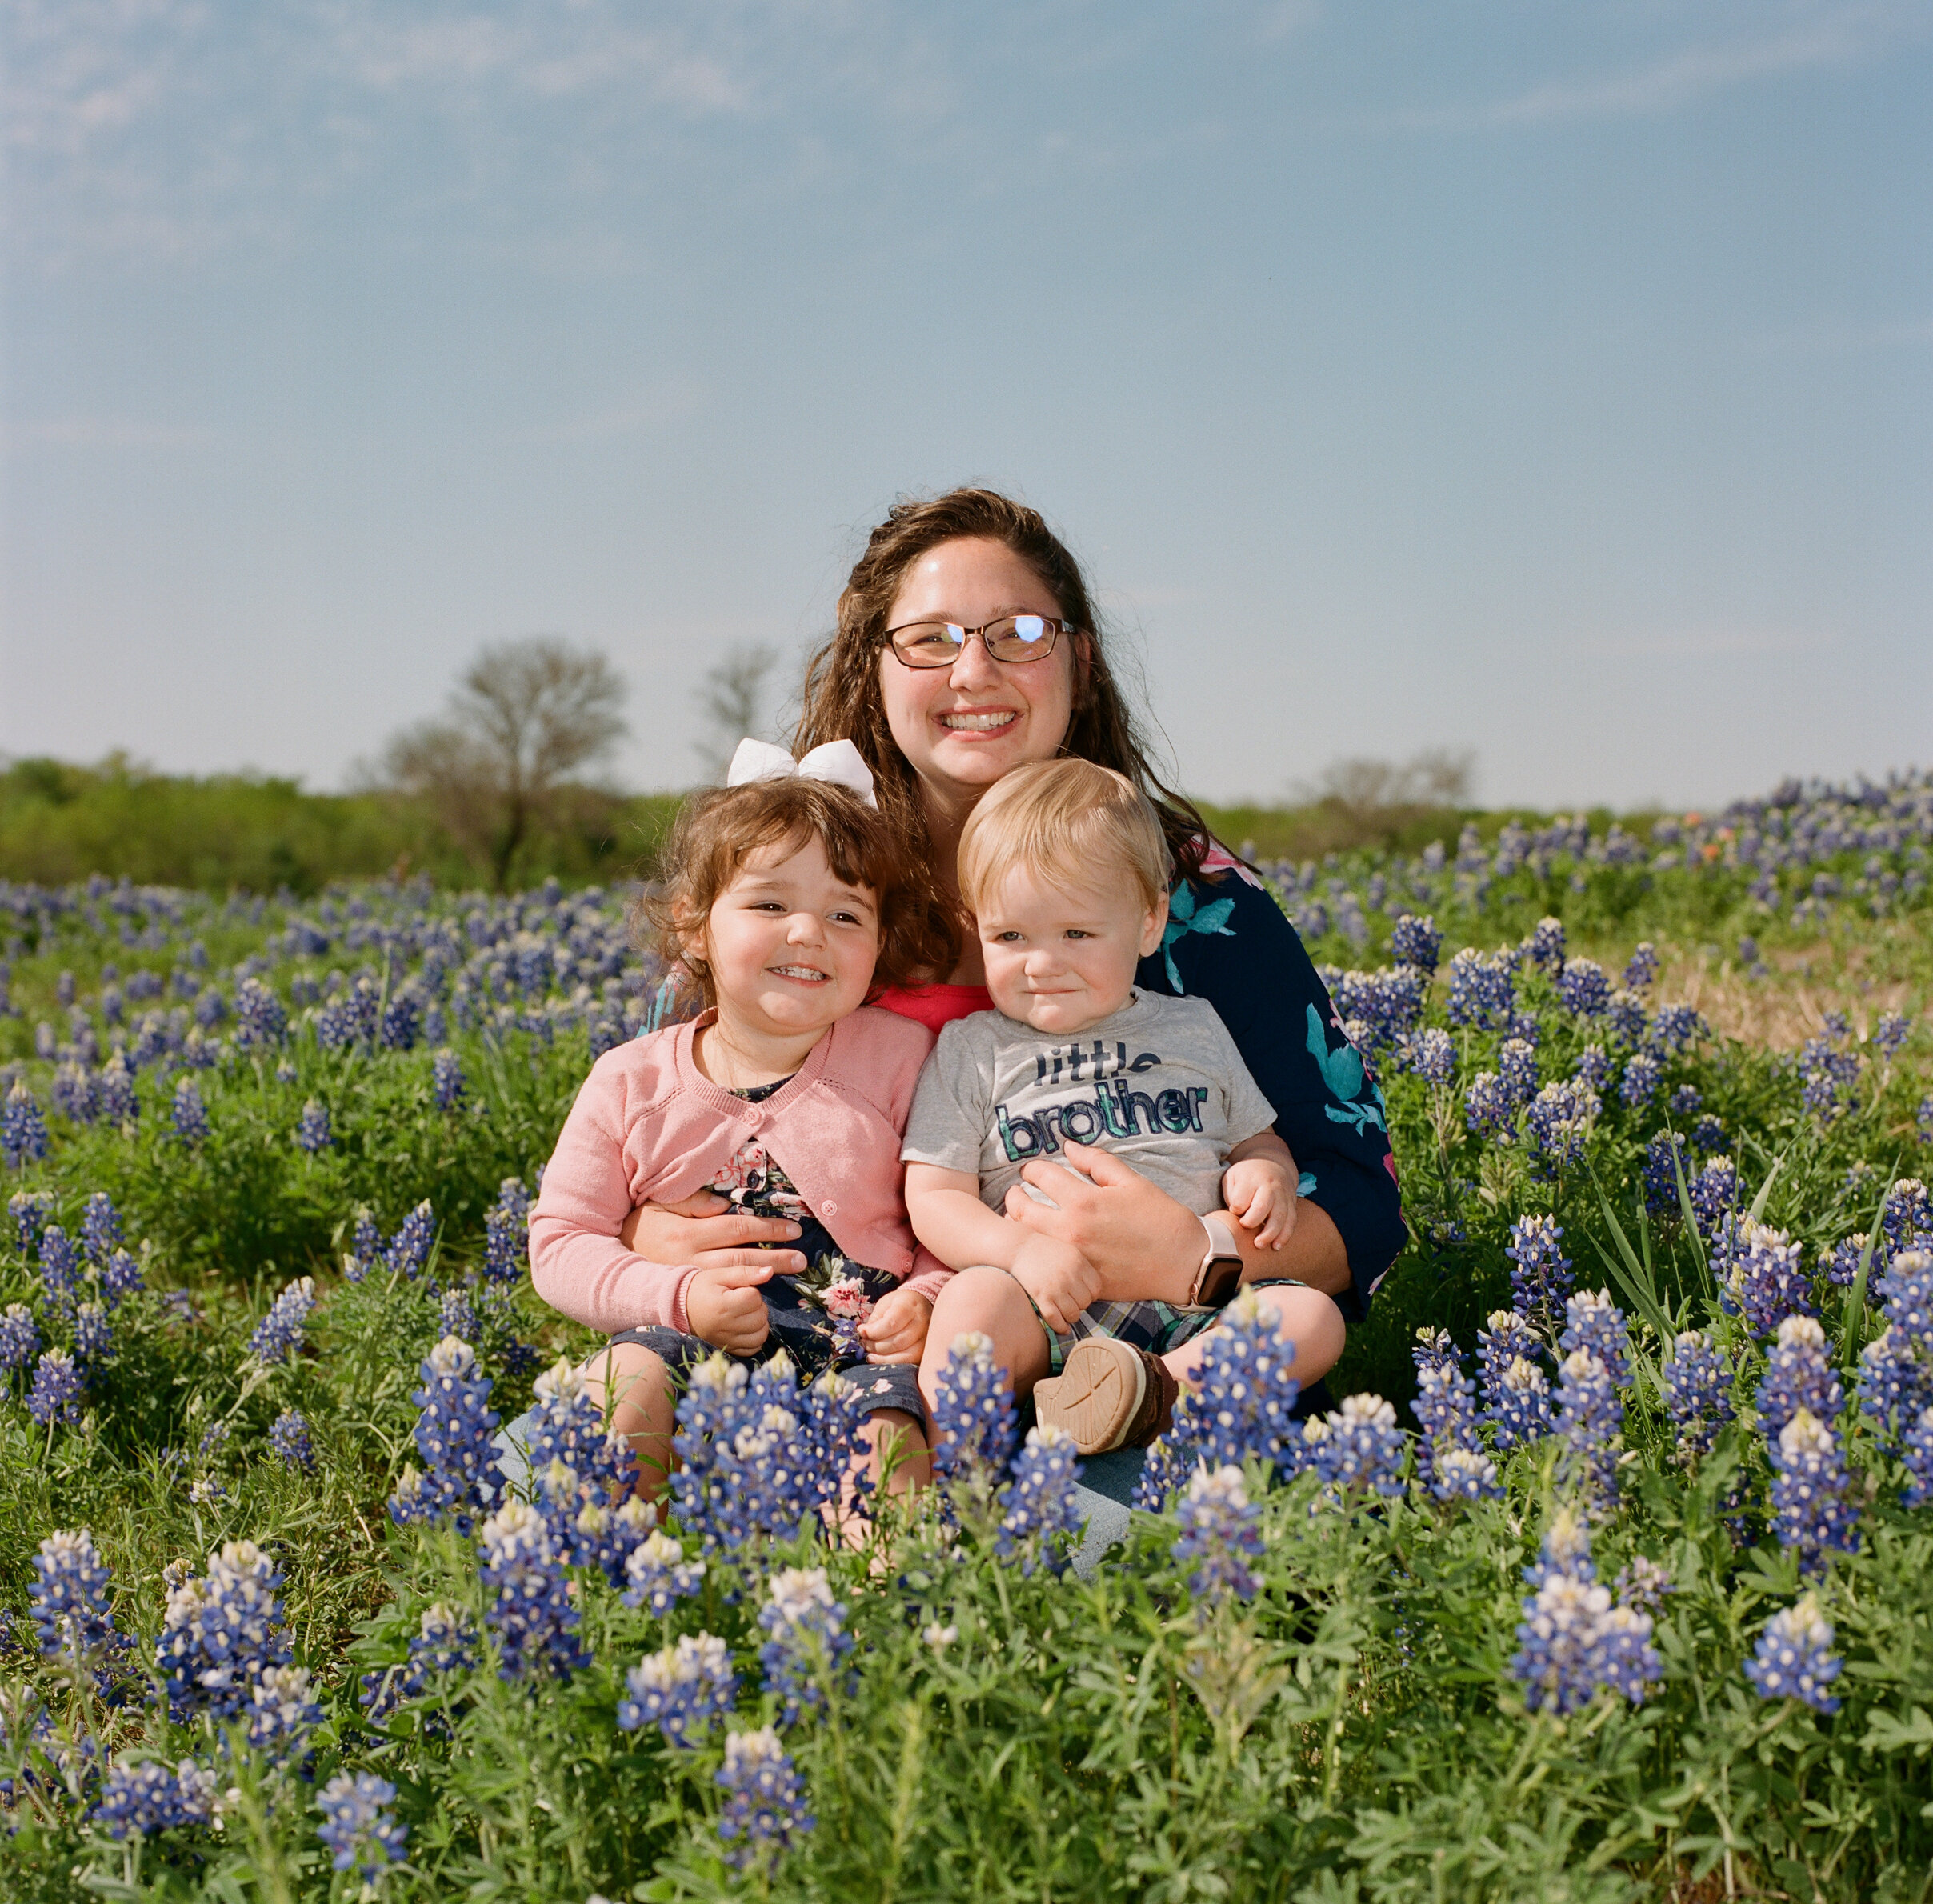
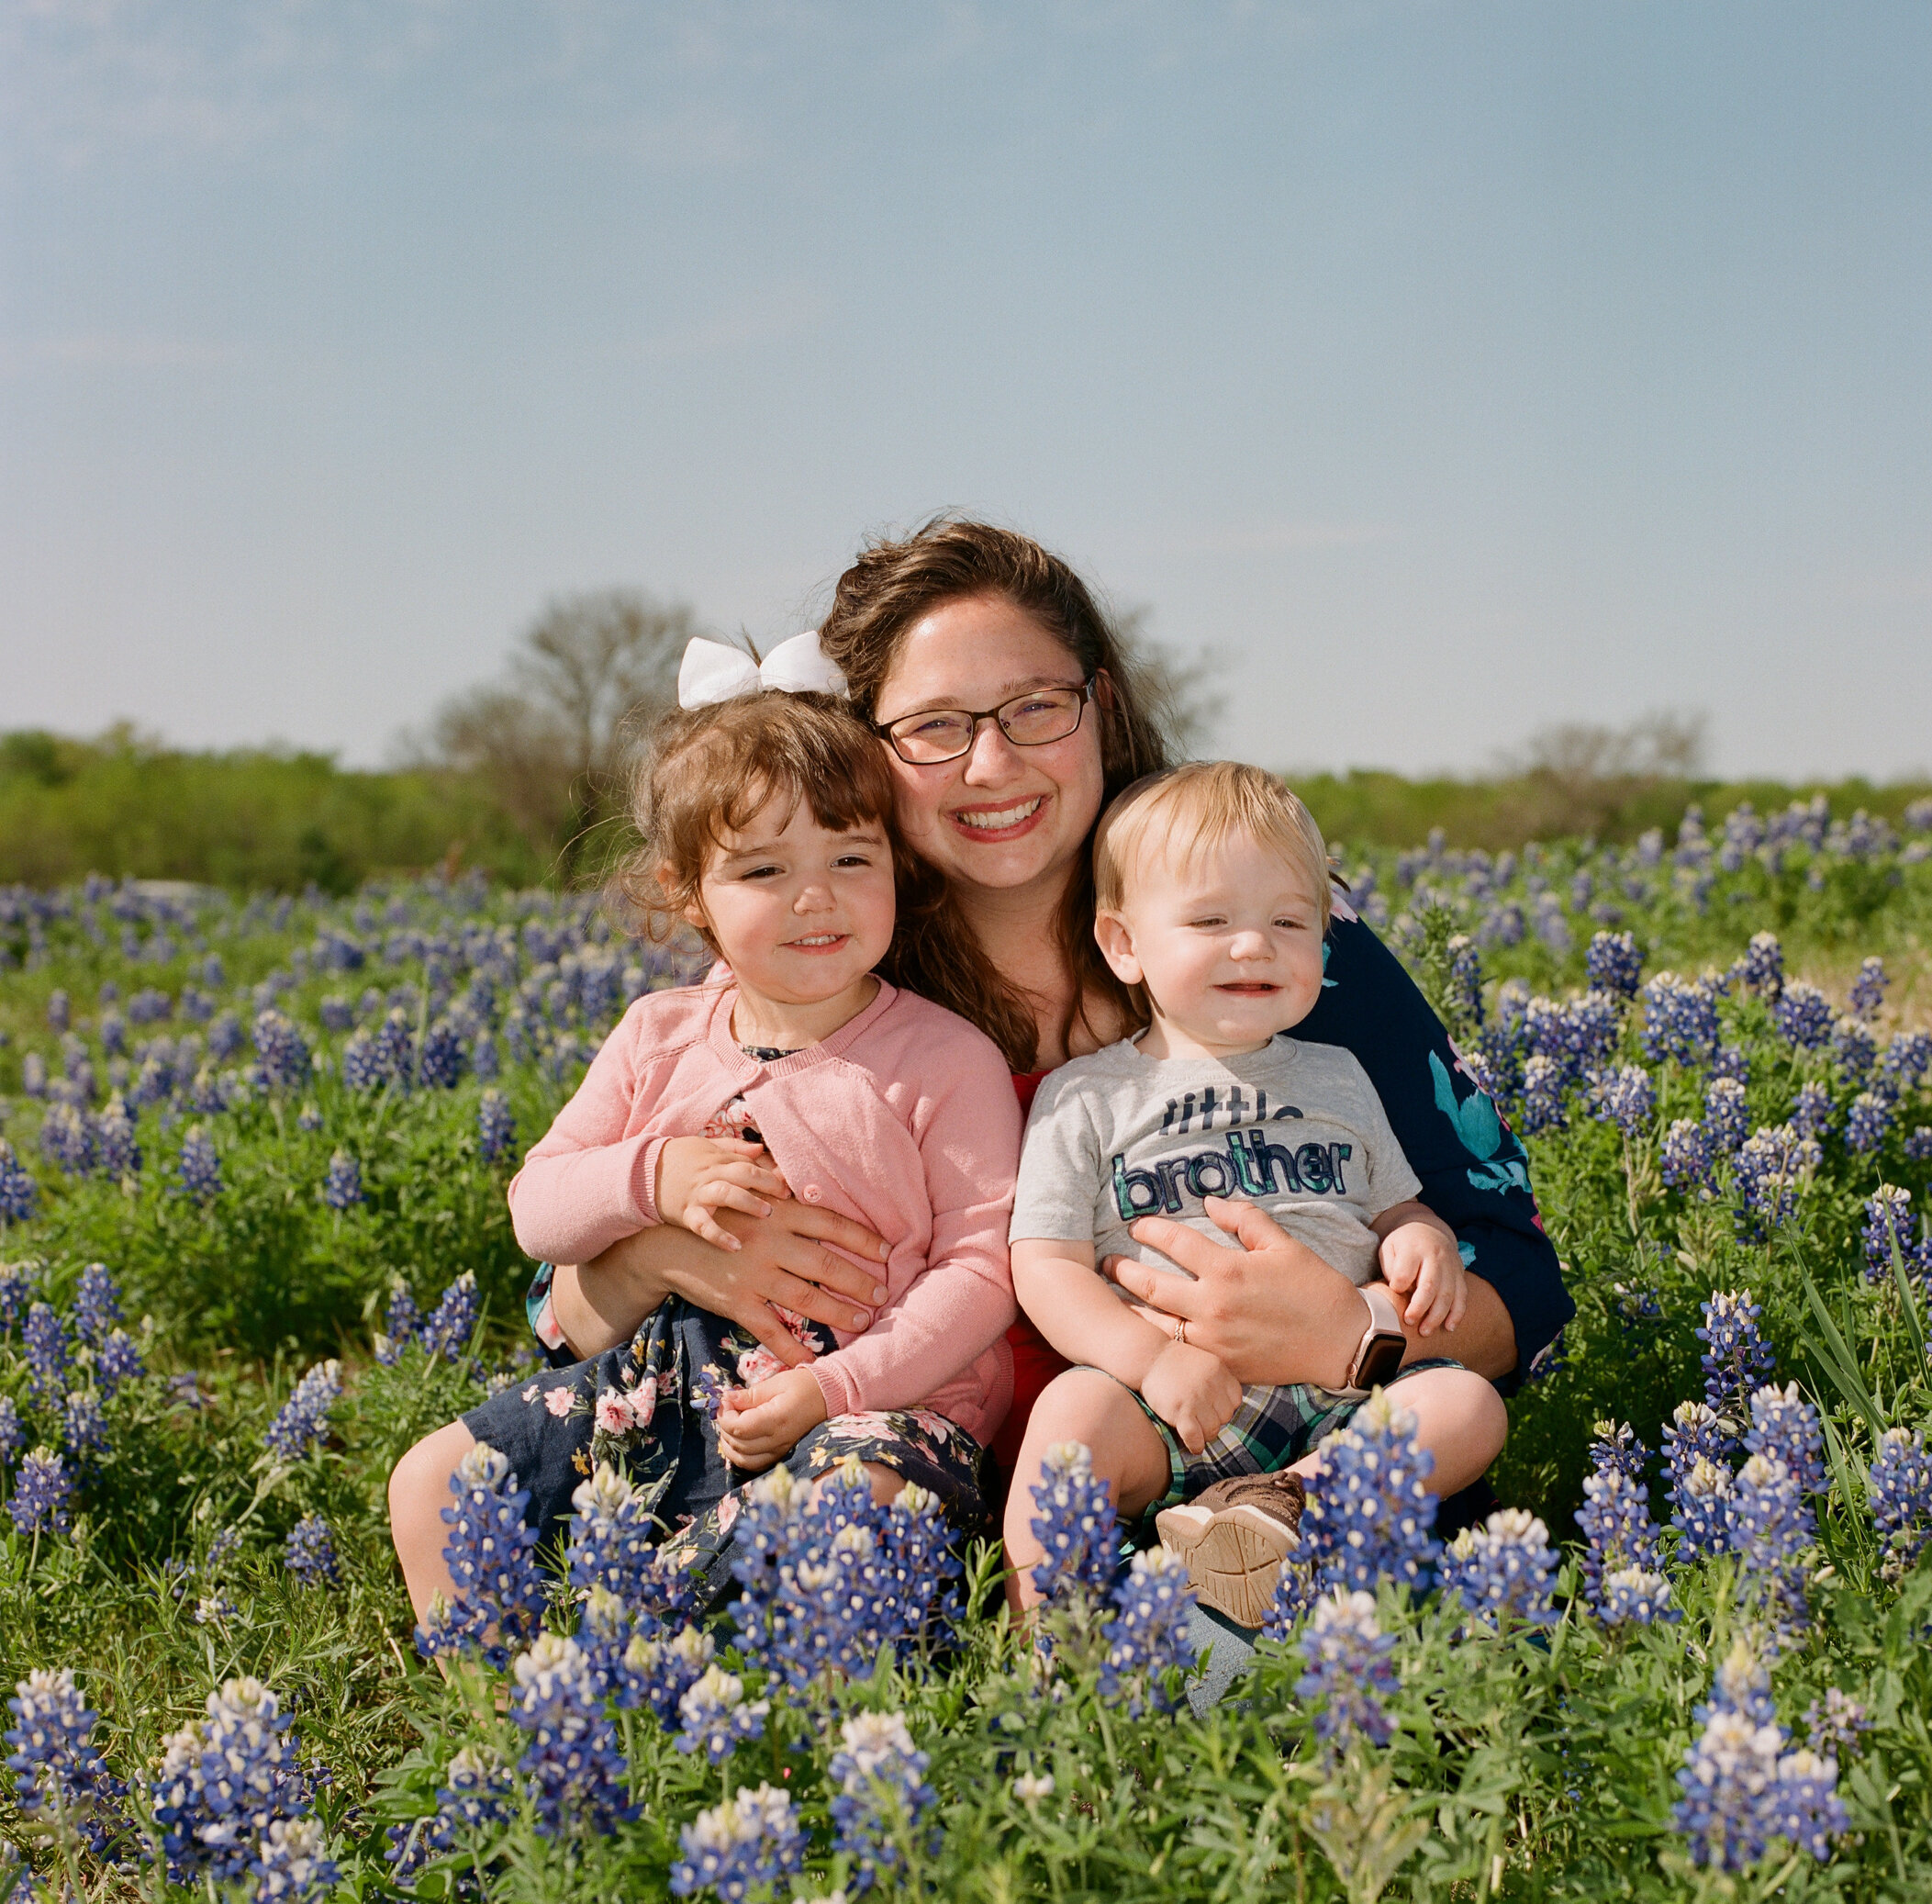
With out further delay, here are our Bluebonnet Photos for 2021!
Bluebonnet Pictures
Book Us for Your Bluebonnet Photos!
If you would like photos of yourself or your family in the beautiful Texas bluebonnets, we would be happy to shoot them for you! Our sessions are always flexible, affordable and fun! Click the button below to book your bluebonnet photo session today!