
How to Get Great Bluebonnet Photos
So, I'm gonna start off and say that if you want the absolute best bluebonnet photos, then you should just schedule a session with us and let us take your amazing bluebonnet photos... Just throwing that out there.
But, seriously, here are a few simple tricks to making sure that you get great bluebonnet photos with those precious kids or grandkids or dogs or tacos or whatever you love and want to frame with bluebonnets.
COMPOSITION IS KEY
Framing up your photo, or the composition of your photo is one of the key elements to getting a great pic. Traditionally, most people take photos standing with their subjects kneeling or sitting in the flowers. It adds a lot of great perspective however if you, the photographer, kneel down as well. It creates a neat effect, especially with younger children. Kind of an "on their level" look. The lower you can go, the better! While most people like to center their subjects in the frame, don't be afraid to try some different angles! Bluebonnets and beautiful from every angle. Get creative and try something different. Who knows, you may start a new Texas Bluebonnet trend on facebook or instagram!

An example of a shot from standing position.

The bokeh (blur effect from the lens) makes this image much more interesting. Well, except there's a highway in the background... But you get the idea.
Lighting, Aka the Tricky Part
Lighting either makes or breaks any photo. Most of the time, people parking on the side of the road to snap a bluebonnet photo are using a cell phone or a smaller point-and-shoot camera with a very minimal flash. The biggest mistake most people make is not lighting their bluebonnet photos correctly. Time of day plays a big part in this equation, because the midday sun produces harsh light and even harsher shadows making the highlights of your image super bright and the shadows super dark. This is a very undesirable effect. Early morning or later afternoon are definitely the best time of day to take your photos as the natural light is way more accommodating.
Taking Photos Facing the Sun

Here’s our 2019 Bluebonnets pic, facing the sun.
Once you're out standing in the middle of those beautiful blue flowers, you basically have two options for lighting. The first, is to have your subjects face the sun directly, which can be a nice effect lighting up the subject and the background beautifully. The problem with facing the sun is that often times you are still dealing with some harsh shadow plush some very squinty-eyed subjects. It is really hard to get a good bluebonnet pic when your subjects’ eyes are watering and they are trying to smile through the pain of the bright Texas sun.

These are available on Amazon and are cheap and easy to use!!!
You can purchase a diffuser to take with you. They are usually between $20 to $40 on Amazon and they are so easy to use. Besides the diffuser, you’ll need a stand or a volunteer to hold the diffuser during the photo. I personally recommend using a volunteer! To use, position your subjects facing the sun, then deploy your diffuser so that it casts shade over your subjects. You want to specifically get their faces, but you need to make sure there’s no harsh shade/sun line where the diffuser ends. You’ll need to play around with the angles a little to get it right, but using a diffuser will result in a beautiful golden image with softened shadows and no risk of your subjects going blind.
Taking Photos Facing away from the sun

This photo of my daughter, facing away from the sun, using a reflector to help fill out the shadows
Or you can choose the second option and put the sun directly to your subject's back and use a flash or a reflector to light your subject. I generally choose this second option and use a high powered flash or a reflector. Your phone won’t have a flash powerful enough to light your subjects, so your best bet is to pick up a cheap reflector from Amazon.

Most reflectors come with reversible covers that allow you to adjust how the light is bounced back on your subjects. You will have to play around with the reflector to see how each surface affects the light, but they are amazing and relatively inexpensive! Here’s a link to one on Amazon that I’ve purchased and keep in my car just in case! Just position it in front of your subject, but out of the frame and move it around until the lighting on your subject looks the best. Try to be on one side or the other of your subject, it will give them a nice light side and slightly shadier side making the photo more interesting.
The Camera App - The Thing We Take for Granted
The default camera app on iPhones and Android devices are ok, but not great. Instagram takes reduced sized images and Snapchat equally doesn't give you much room to really edit your image. I really love the VSCO (pronounced "visco") app for the iPhone. It allows me to take 'raw' images, and gives me a ton of editing options. There are also a lot of premade filters that you can get for free or purchase that will make your photos look amazing. You can take the photos and make edits, and then go back and change those edits later. It is a great app to have and use!
Don't be Afraid to Have Fun

A rare photo of me, in the bluebonnets. Probably one of the best photos of me every taken...
Not every bluebonnet photo session is going to go smoothly, so don't get frustrated when your kids don't cooperate. We recently tried to get some bluebonnet photos of our little ones and it just turned into a screaming disaster. We didn’t stress, instead we took some really hilarious photos of the kids loosing it in the middle of the beautiful fields of blue and then packed them up and planned to shoot again on a different day.
Main, just have fun and enjoy the moment. The best pictures are made when everyone is having a good time. Those smiles and those flowers are what make Texas Bluebonnet Photos a time honored tradition. Remember that you aren't really making pictures, you're making memories.

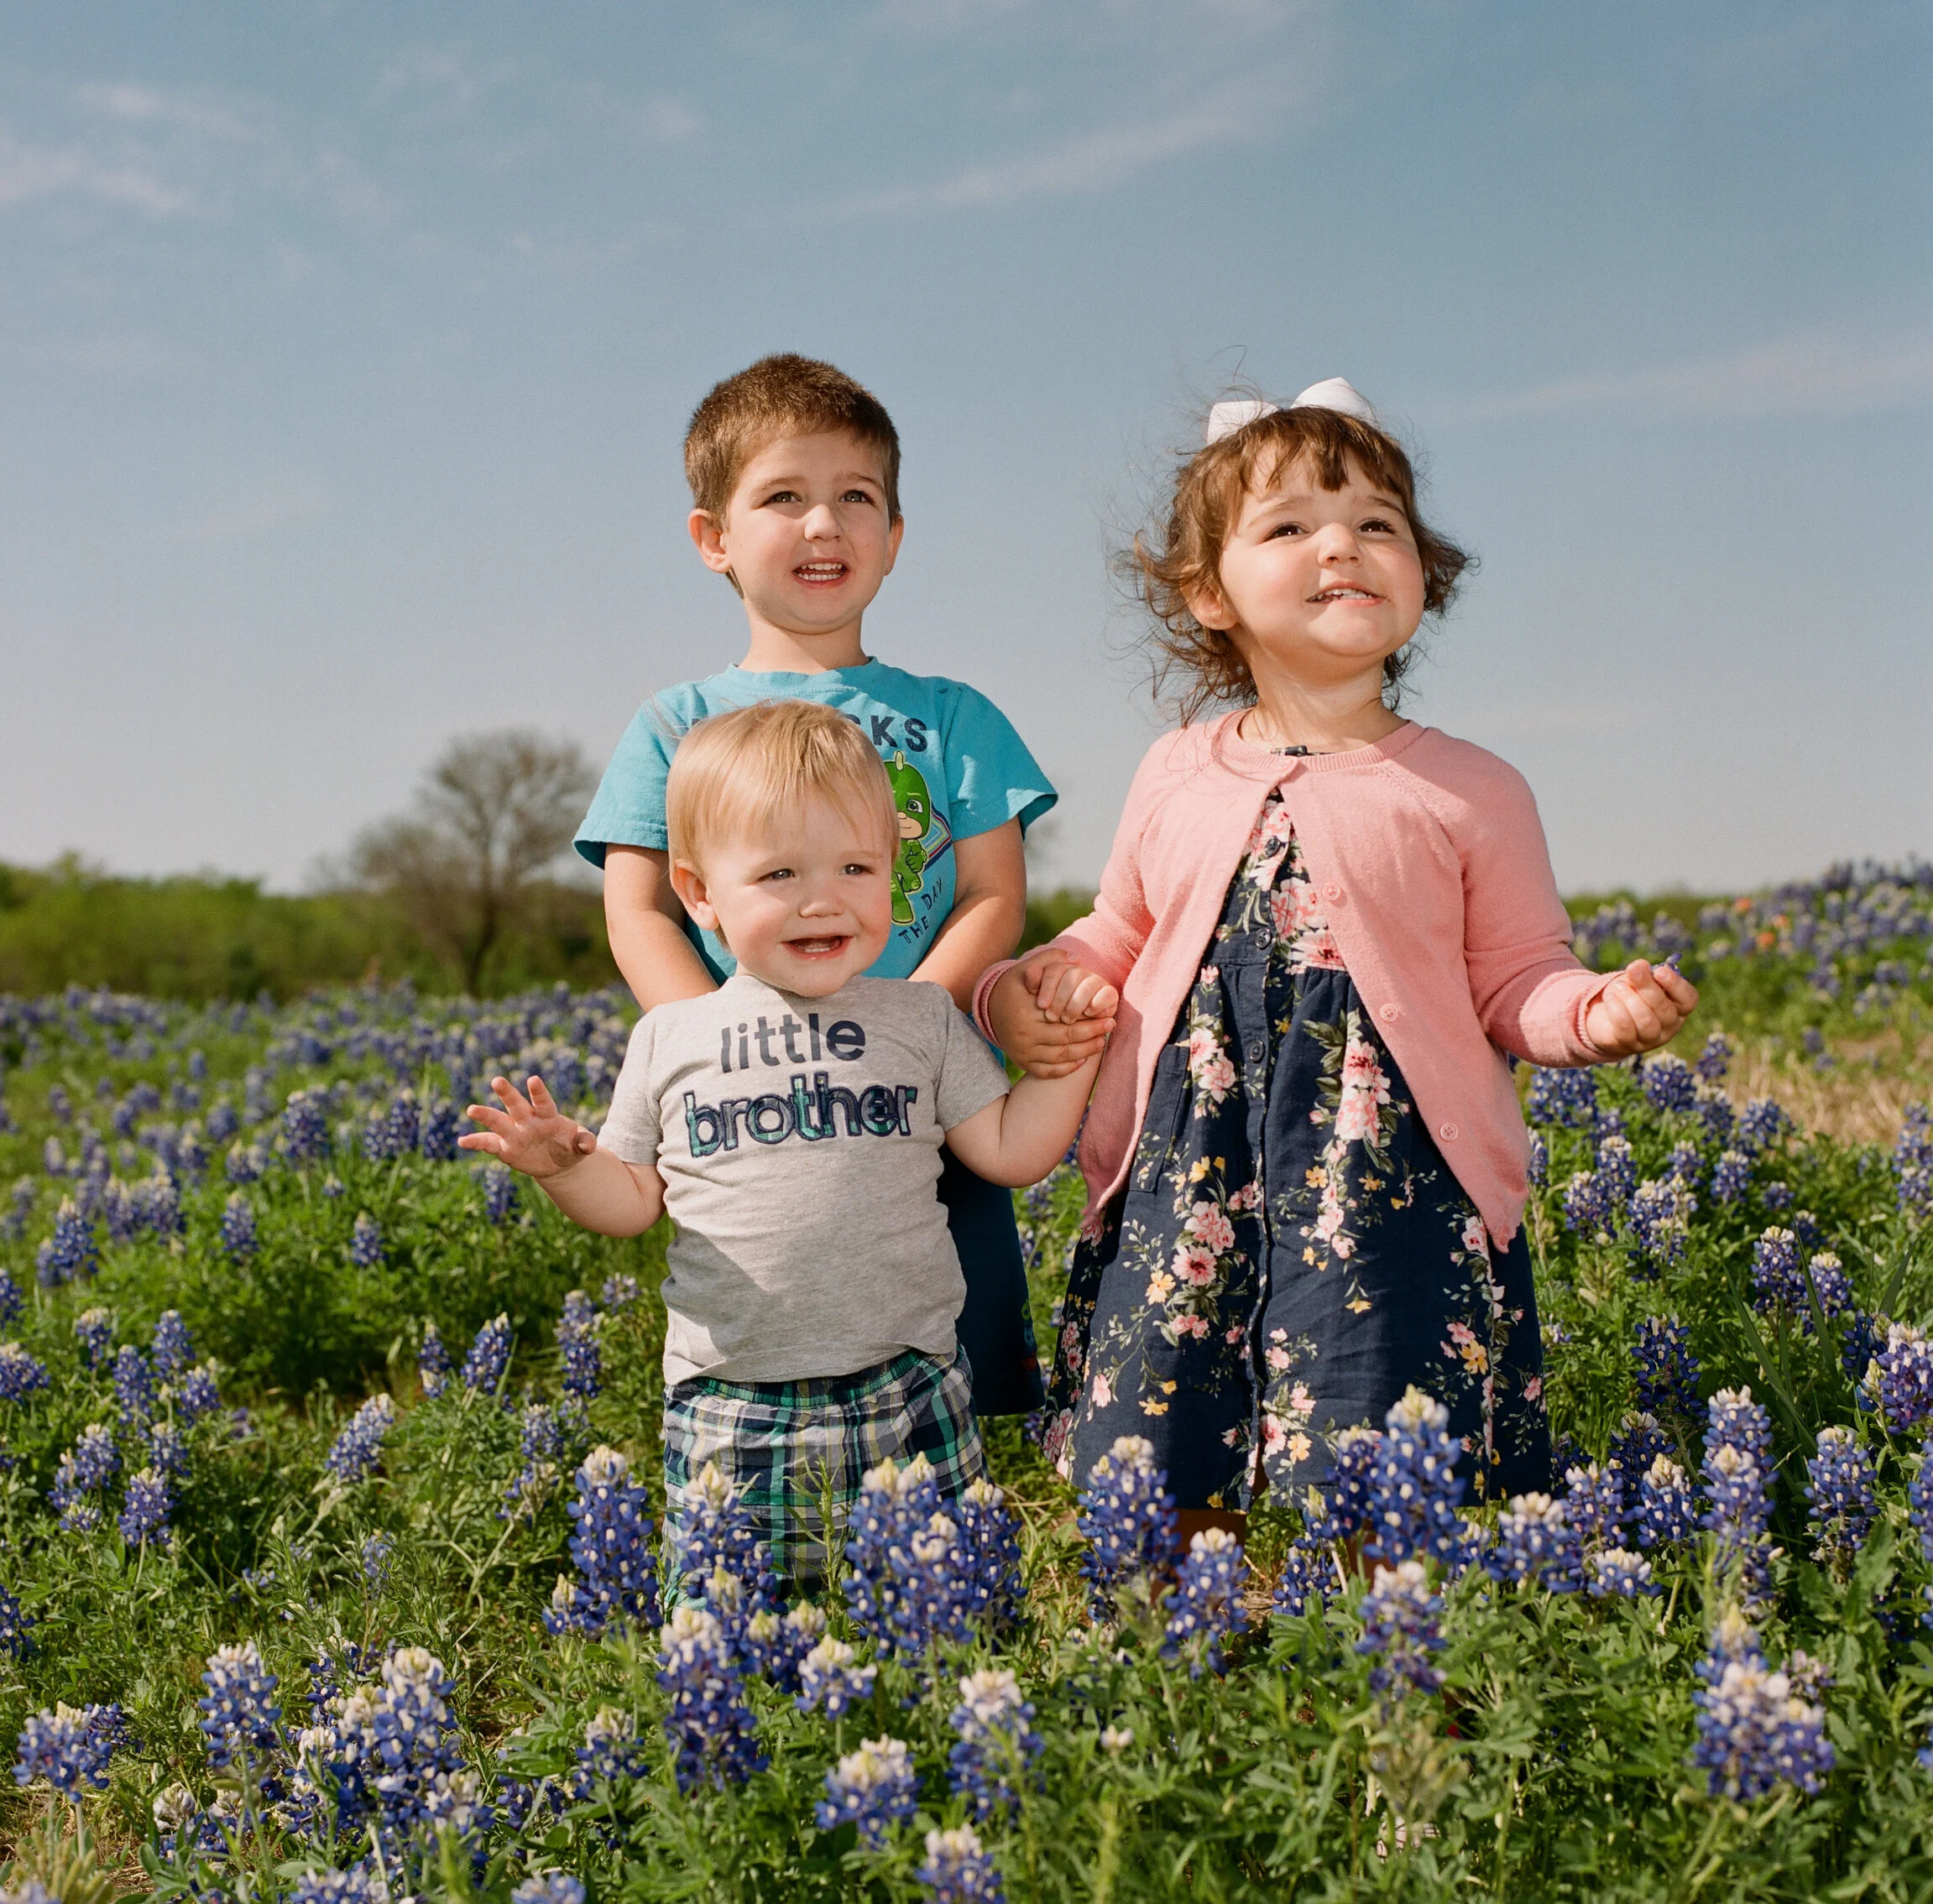
We were quarantined during the 2020 bluebonnet season, but we used a patch in our back yard cause you can’t be a Texan and not get some bluebonnet pics of your kids!